DIY Soaking Skeleton Bathtub Candle: “Humerus” Halloween Decor
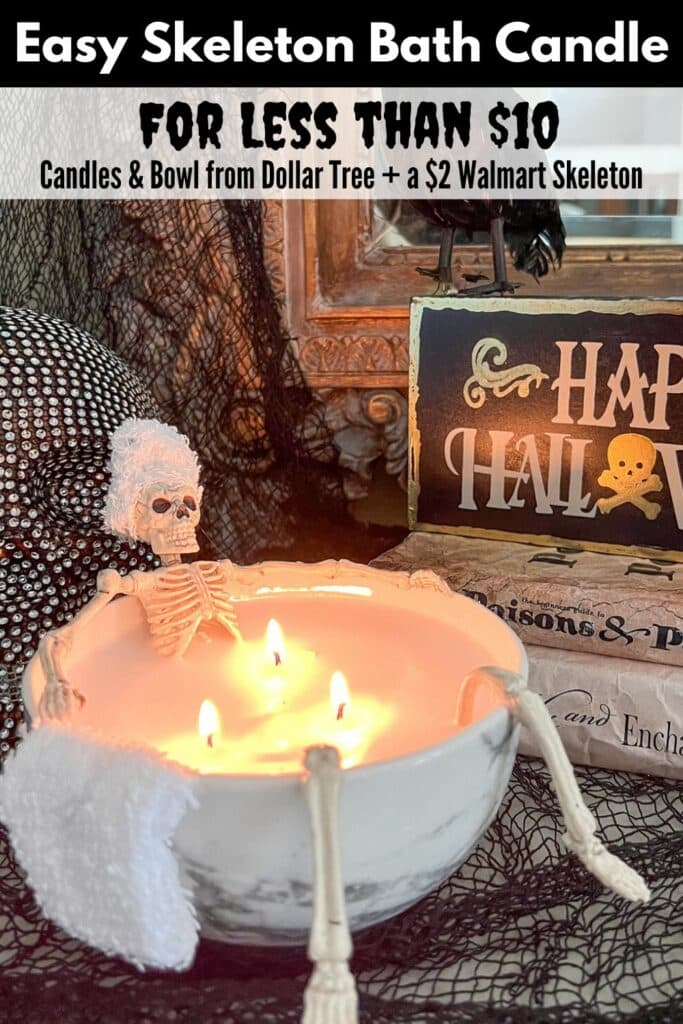
Inside: These DIY Halloween candles are a super inexpensive way to bring humor to your Halloween decorations with Dollar Tree bowls and pillar candles, and a two dollar WalMart skeleton!
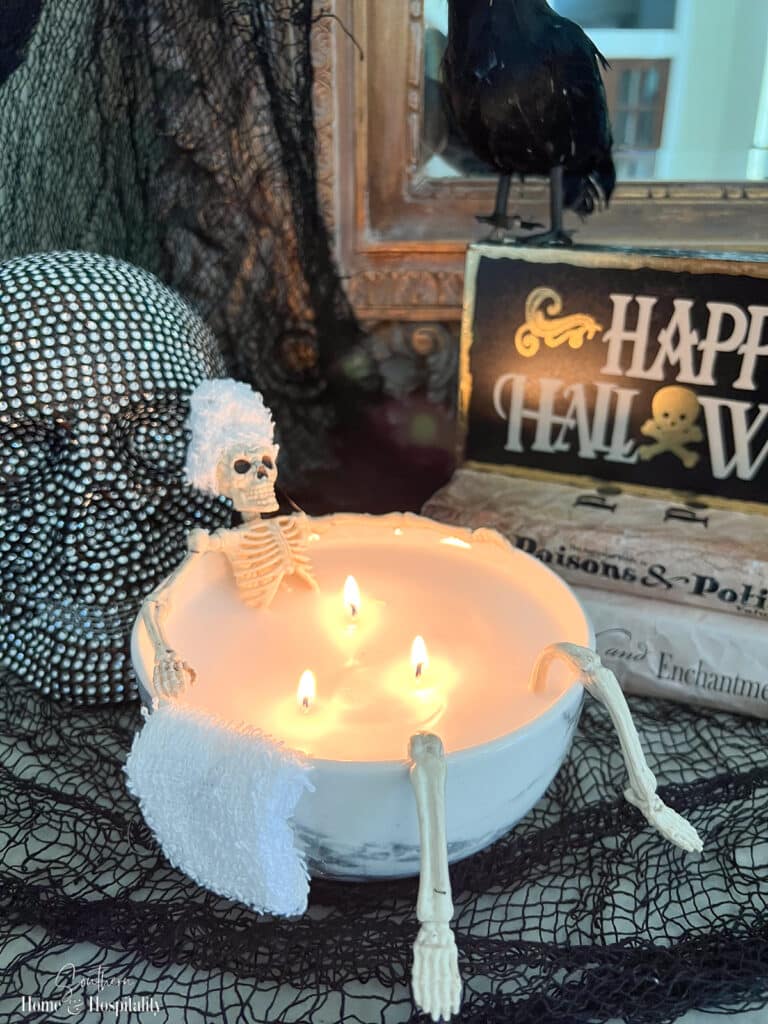
There’s something about posing skeletons in day-to-day normal activities that cracks me up to no end. So when I saw this skeleton soaking in a bathtub candle craft, I just had to make my own.
I’m so simpatico with this spa skeleton—because treating myself to a soak in the tub is one of my very favorite things.
So if you like to add a touch of humor to your Halloween decor, then you’re in for a treat (or should I say trick?) with this easy DIY.
This post contains Amazon and other affiliate links for your convenience. As an Amazon Associate I earn from qualifying purchases. If you purchase something through any link, I may receive a small commission, at no extra charge to you. I only recommend products that I love or would purchase for myself. See my full disclosure here.
Materials You’ll Need:
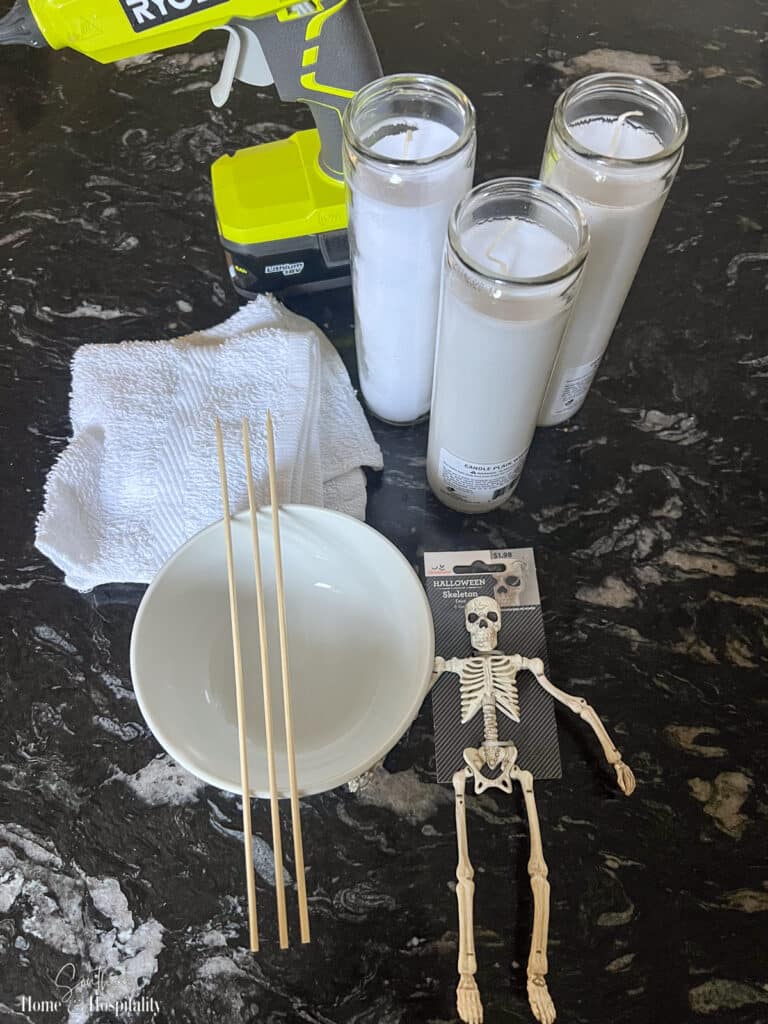
- Small skeleton (preferably one that can bend a little): I used this less than two-dollar 8-inch skeleton from Walmart
- Bowl or bathtub-shaped container: I used a cereal bowl from Dollar Tree
- 3 white wax candles in glass jars: also from Dollar Tree
- Hot glue gun
- Something to hold the wicks in place like a bamboo skewer
- White washcloth
Feel free to use your own wax kits in place of the dollar store candles if you’re a more advanced crafter. You can find them in most craft stores.
How to make a soaking skeleton bathtub candle.
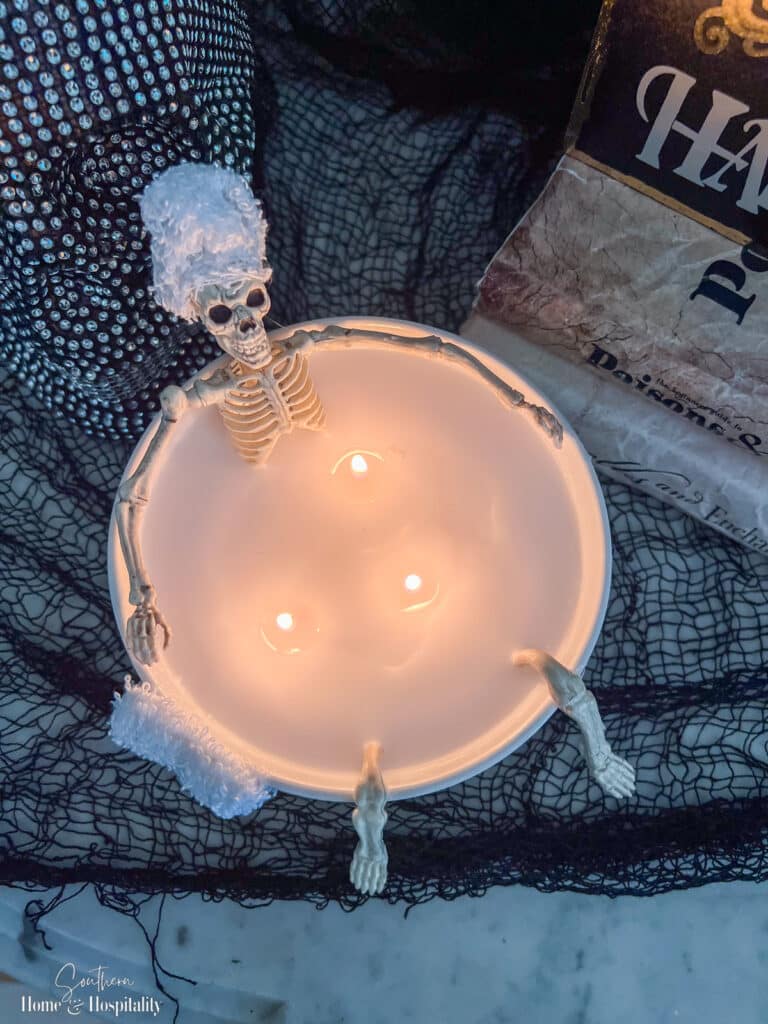
1. Remove the legs from the skeleton torso. This will keep the plastic away from the candle flames as the candle burns down.
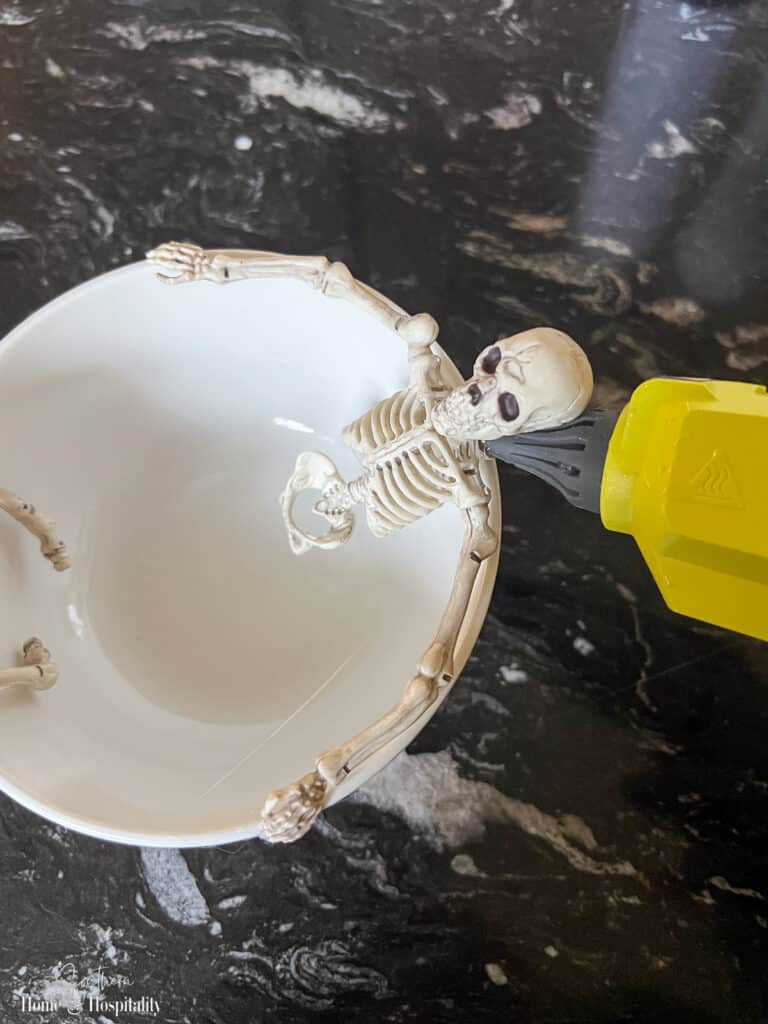
2. Hot glue the skeleton to the bowl: Using the hot glue gun, attach the skeleton shoulders to one side of the bowl. Position the head and torso as if it’s lounging in the tub, and gently bend the arms to look like they’re resting on the edges. You can also add a little hot glue to keep the hands in place.
Then bend the legs to hang over the side of the tub, and glue them on the opposite side.
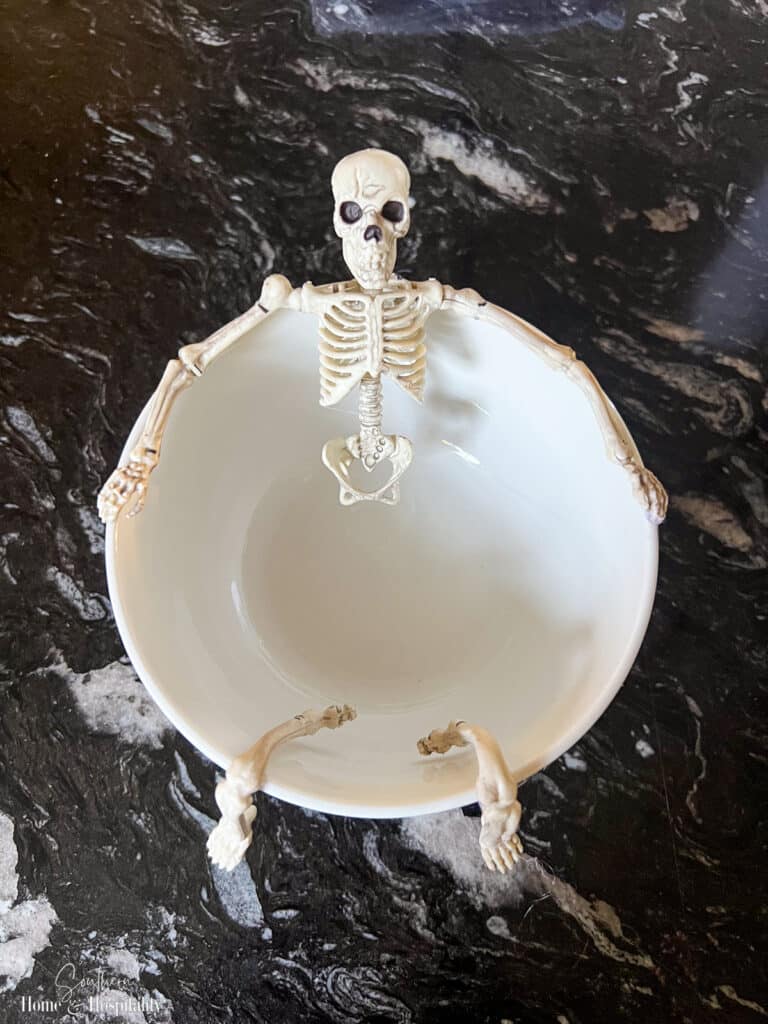
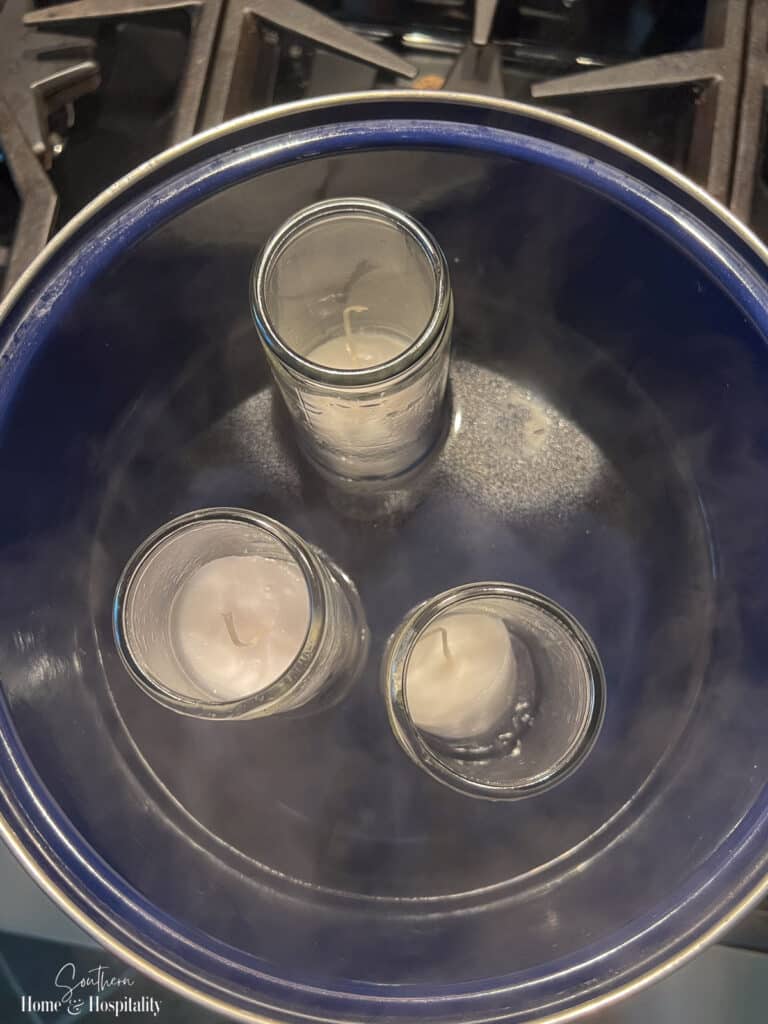
3. Melt the wax: Heat the candles in a pot of boiling water until the wax is totally melted.
4. Put the wicks in place: Carefully remove the wicks from the melted candles with tongs or tweezers. Then place two of the wicks into the bowl, spacing them away from the plastic skeleton. I used all three but in hindsight, I would only use two to make it easier to keep the flames away from the skeleton. You can use a dab of hot glue under the base of the wicks to keep them in place before pouring the wax.
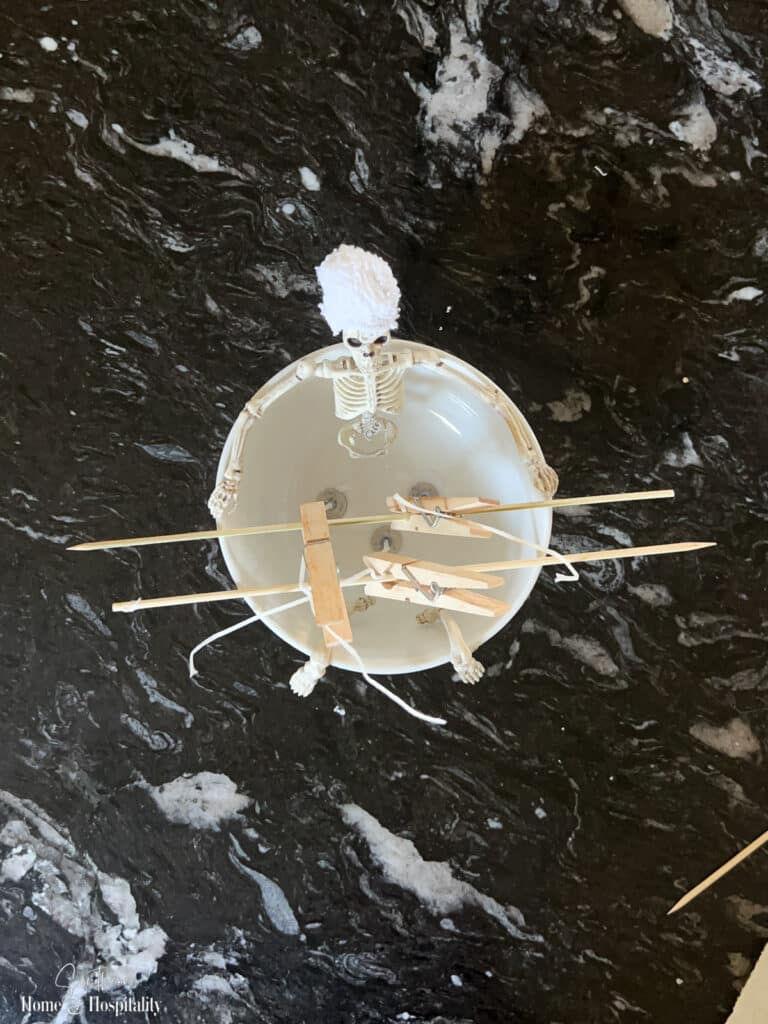
5. Brace the wicks up above the level of the candle wax so they don’t sink in. I used some wood skewers and clothespins, but you could also use tape, a wooden spoon, and other kinds of clips.
6. Pour the wax: Slowly add the melted wax into the bowl, taking care to keep it away from any materials you braced the wicks with. You might not use all of the wax from the third candle, depending on how large the bowl is.
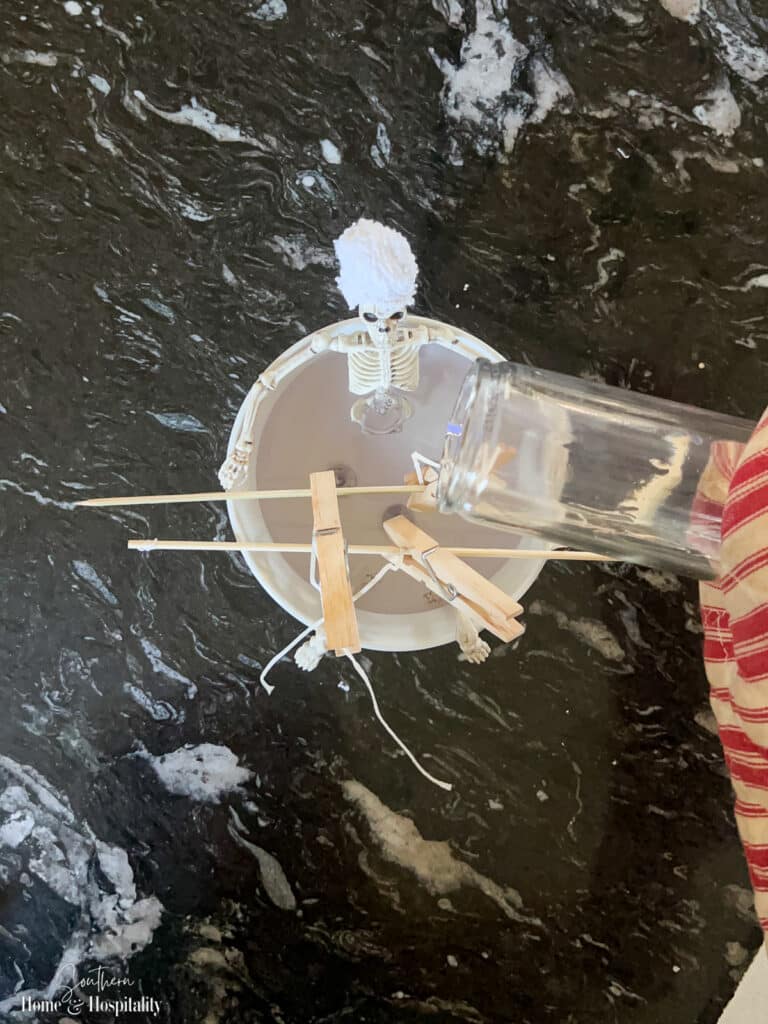
Optional: Add a few drops of essential oils for a scented candle. I added a little mix of eucalyptus and lavender to go with the spa vibe. (Don’t add more than one ounce per 16 ounces of wax or it may become a fire hazard.)
7. Let the wax cool: Let the candle sit undisturbed while the wax cools and hardens (mine took about an hour). Then trim the wicks to 1/4-1/2 inch.
SH&H TIP
If the surface gets messed up or isn’t as smooth as you’d like it, use a hair dryer to slightly melt the top again and let it re-cool.
8. Add the towel touches: Cut a piece of a white washcloth (or cheesecloth) and hot glue it to the back of the skull. Then bring it around top of the skull and fold it over the top until it looks like you want and secure it with more glue.
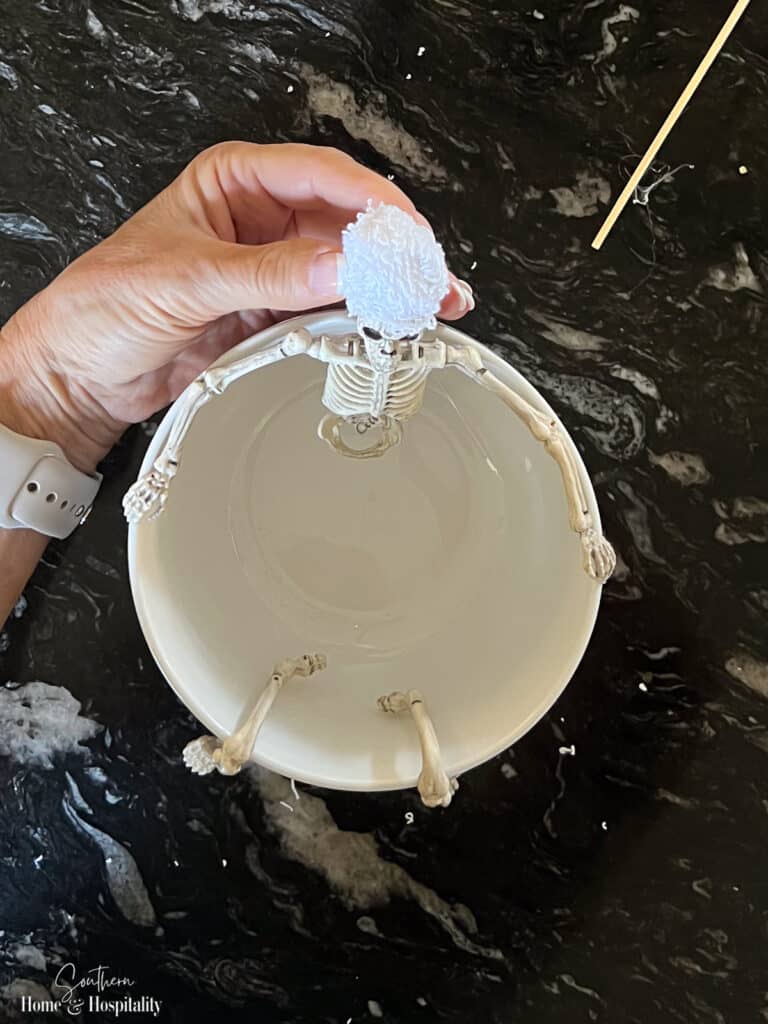
(I actually added the towel turban to the head while I was waiting for the candle wax to melt.)
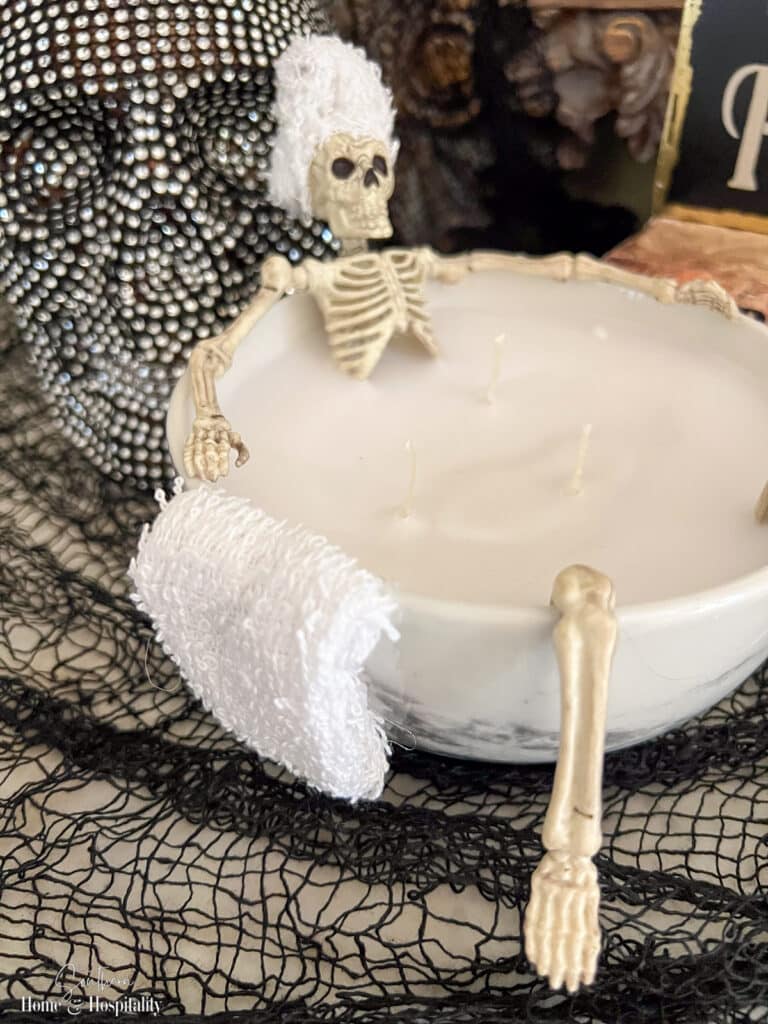
At the end after the wax was poured and cooled, I added another fun touch with a second washcloth scrap to make a tiny folded bath towel hanging on the edge. Again, take care to glue it on far away from the candle flames.
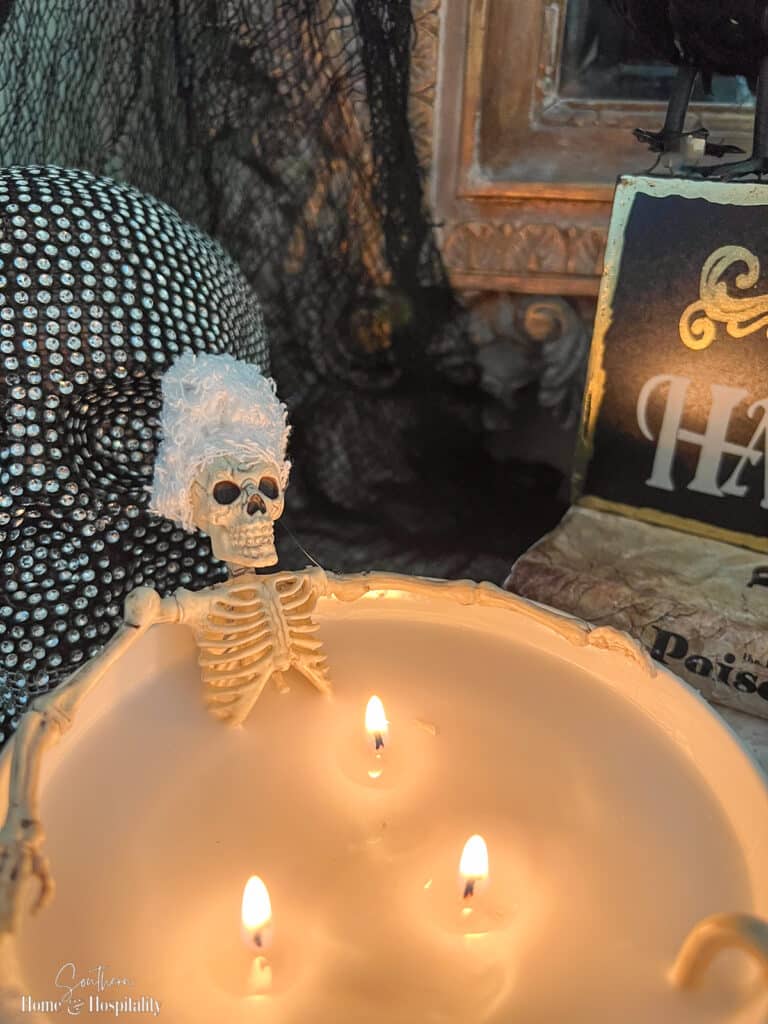
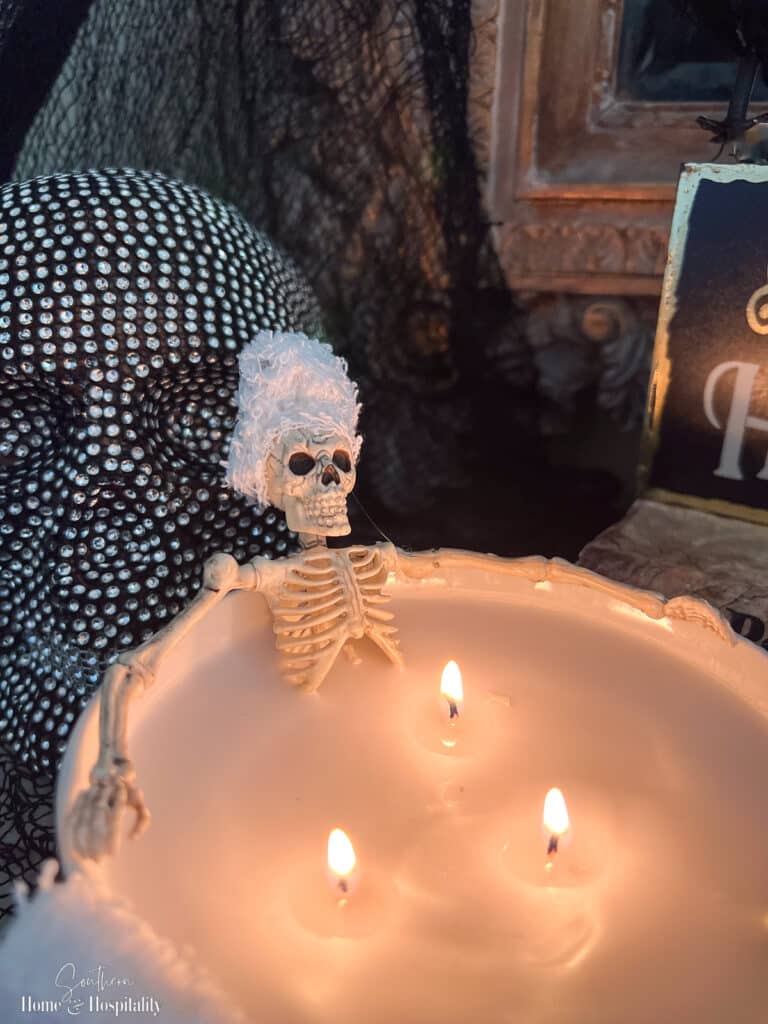
Light up your bath candle and enjoy Skelly’s relaxed and blissful me-time where he soaks his aching bones!

Before you go:
As always, I appreciate your visit, comments, and shares here on the blog! I’d love it if you also follow along with me on Pinterest, Instagram, Facebook, TikTok, and YouTube so you won’t miss any of my inspiration and ideas.
Don’t forget to sign up for updates to keep in touch.
If you’re not already a member of the SH&H family, I’d love to have you join me! You’ll not only get email updates, but you’ll have exclusive access to all the bonus materials in my free subscriber-only library, like this:
Pin it to remember it!
If you’ve enjoyed this post, please pin and share this on Pinterest:


Love this skeleton Halloween candle! Love everything you post, but this is so creative I NEED to do this. Your steps are so easy to follow..thanks for that!
Thank you Lisa! Send me a photo if you do!!
Oh my word, this is the cutest thing. Great tutorial too.
Thanks so much Marty!
This is hilarious! Such a clever idea.
Thanks Renea!!💀
Hi Kate! I love your blog! This skeleton candle is so cute! I love all your ideas for every season!!
Thank you Diane—comments like these mean the world to me! Thank you for being a reader💗