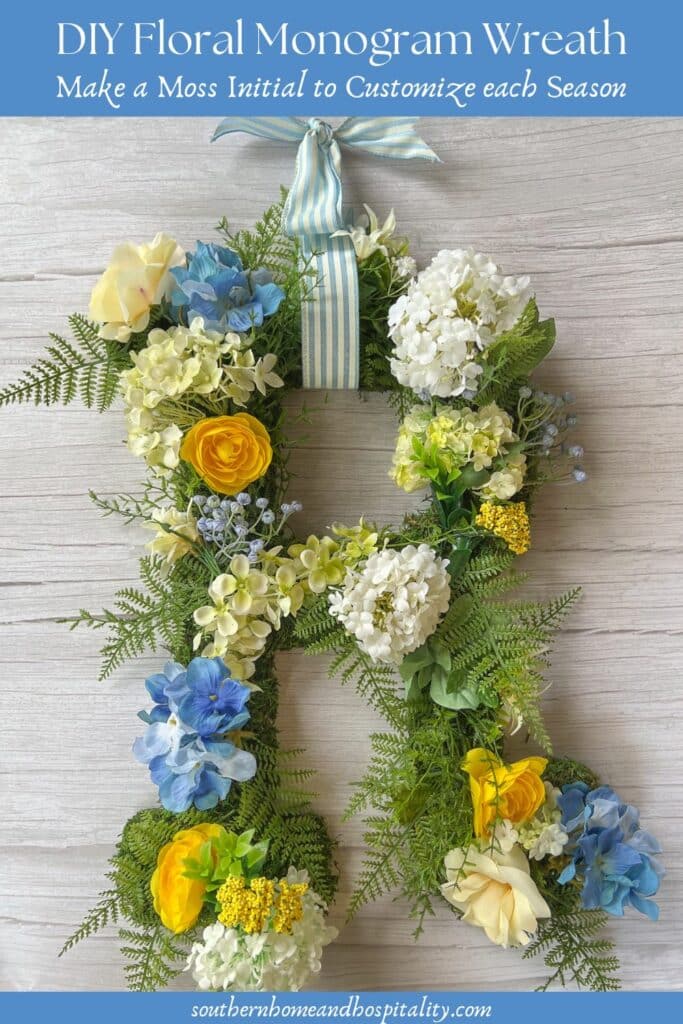
Easy DIY Monogram Floral Wreath for a Welcome with Seasonal Style
Inside: An easy step-by-step tutorial that anyone can do to make a bloomin’ gorgeous initial door wreath that you can change with the season! ➡
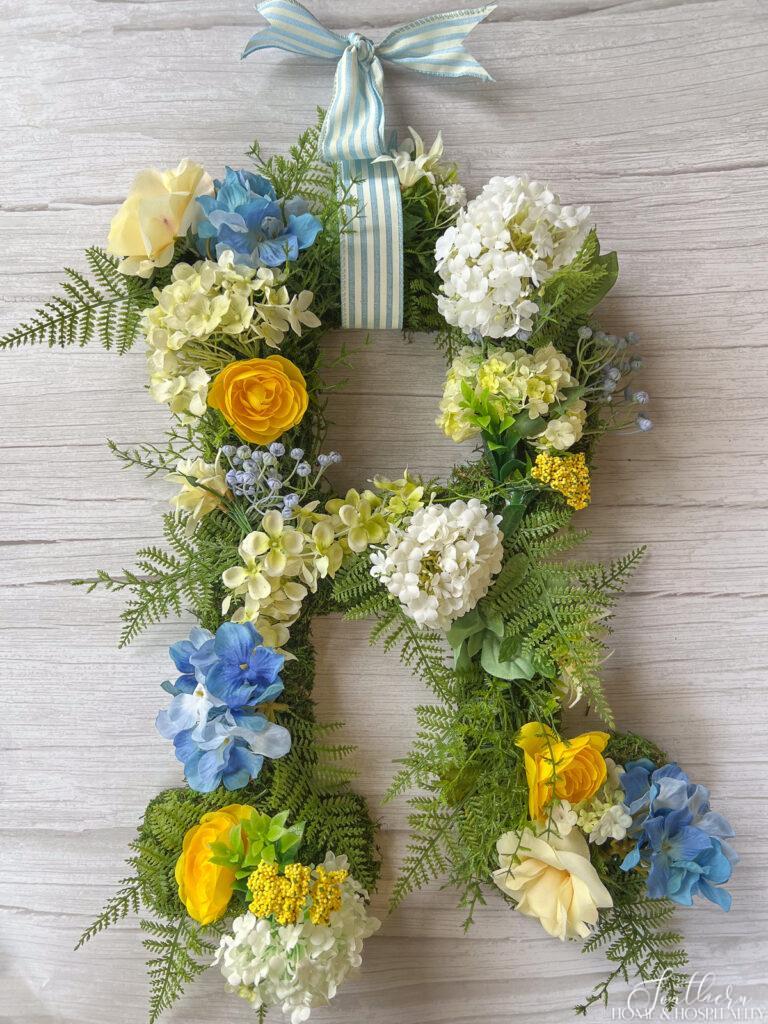
If there’s one thing that southern ladies like me can’t get enough of, it’s monograms.
You’ll find these elegant symbols of personalization adorning everything from our clothes to our cups. So when I wanted to create something different for my porch wreaths this summer, the front doors became yet another opportunistic place to slap a monogram.
One of the first things I do to welcome each new season is to change the door wreaths to reflect what’s special about that time of year. So this monogram wreath design is bursting with summer-inspired blooms.
But the beauty of this easy letter door wreath lies in its versatility. I can easily remove the current florals and reimagine it with the colors and flowers of any season! It can even be stripped down to be a simple and stately classic monogram moss door wreath, suitable for any time of year.
Plus, this is an easy DIY project that anyone can do to dress up the front door with their signature style.
Let’s get started!
This post contains Amazon and other affiliate links for your convenience. As an Amazon Associate I earn from qualifying purchases. If you purchase something through any link, I may receive a small commission, at no extra charge to you. I only recommend products that I love or would purchase for myself. See my full disclosure here.
Materials for a monogram floral wreath.
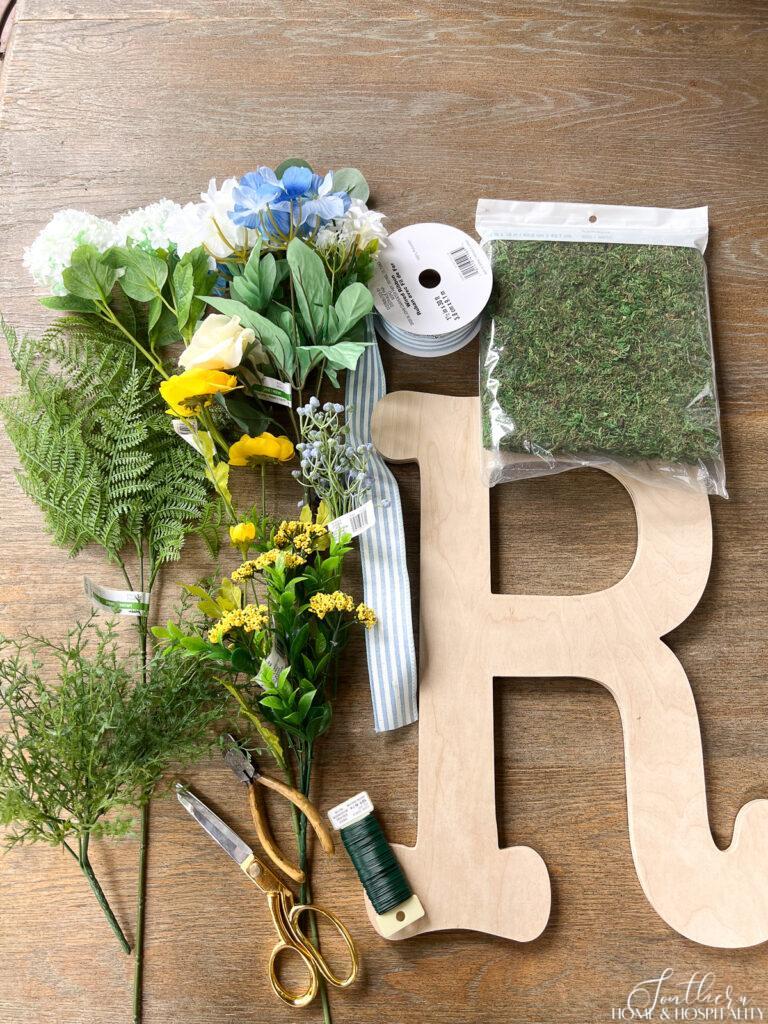
First, gather up these materials and tools:
- Wood monogram letter (I got mine at Hobby Lobby)
- Moss mat
- Green floral wire
- Faux fern
- A second type of finer, airy greenery (I used this dill bush)
- Faux flowers in varied textures and sizes
- Ribbon for hanging
- Hot glue gun
- Wire cutters
- Sharp scissors
Steps to Make a Monogram Door Decoration.
Cover the letter with moss.
To begin, I covered the entire front of the letter with moss like this:
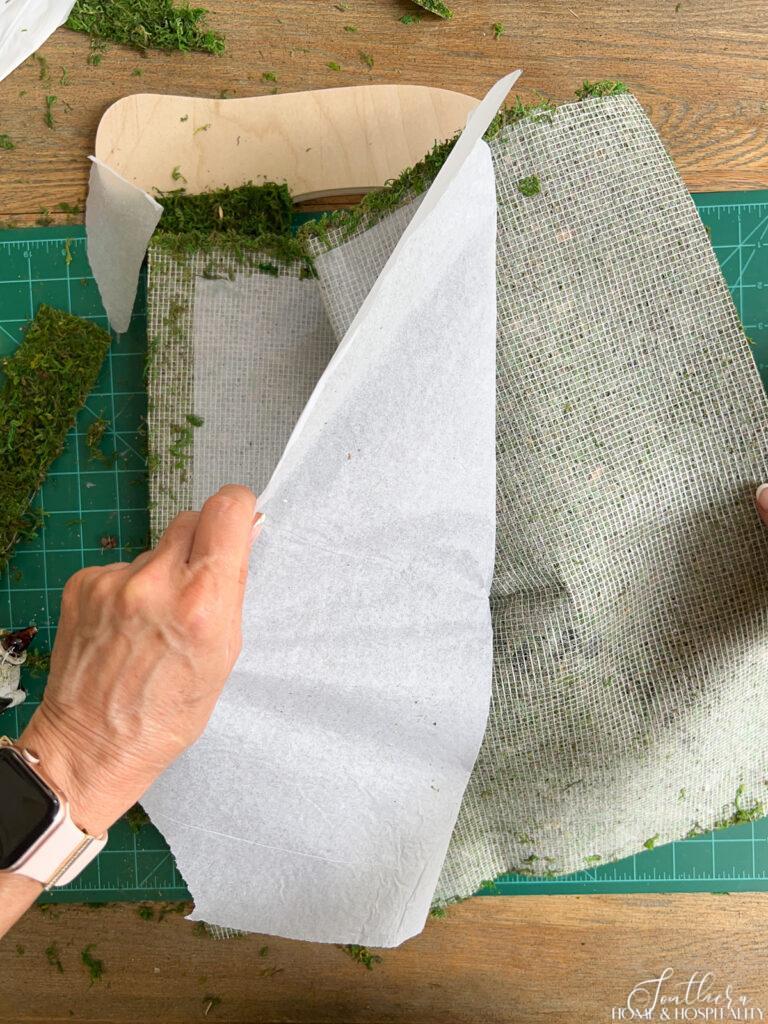
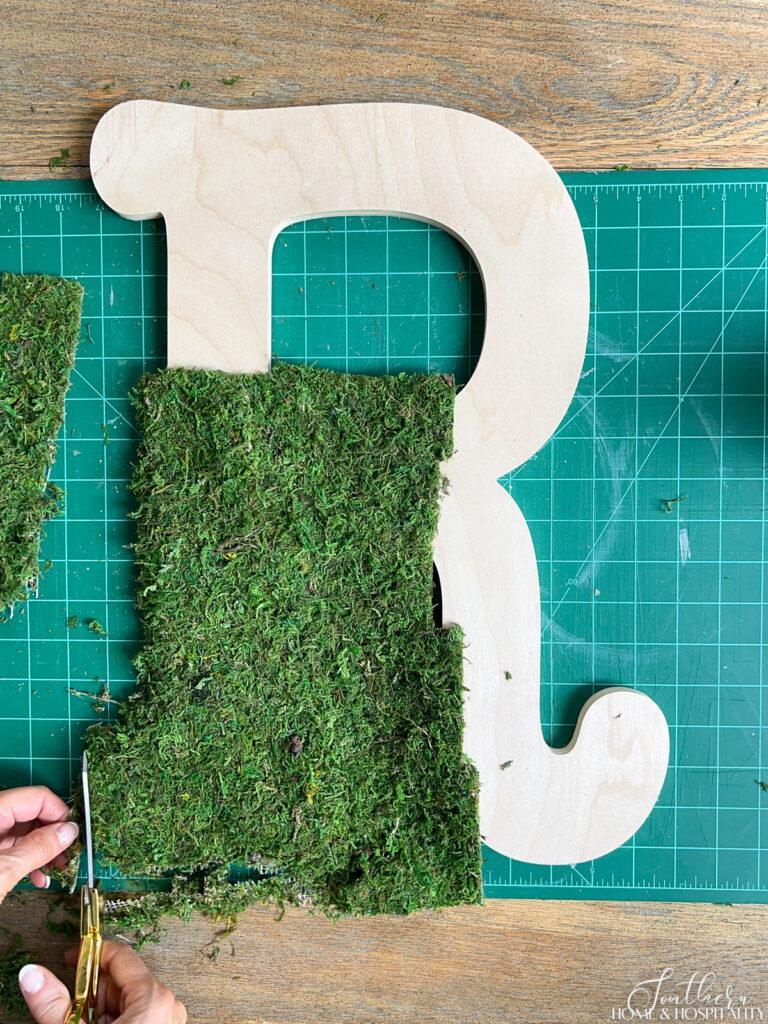
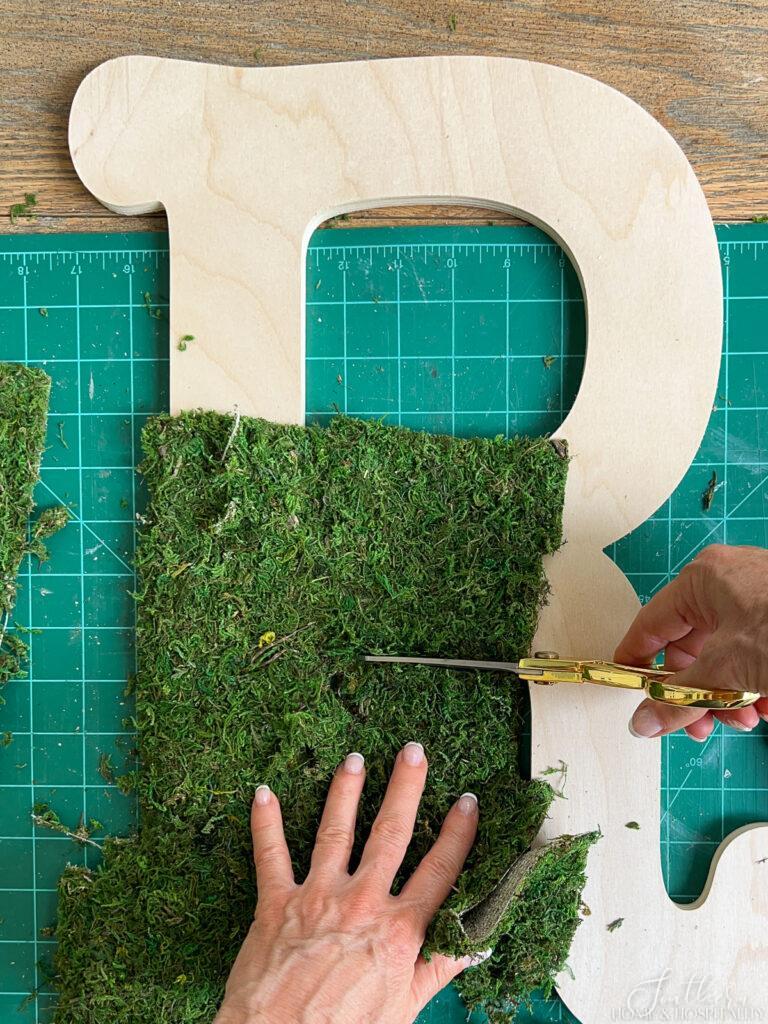
1. Remove the paper backing from a moss mat sheet.
I was using scraps I had on hand to begin with, so I pieced them together over the wreath and cut off the excess.
2. Lay the moss over sections of the letter, and cut around the letter, leaving about 1/2″ allowance to wrap the sides.
This doesn’t have to be perfect – just remove the large excess of moss to make for easy trimming after it’s glued.
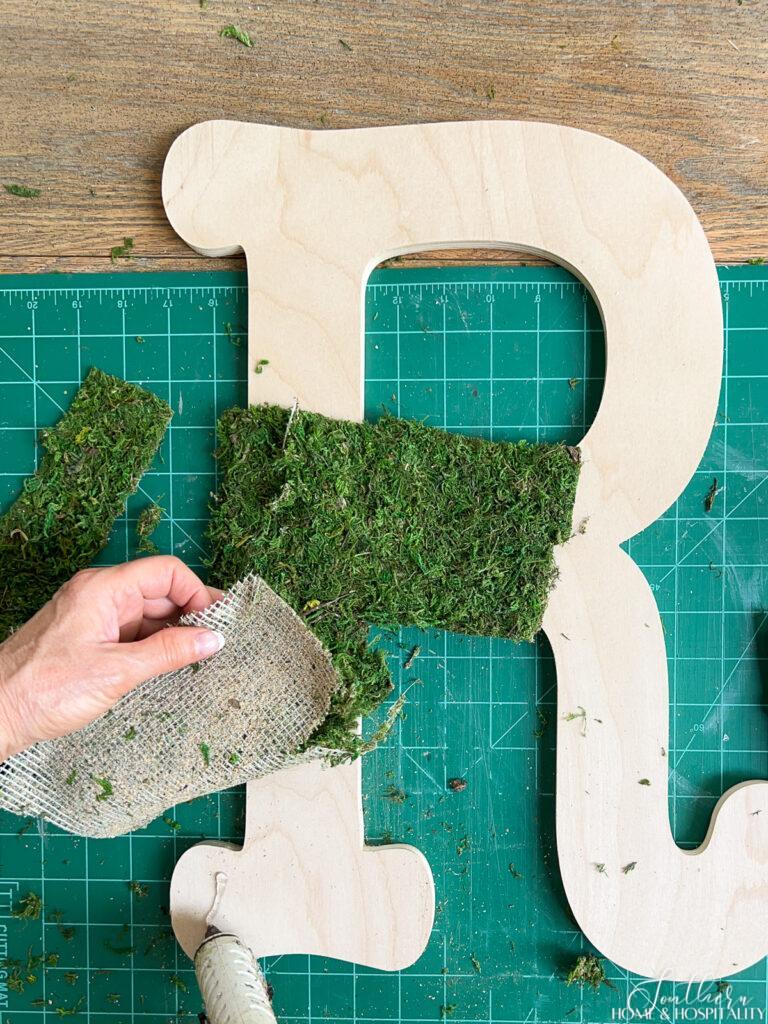
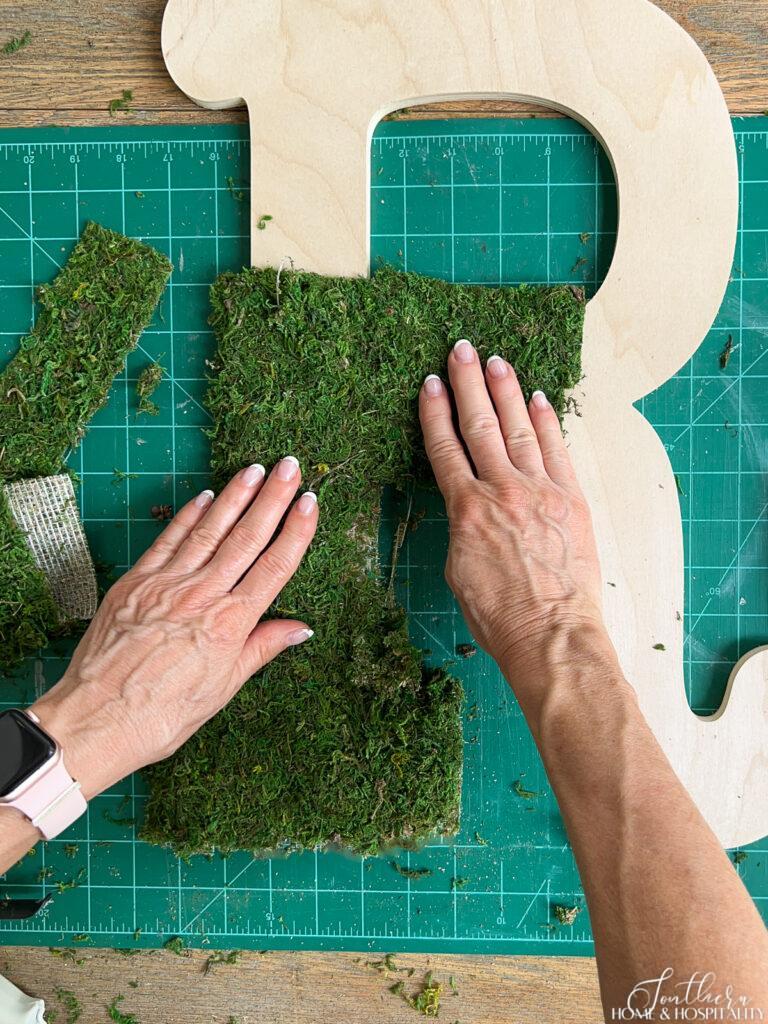
3. Hot glue the moss mat to the letter. I applied a little hot glue to the front and pressed each section of the moss in place.
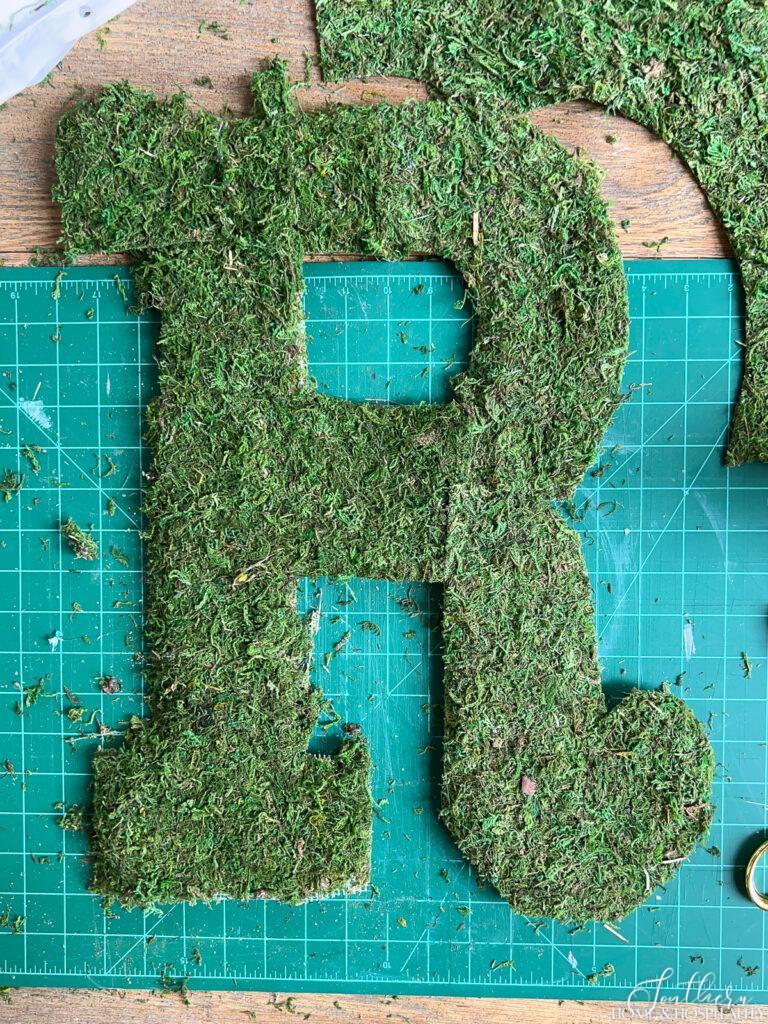
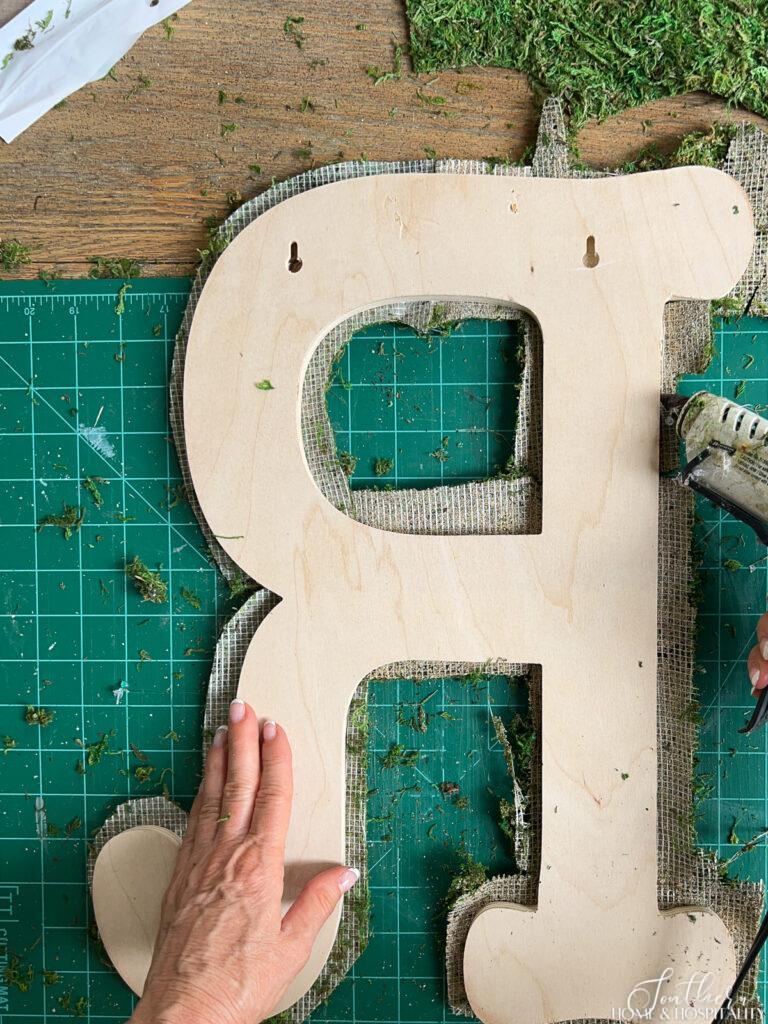
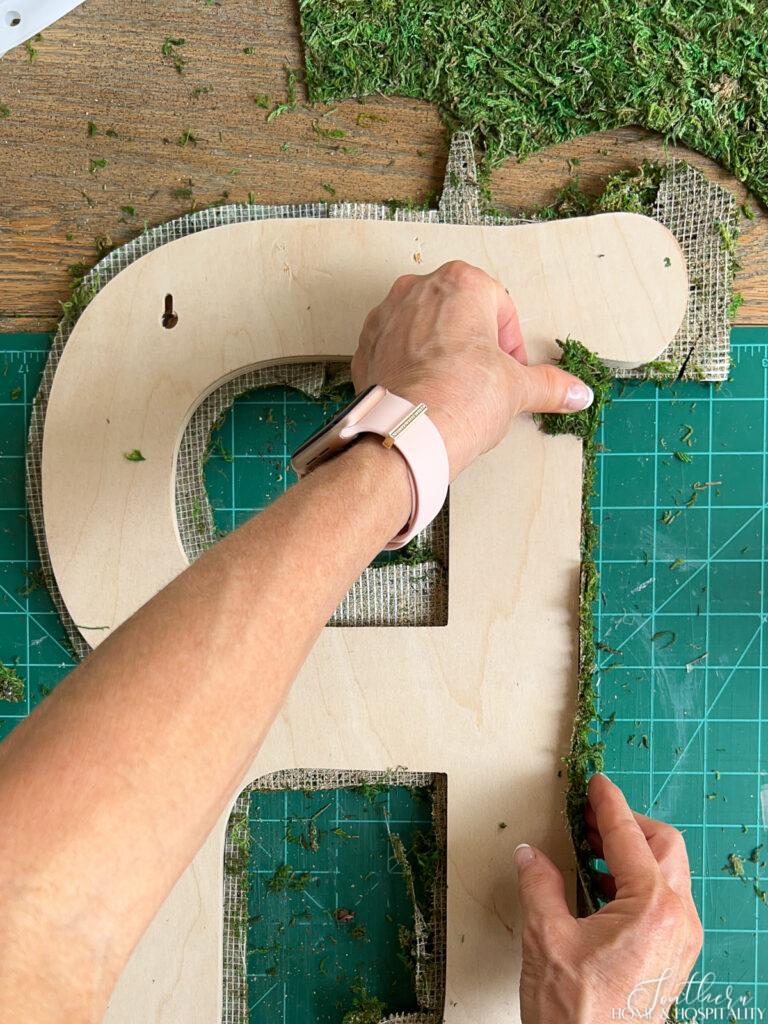
After it was all glued onto the front, I flipped the letter over. Then I ran hot glue along the edges of the letter in small sections and carefully pressed the moss up to cover the sides.
Tip: Use a moss sheet scrap or wood dowel to prevent finger burns when pressing the moss onto the sides.
4. Trim the edges. After all the sides were glued I trimmed off the extra moss from the back of the wreath:
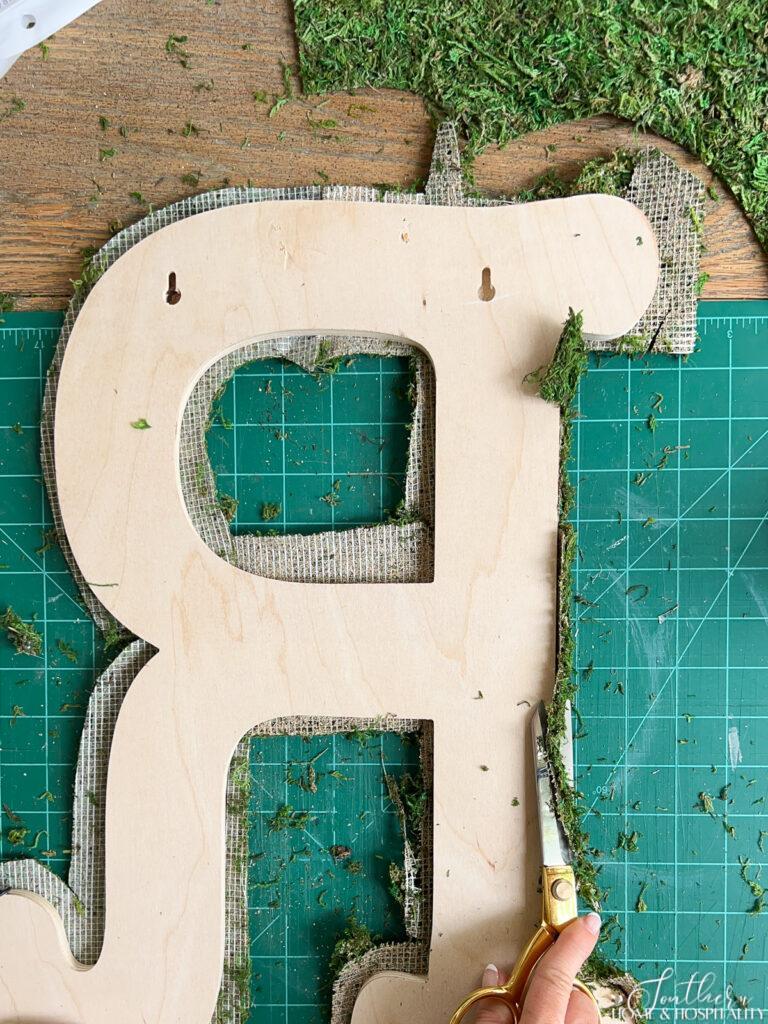
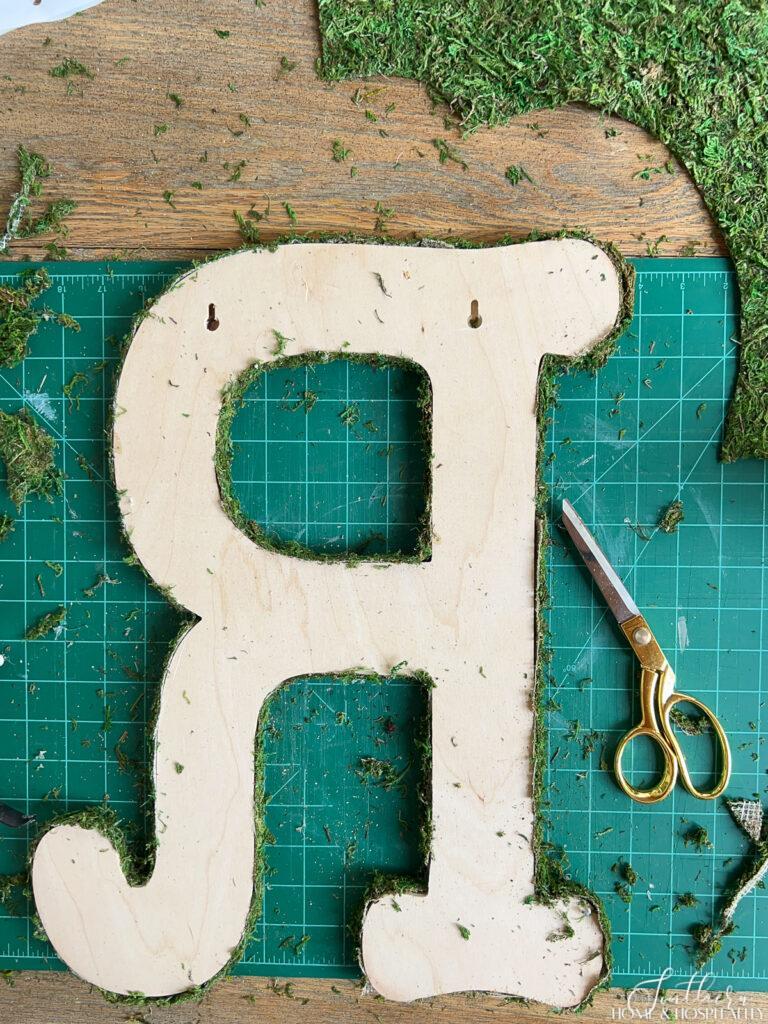
I had a couple of bare spots where the moss didn’t completely cover the sides so I took some remnants and stuck those on with a dot of hot glue.
Then my basic moss monogram wreath was complete. You could stop here and use it as is with the addition of a wreath hanger or ribbon!
Wrap the letter in floral wire.
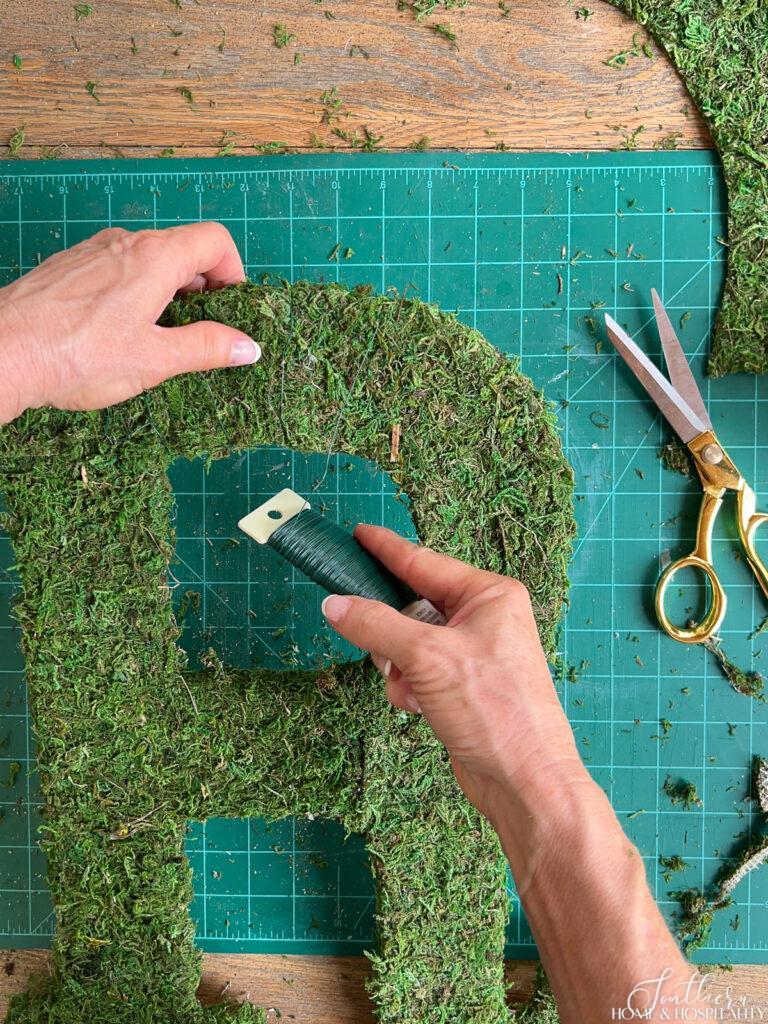
Next, I wrapped green floral wire all around the letter and twisted it off on the back. It all but disappears against the moss:
Fill it with flowers.
Then it was time to customize it for the season. I chose a blue, white, and yellow color scheme perfect for my summer porch.
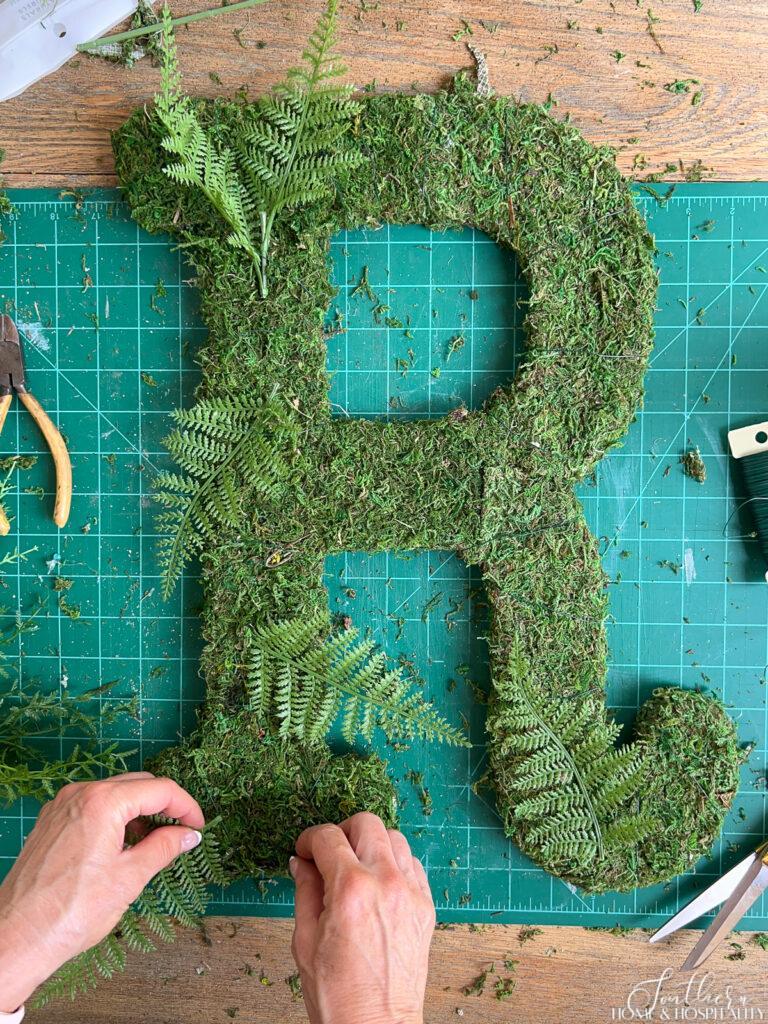
I included medium blue hydrangeas and the little white flowers from this bush, yellow ranunculus, blue gypsum, yellow baby’s breath, and some white viburnum and roses from my craft bins. (This wreath design is a perfect opportunity to reuse and small bits of florals that have fallen off.)
I snipped the flower stems before I inserted them, leaving them long enough to stick under the floral wire. I also cut apart the fern fronds and the pieces of dill bush.
I started by tucking a few sprigs of fern under the wire as a base layer. Next, I spaced out the larger blooms. I wouldn’t advise using flower heads that are too large, or you might lose the shape of the letter.
Then I tucked in the small flowers, evenly spacing out the different colors. I filled in with more fern pieces and then tucked in sprigs of the dill bush.
Attach a seasonal ribbon for hanging.
I tied a soft blue striped ribbon pretty for summer around the top to act as a wreath hanger.
Tip: If you aren’t using a letter with a hole in it to loop through, you can hot glue or staple the ribbon to the back of the wreath.
Add wire to secure.
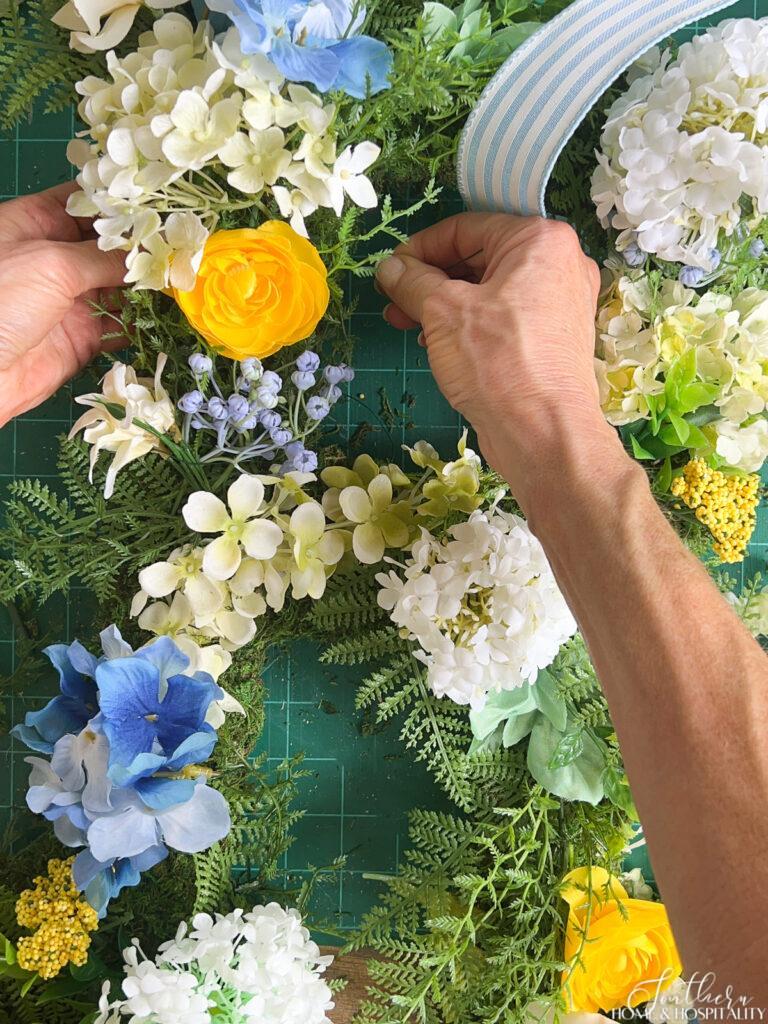
After I was happy with where the flowers were placed, I went back and added pieces of wire to secure all of the pieces a bit more. The original wire helped me map out where I wanted everything, but it needed the extra wire to help hold it all on.
Honestly, you need to be extra careful with the finished wreath since nothing is glued into place and you should expect to have to fix it occasionally.
Finish off the back.
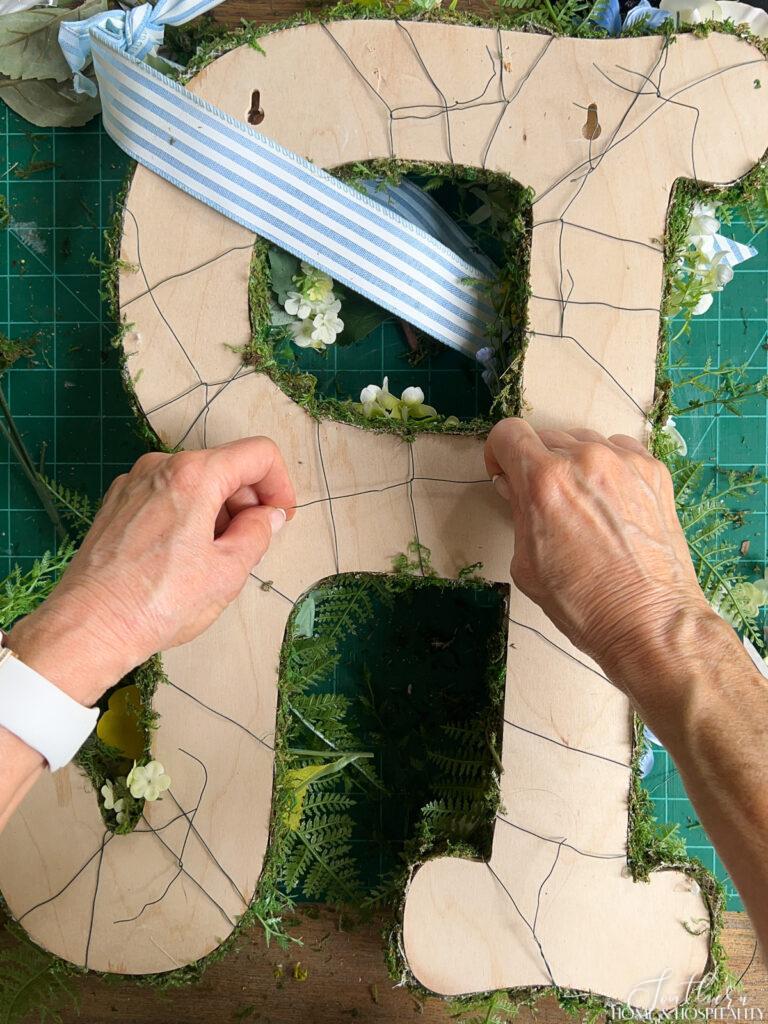
When I was done, I flipped the wreath over and made sure all of the wires were twisted tightly closed so they wouldn’t slip open.
Pay no attention to the man behind the curtain.😂 The back sides are not pretty. I’m okay with it because I want to be able to remove everything. But if you’d like a more finished product, you could trace the letter onto some felt or fabric and glue it over the back.
And if you don’t plan to change it, you could also hot glue the flowers and greenery to the front.
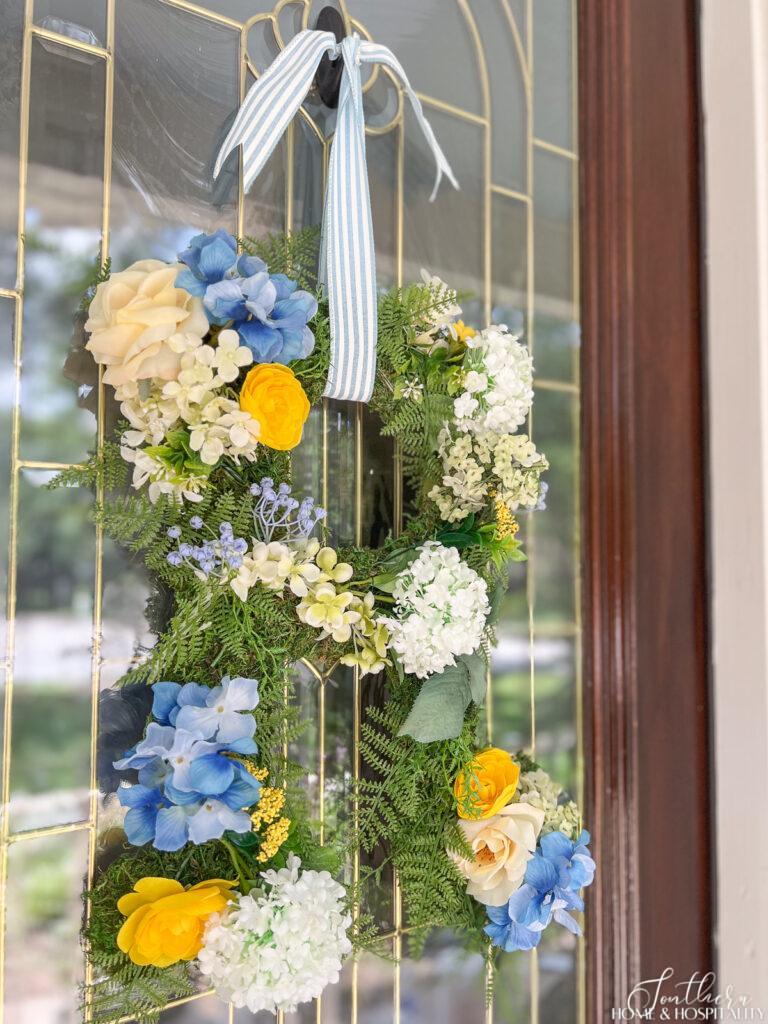
After hanging I fluffed and positioned the blooms a little more. And after making a second matching monogrammed wreath, my double doors were now dressed for summer!
Other ideas for using a floral monogram wreath.
I made these as door wreaths, but a flower monogram letter would be beautiful for a special event or a custom decoration for a:
For another party monogram idea, see “Easy DIY Charcuterie Letter and Number Boxes for Any Occasion“
Tips and options for making a letter wreath.
- Be prepared for a bit of a mess when working with the moss. This is why I love to make my wreaths on the patio.
- If you have a large moss sheet to work with, you can trace the letter onto the back and cut the whole moss letter out at once, cutting outside of the outline by half an inch.
- Instead of using wood craft letters, you can draw a letter onto some foam core board in whatever size you want and cut it out with an exacto knife.
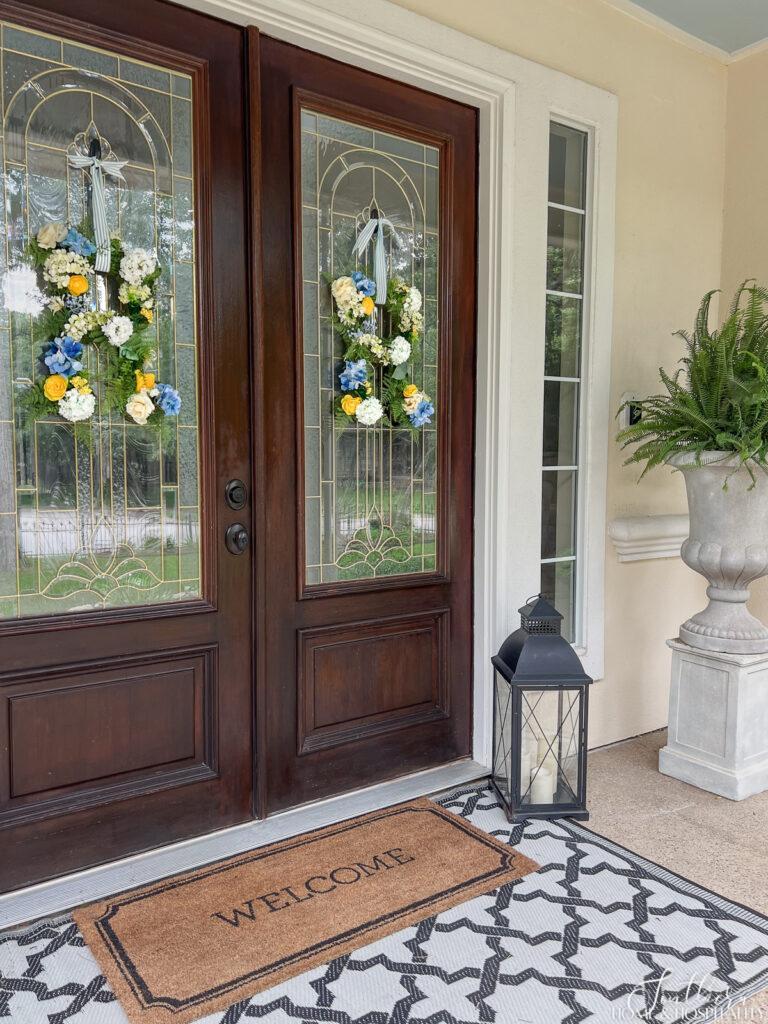
I love that you can make over these initial wreaths for different seasons. So whether you prefer elegant roses, cheery sunflowers, or delicate daisies, you can create your own monogram magic blooming with your personality!
Like Reese Witherspoon says, “If it’s not moving monogram it!”

Before you go:
As always, I appreciate your visit, comments, and shares here on the blog! I’d love it if you also follow along with me on Pinterest, Instagram, and Facebook so you won’t miss any of my inspiration and ideas.
Don’t forget to sign up for updates to keep in touch.
If you’re not already a member of the SH&H family, I’d love to have you join me! You’ll not only get email updates, but you’ll have exclusive access to all the bonus materials in my free subscriber-only library, like this:
Pin it to remember it!
If you’ve enjoyed this post, please pin and share this on Pinterest:
