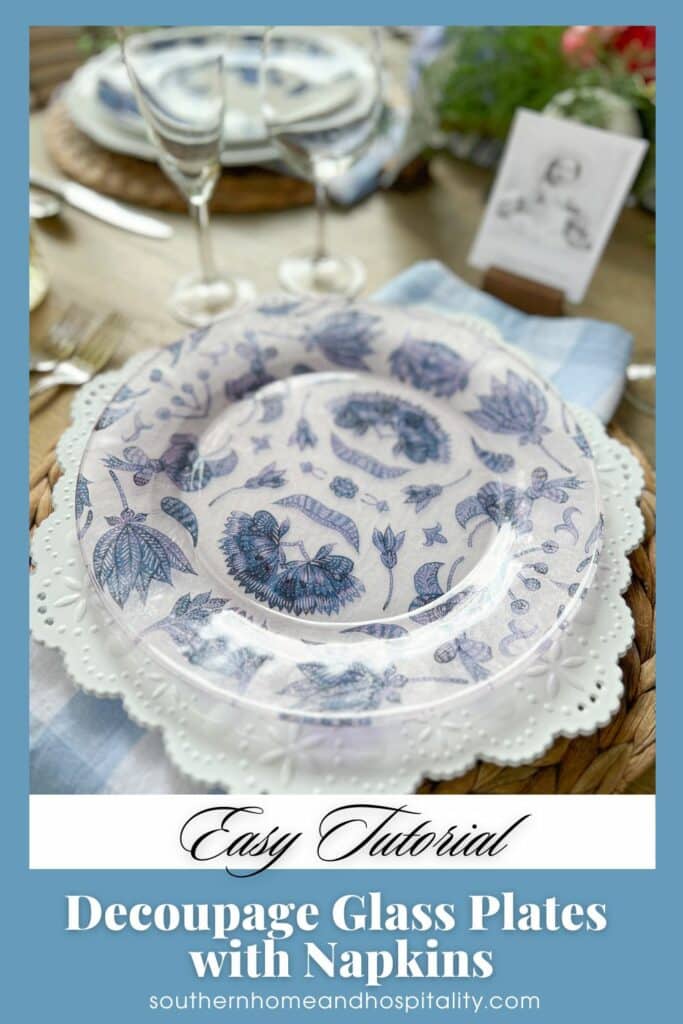
How to Easily Decoupage a Glass Plate with Napkins
Inside: This easy step-by-step tutorial for how to decoupage glass plates using napkins is a fun craft almost anyone can do and a budget-friendly way to have pretty accent plates for any table setting! ➡
Do you ever wish you had the perfect cute accent plates to add a finishing touch to a special table, but don’t want to invest in plates you really only want for decoration?
Me too.
But then I stumbled over a solution in a Dollar Tree. A way to have customized plates in any color and style you can dream of. And it’s dirt cheap.
While I was at the dollar store the other day I was so thrilled to happen across some blue and white floral dishes, that I may have said “yes!!” out loud right then and there.
They were perfect for a blue and white table I was setting that week. The only problem was, there were only eight – and I needed ten. 🤦♀️
Ever the resourceful shopper, I remembered reading a post by Leslie at My 100 Year Old Home just that week on making decoupage plates with napkins. I knew I had a stack of blue chinoiserie napkins at home, so I added a couple of clear glass plates to my cart in hopes that I could make two coordinating plates to fill out the tablescape.
This post contains Amazon and other affiliate links for your convenience. As an Amazon Associate I earn from qualifying purchases. If you purchase something through any link, I may receive a small commission, at no extra charge to you. I only recommend products that I love or would purchase for myself. See my full disclosure here.
What is napkin decoupage?
Napkin decoupage is one of the easiest and most rewarding DIY projects – and it requires no crafting skills. The process involves separating the top printed tissue layer of a napkin from the backing and then using a decoupage medium like Mod Podge to apply it to an object. If you can use Elmer’s glue and a paintbrush, you’ll love this easy DIY.
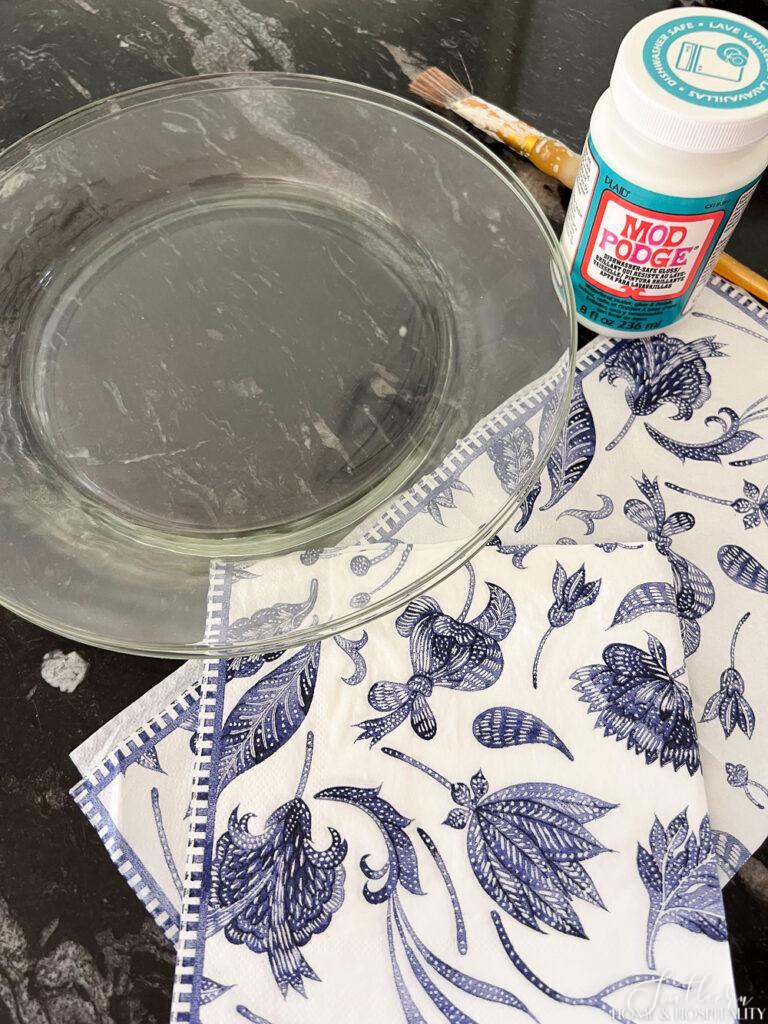
Supplies needed to decoupage plates.
- Clear Glass Plates
- Decorative Paper Napkins
- Dishwasher Safe Mod Podge
- Small paint brush or foam brush
- Scissors or a craft knife
How to decoupage plates with paper napkins.
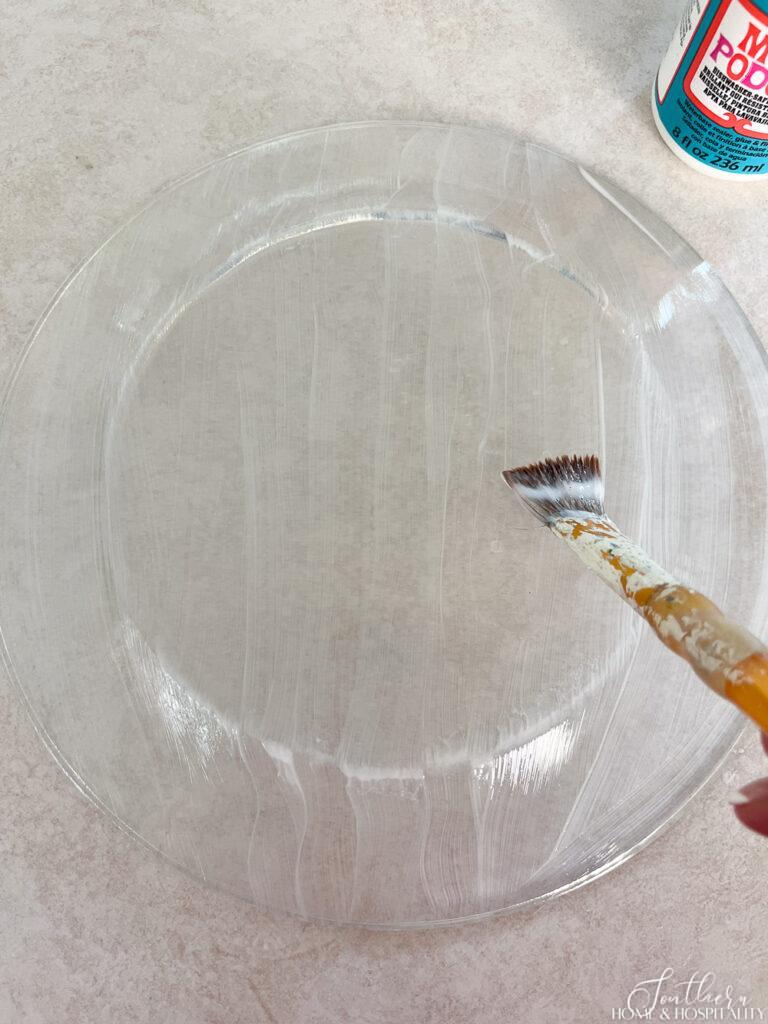
1. Prep the plate. First thing, remove any stickers from the glass and clean and dry the plate.
2. Prep the napkin. Napkins usually come in 2-ply or 3-ply layers, and you’ll only use the very top ply with the printing on it. To separate the top layer of the napkin, tease apart the layers at one of the corners and very carefully pull the top layer off. It will resemble thin tissue paper:
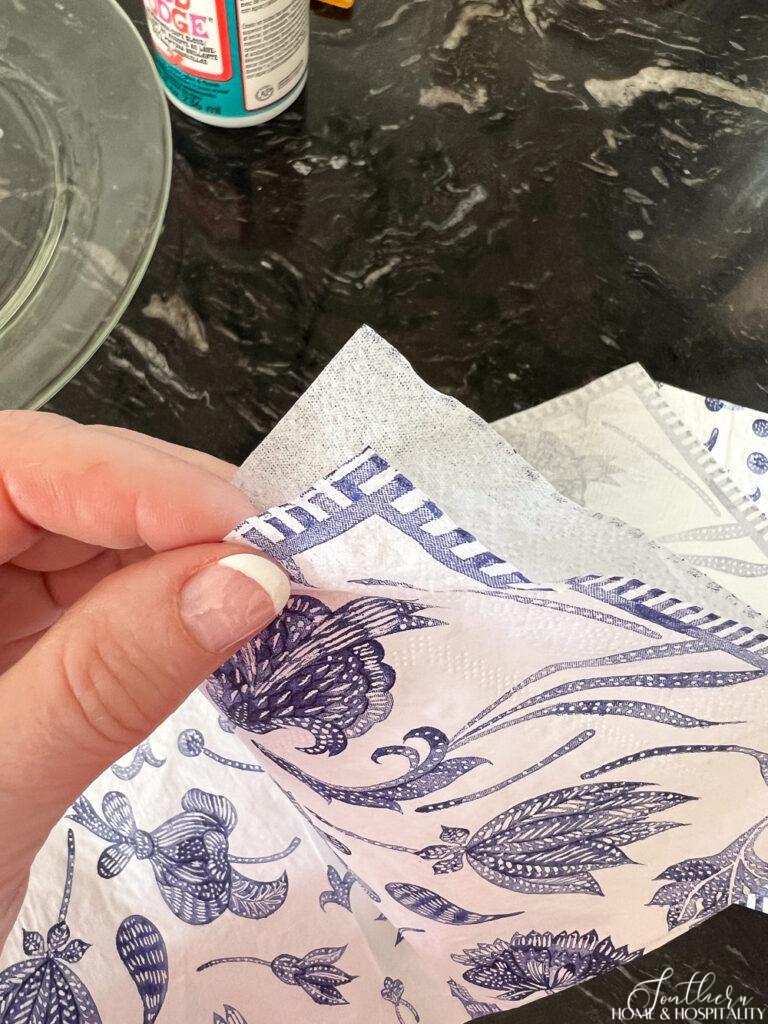
Tip: To make it easy, I hold a small piece of the edge of the napkin at the corner and yank the napkin in and out quickly several times – you’ll see the layers start to separate.
3. Apply the Mod Podge. Paint the entire back of the plate with a coat of Mod Podge.
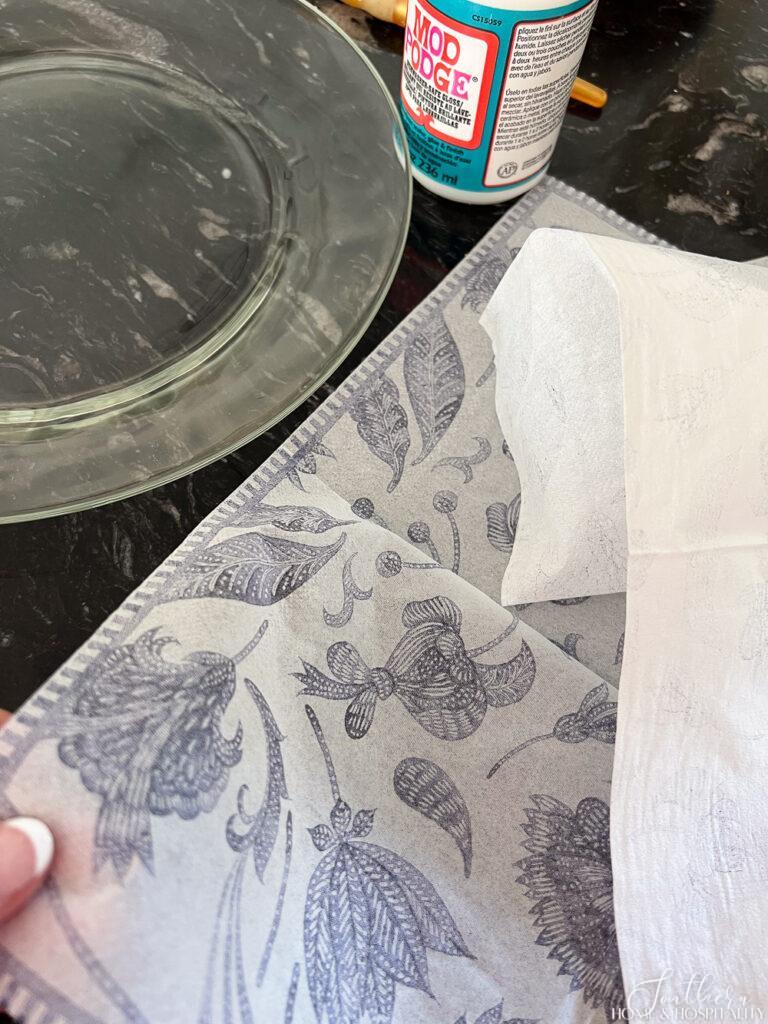
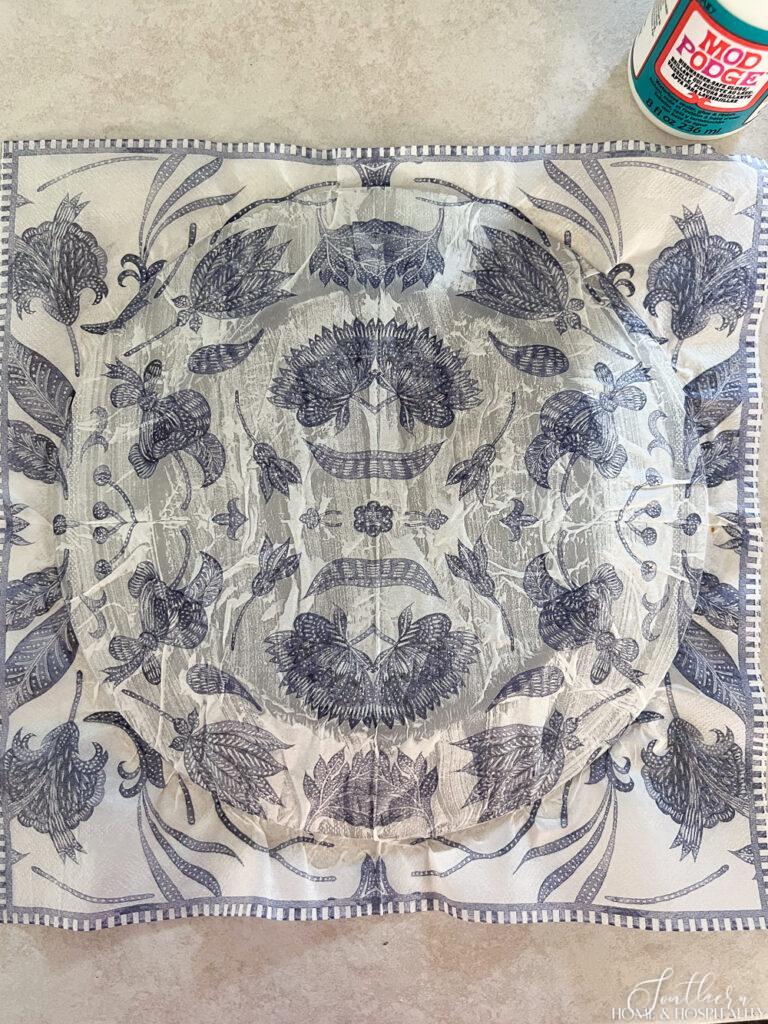
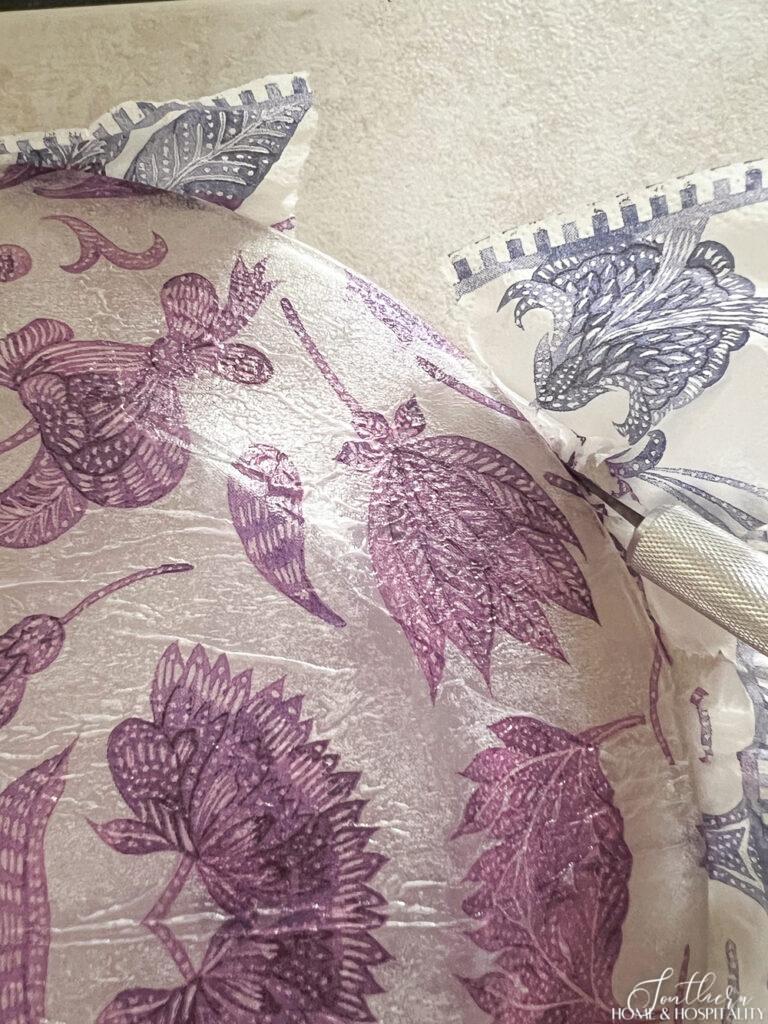
4. Lay on the design. Lay the top napkin layer over the wet Mod Podge with the pattern side toward the plate and gently smooth it into place with your fingers.
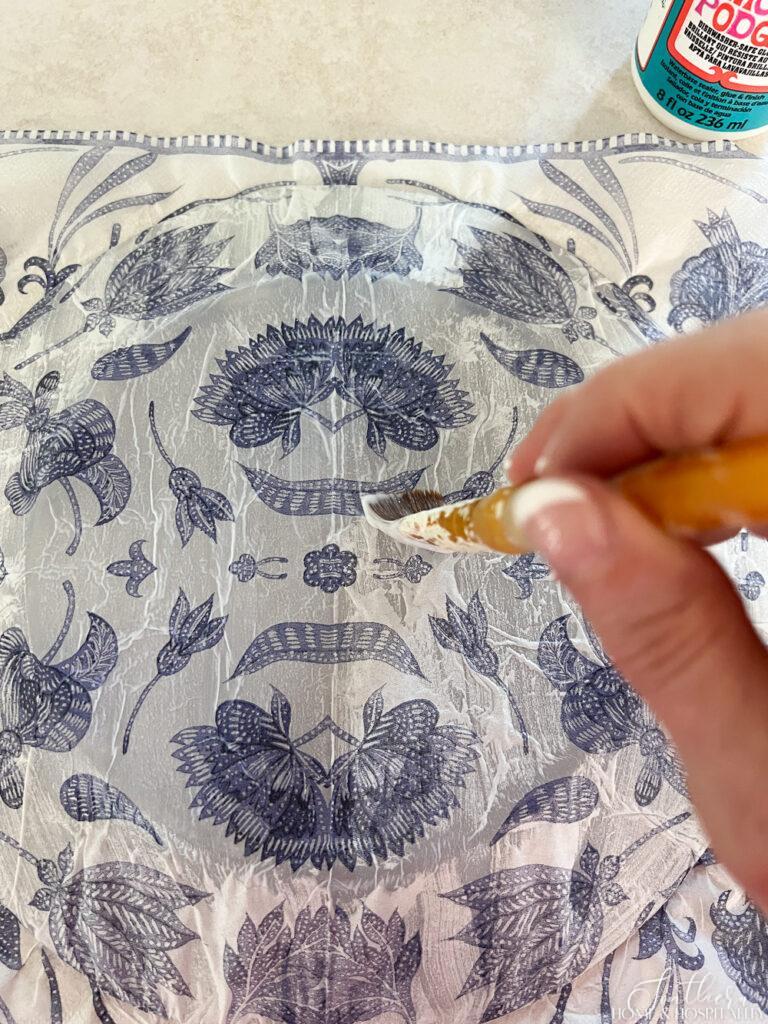
5. Seal with more Mod Podge. Paint a thin layer of Mod Podge over the napkin, making sure to cover the entire plate. This will smooth some of the air bubbles.
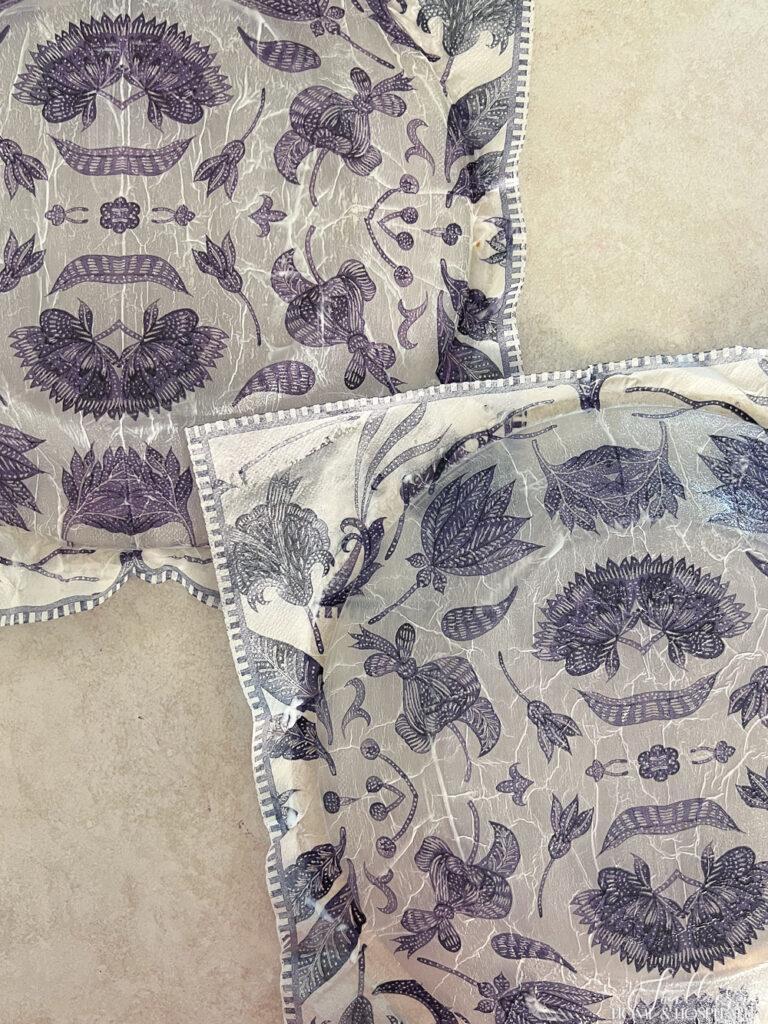
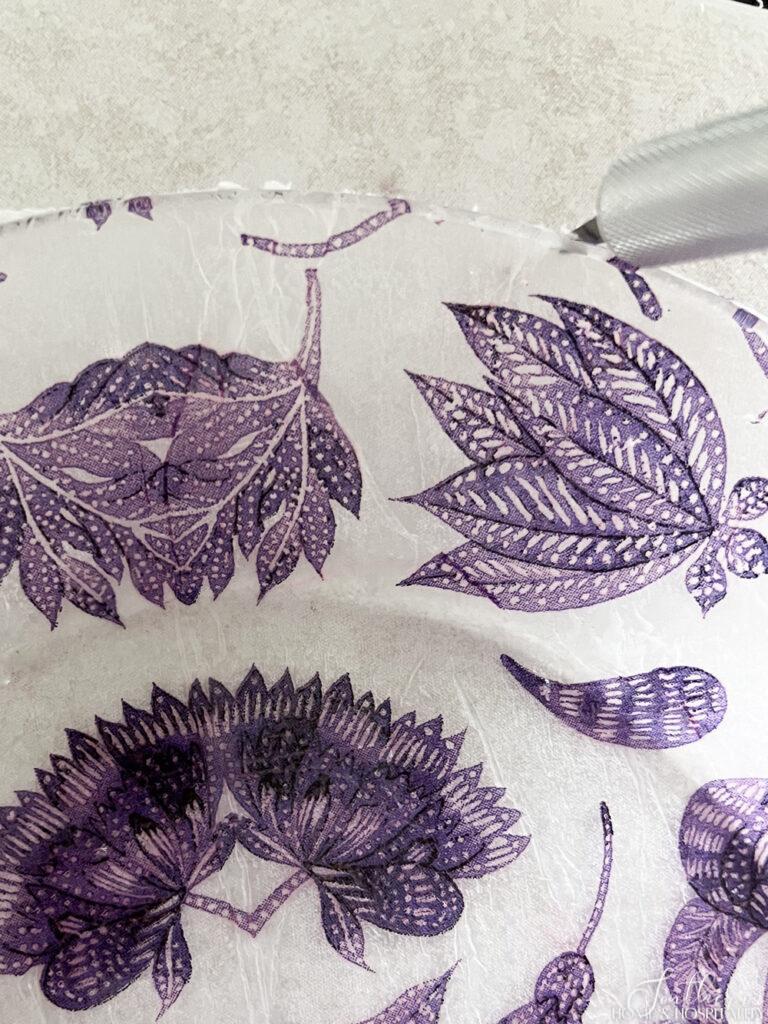
Be aware that this decoupage technique will create a crinkled effect on the front of the plate. You can see it on the back here:
At this point, you can let the plates dry for 1-2 hours and apply a second thin coat of Mod Podge if you want. I decided to go this extra step to help them stand up to hand washing. I let them dry between the coats for an hour.
6. Let it dry. Let the final coat dry overnight. Word to the wise: place your plate upside down on top of a glass or other object to dry so that the edges don’t touch anything. One of my plates got glued to the work surface and it could have messed up the napkin when I removed it, but I got lucky.
7. Cut off the napkin remnants. The next day, carefully remove the excess paper with some sharp scissors or an exacto knife.
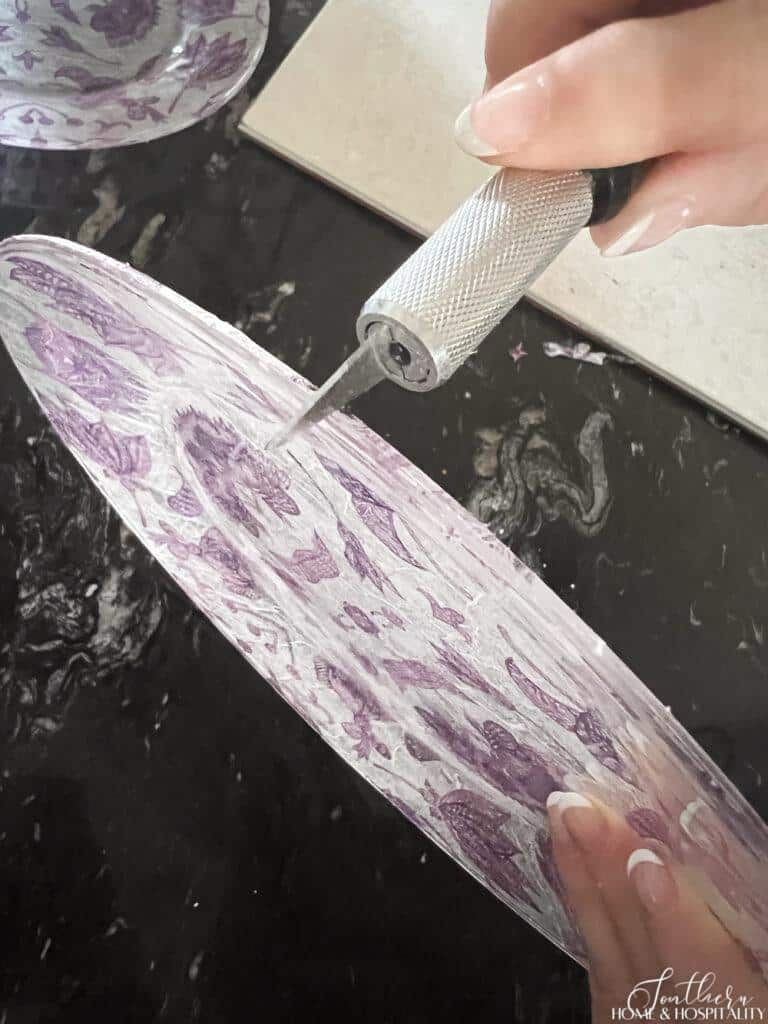
8. Clean the edges. Use a craft knife to scrape off any remaining glue or napkin bits to clean up the edge of the plate and any that might have gotten on the front of the plate.
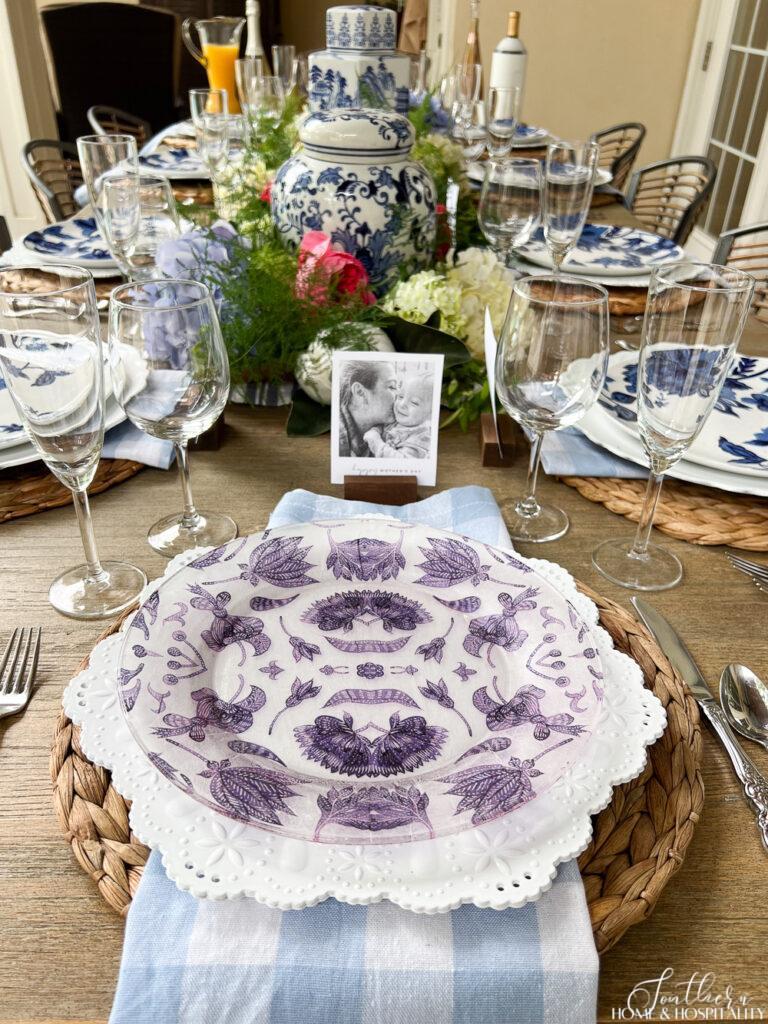
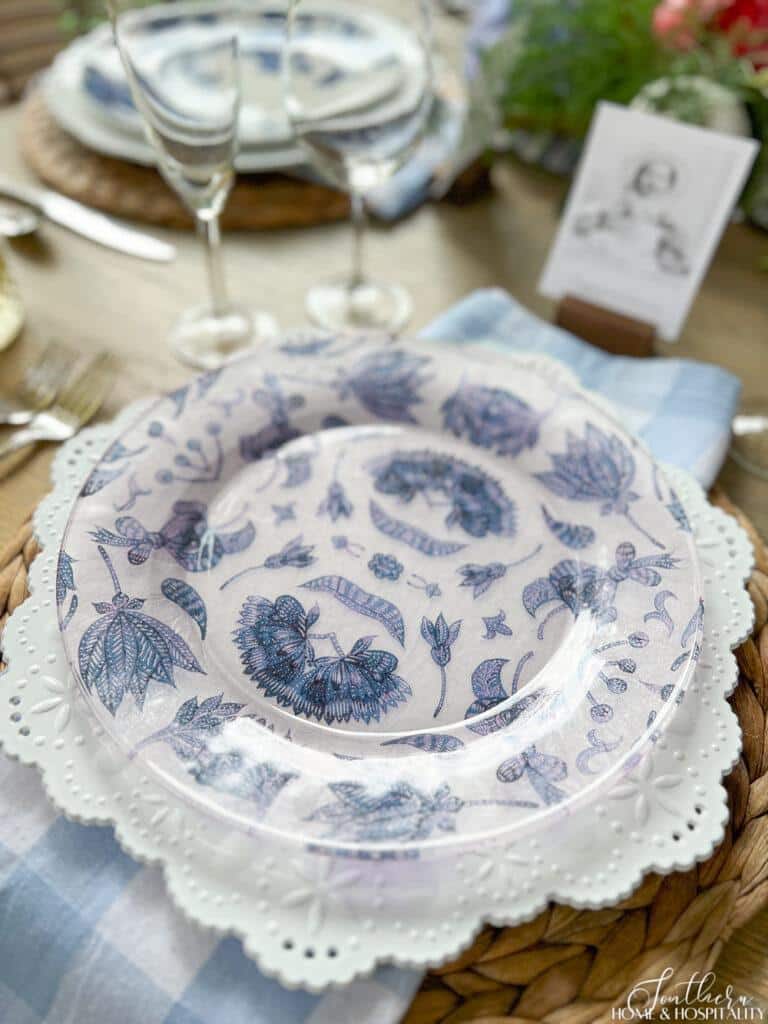
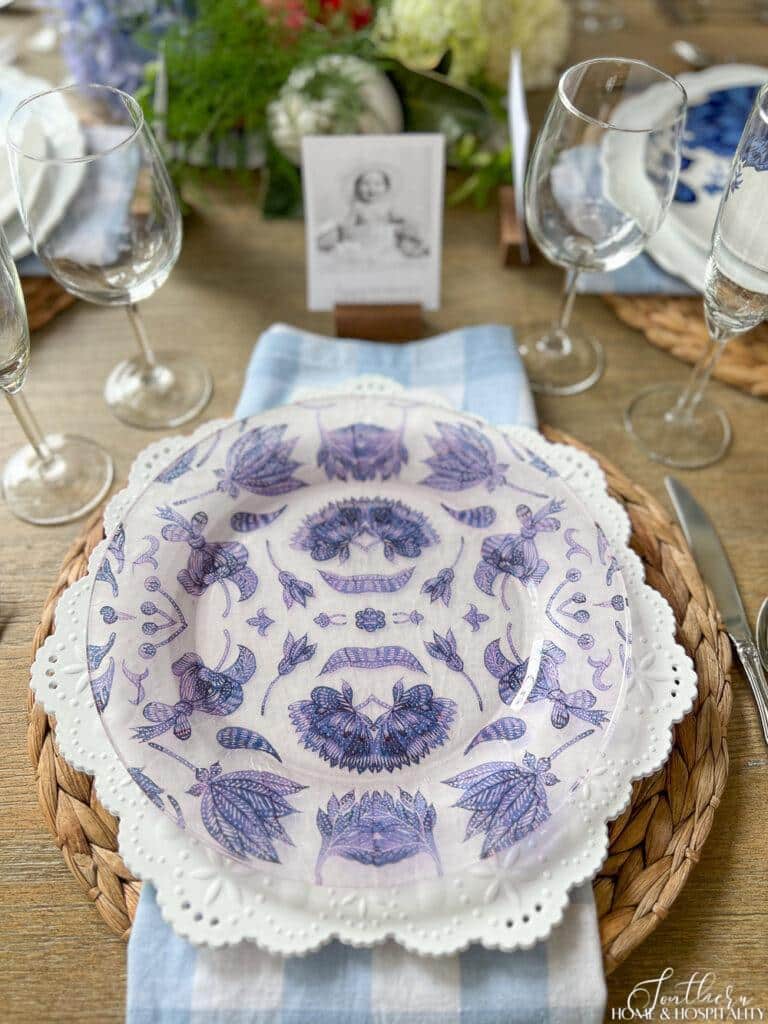
My result? For the cost of a couple of dollar store glass plates, these were a great way to save the day for this blue and white Mother’s Day tablescape!
I set them on the two ends of the table, to look like I intended to only have eight of the other plates. 😉
For other easy decoupage projects with napkins, see “Easiest Decoupage DIY Chinoiserie Pumpkins” and “How to Decoupage Flower Pots with Napkins: Fun DIY for Pretty Planters“.
My truthful review and tips for making decoupage glass plates.
To set expectations, here are a few things I noticed that you may want to know before you make your own:
- These plates will still have a transparent glass look. And the pattern will have a crinkled effect.
- Although I used dishwasher-safe Mod Podge, I don’t know if I would trust these in the dishwasher. I decided to hand wash mine and they did great.
- Test your napkins first with a little Mod Podge for ink bleed. For some reason the napkins I used slightly changed color – an issue I’ve never had with other decoupage projects.
- Until the plates are cured for several days, don’t set them on a table without something under them. Although mine felt dry to the touch, I set them on my table right after I was done and one of these left a circle that I had to scrub off.
My guinea pigs were dinner plates, but I’m sure I’ll now use this easy craft on salad plates or dessert plates as a cute, customized, and cost-effective finishing touch to any table!

Before you go:
As always, I appreciate your visit, comments, and shares here on the blog! I’d love it if you also follow along with me on Pinterest, Instagram, and Facebook so you won’t miss any of my inspiration and ideas.
Don’t forget to sign up for updates to keep in touch.
If you’re not already a member of the SH&H family, I’d love to have you join me! You’ll not only get email updates, but you’ll have exclusive access to all the bonus materials in my free subscriber-only library, like this:
Pin it to remember it!
If you’ve enjoyed this post, please pin and share this on Pinterest:
lovely
but how to avoid the crinkled look??
Unfortunately, I don’t know if there’s a way with this method. That’s why it’s so easy though.🙂
I love this! Beautiful!