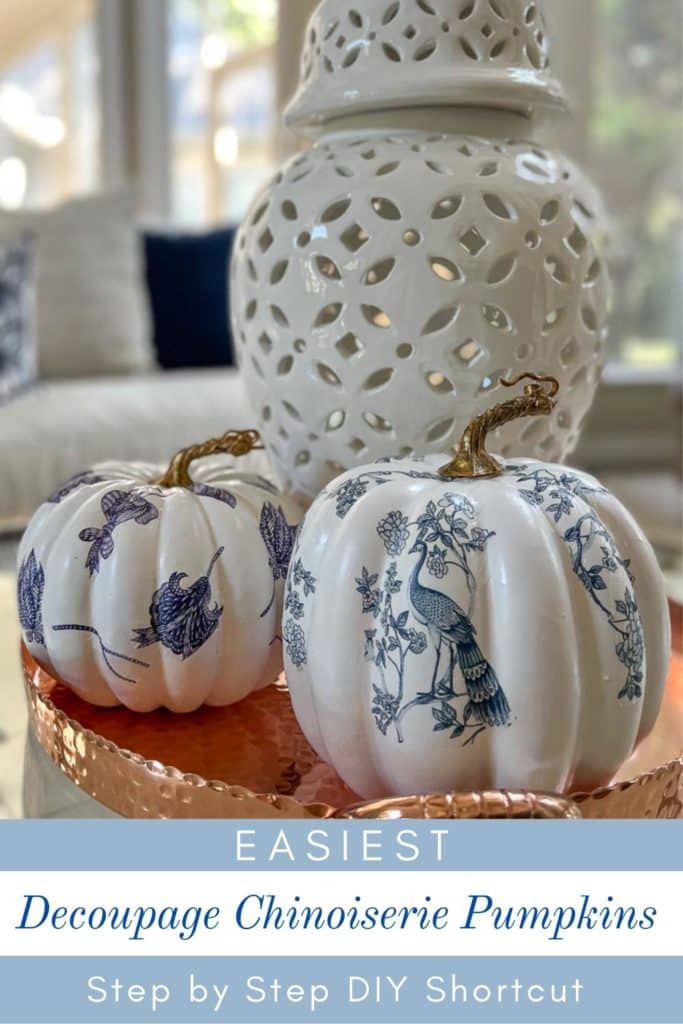
Easiest Decoupage DIY Chinoiserie Pumpkins (Shortcut Step By Step)
Inside: Transform a cheap orange pumpkin into a blue and white chinoiserie pumpkin that looks like a million bucks! Customize decoupage pumpkins to match your decor with just napkins, white paint, and Mod Podge.➡

Crisp, calm blue and white. Quiet, classic chinoiserie ginger jars. The blaze of jack-o-lantern orange.
It simply doesn’t fit.
It’s so easy to decorate with pumpkins in any color nowadays. And what fall accessory fits a blue and white room most beautifully in autumn?
Enter the chinoiserie pumpkin.
This post contains Amazon and other affiliate links for your convenience. As an Amazon Associate I earn from qualifying purchases. If you purchase something through any link, I may receive a small commission, at no extra charge to you. I only recommend products that I love or would purchase for myself. See my full disclosure here.
I saw these beauties in the Ballard Designs catalog that stopped me mid-page flip:
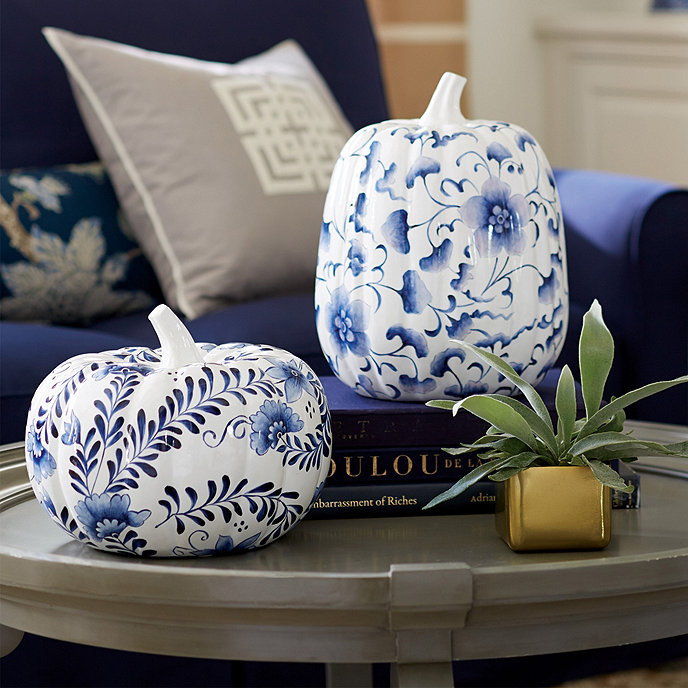
One problem. I’m only going to use them for three months, and at $99 apiece, I’d rather have the ginger jar on the next page.
So what do I do when I don’t want to invest a lot in something?
I make it instead.
Most of the decoupage pumpkin crafts I’ve seen on the internet wrap the entire pumpkin. They involve pasting and matching a lot of napkin sections to cover the roundness of the pumpkin.
I simply wanted the design without the hassle.
This shortcut method is equally pretty in much less time. Let me show you how with just four supplies and a few minutes!
What you need to make DIY decoupage pumpkins.
After discovering how easy decoupaging with Mod Podge is, you’ll want to find something to embellish with decorative napkins every season. It’s a craft project anyone can do, it’s cheap, and you can’t mess it up!
Supplies:
- Faux pumpkins in any material you can put paint and school glue on, and in any size. Plastic, resin, and styrofoam pumpkins work well. (You could even use a real pumpkin, but you’ll be throwing away your work)

- Acrylic white paint in a matte, flat, or satin sheen (craft or spray paint)
- Patterned paper cocktail napkins or guest napkins with a WHITE background (I used these and these)
- Matte Mod Podge
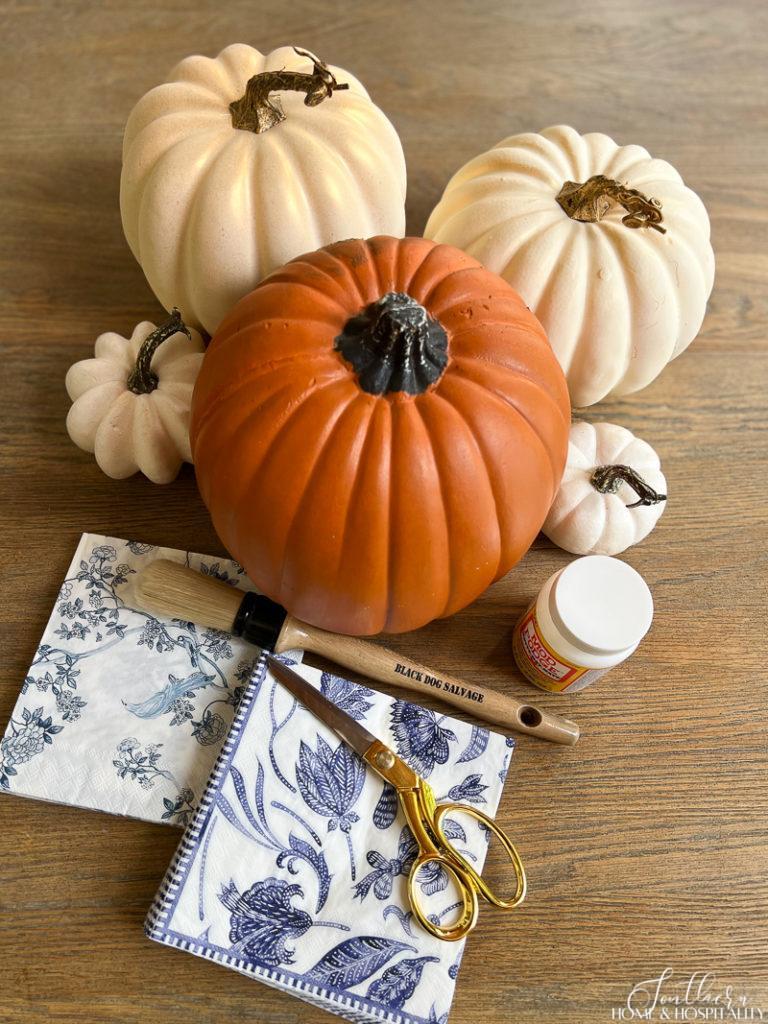
Tools:
- A paint brush (craft brush or foam brush)
- Scissors
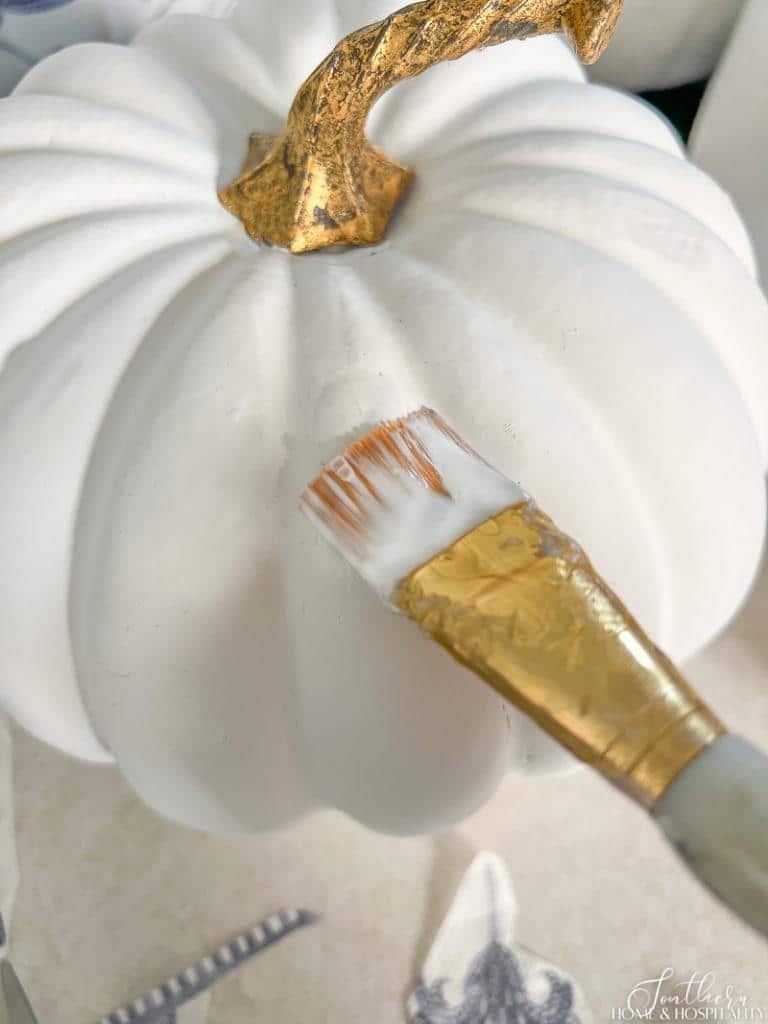
Step One: Paint the pumpkins.
The shortcut secret to these decoupage pumpkins is to glue patterns from paper napkins with a white background onto white pumpkins, and letting lots of the pumpkin still show.
So you’ll need to start off by painting the pumpkin white to blend with the background of the napkins.
Remove the stem of the pumpkin if possible. If not, cover it with tape.
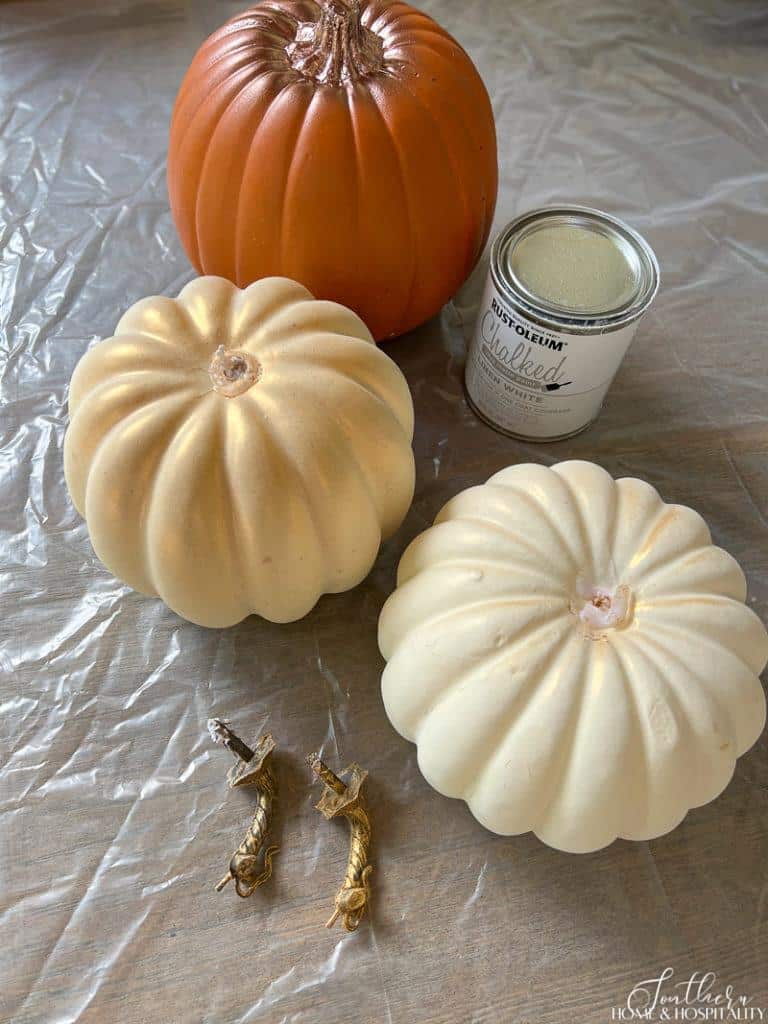
On the orange plastic pumpkin, I sprayed the non-removable stem with copper spray paint and then taped it off.
Spray paint or brush paint the bottom of the pumpkin, let it dry, and then turn over and paint the top of the pumpkin. You may need more than one coat to cover different colors.
Tips that make for the easiest coverage:
- Start with white pumpkins. You’ll still need to paint because they aren’t really white, but they’re quicker to cover than a bright orange color.
- Use spray paint instead of brushed on paint. I found I needed a second coat of the paint I brushed on but the spray paint coverage was much better and more even.
Step Two: Pull apart and cut the napkins.
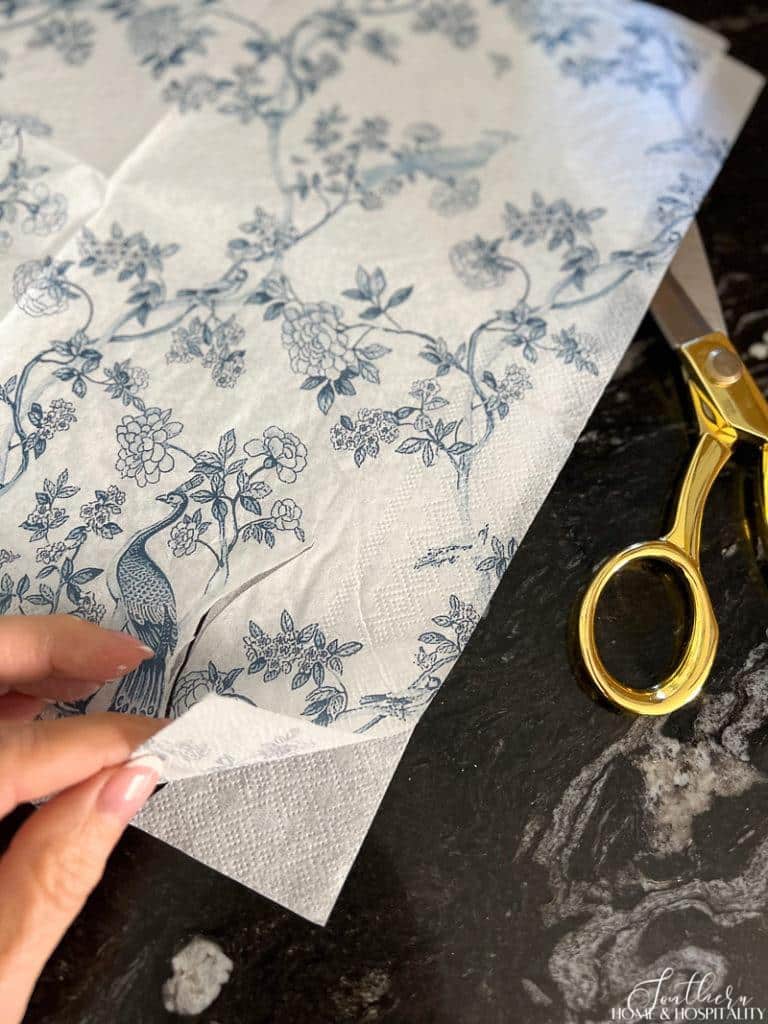
- Separate the printed top layer of the napkin. Napkins come in either 2 ply (layers) or 3 ply.
Here’s a trick to get it started: Tear or cut off the corner. Holding the edges of the cut in each hand, pull the napkin in and out quickly a few times. You should see the layers start to separate.
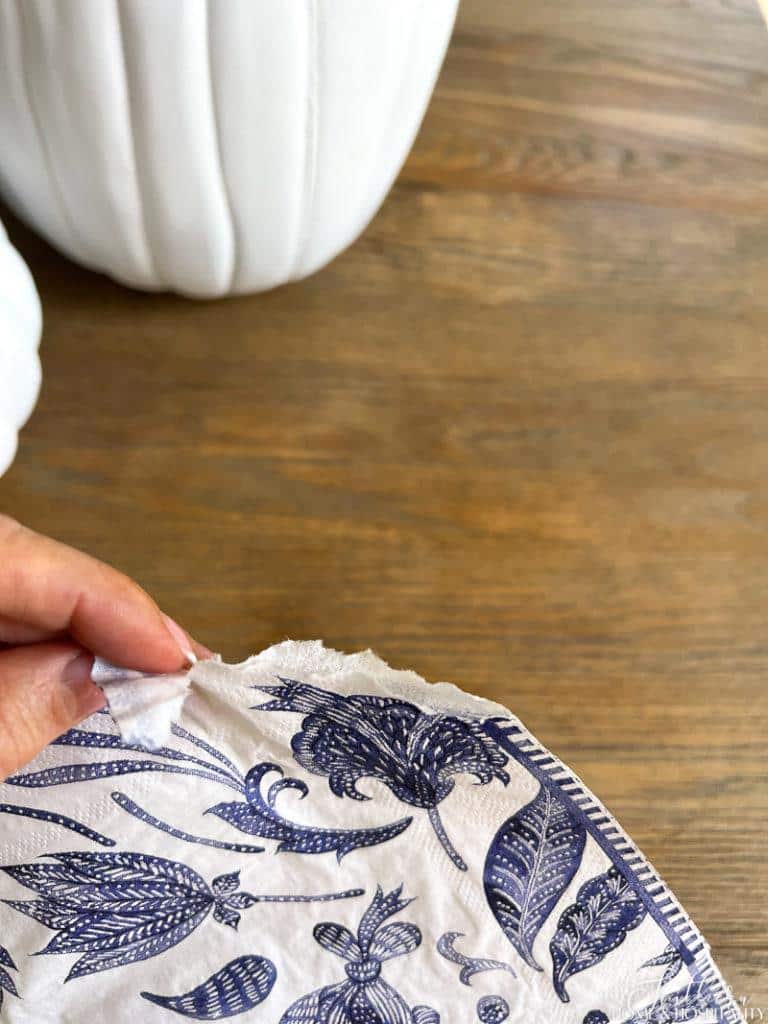
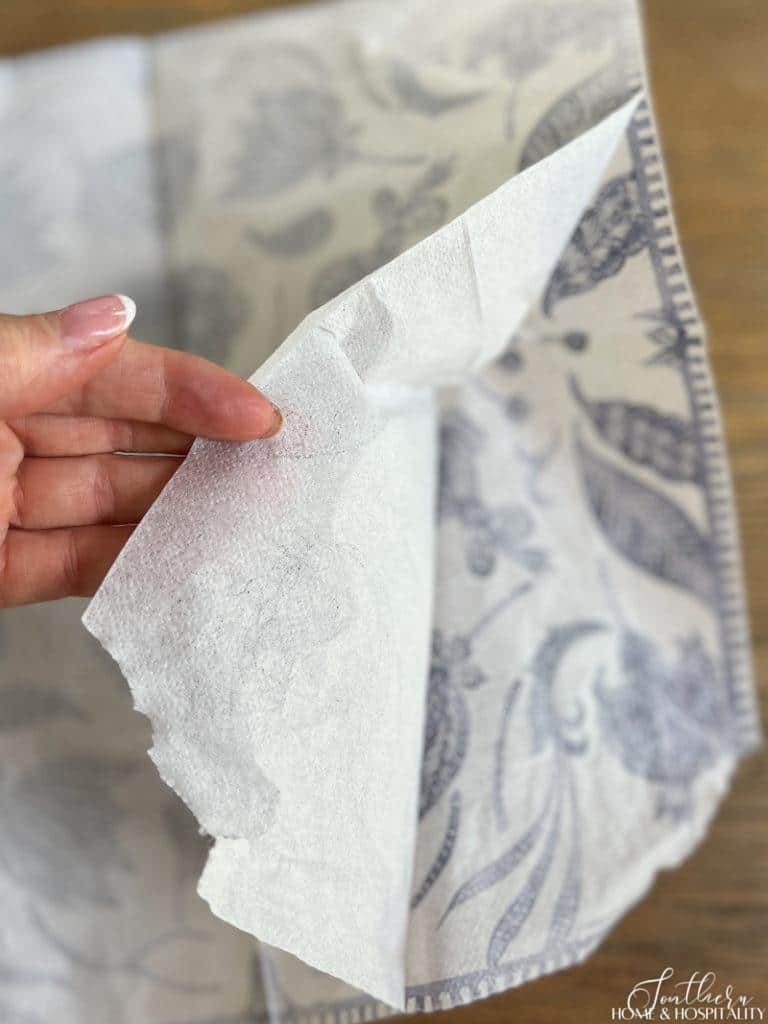
2. Peel away the printed layer and discard the rest. The ply with the pattern will be like a very thin tissue paper.
3. Cut out designs from the napkin. Trim around fairly close to the patterns but leaving some white is ok.
Step Three: Mod Podge pumpkins.
- Paint a thin layer of Mod Podge where you want a piece of the pattern.
2. Gently lay a tissue piece over the wet Mod Podge.
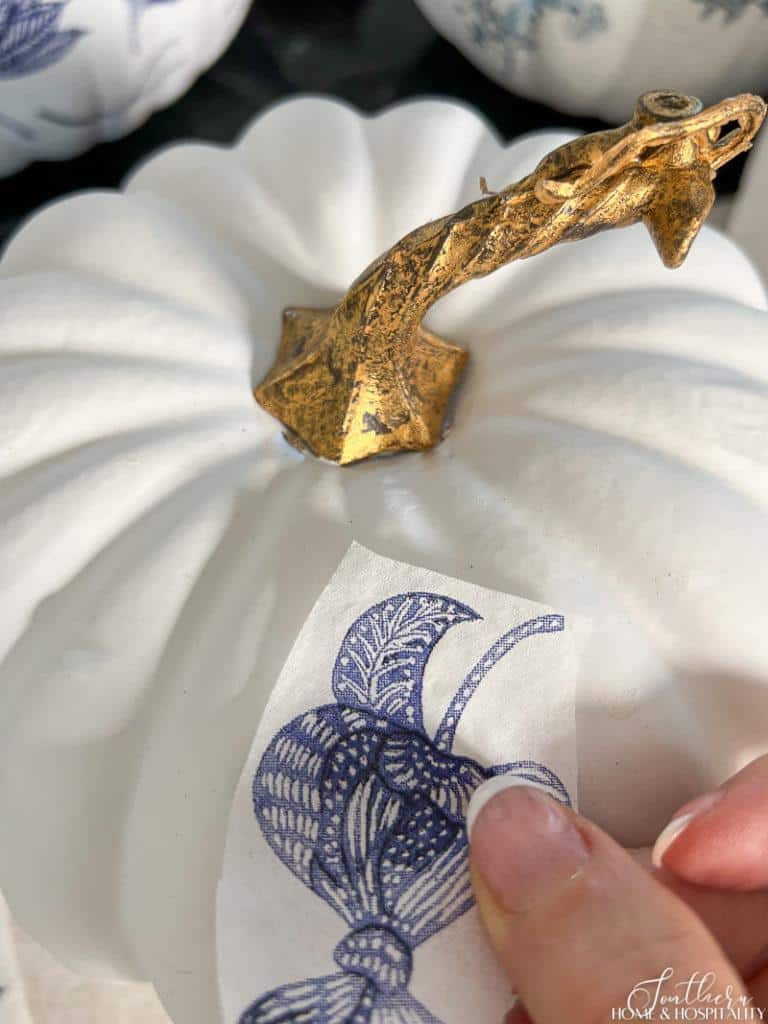
3. Then brush a coat of Mod Podge over the pattern. Smooth out wrinkles and air bubbles as you brush.
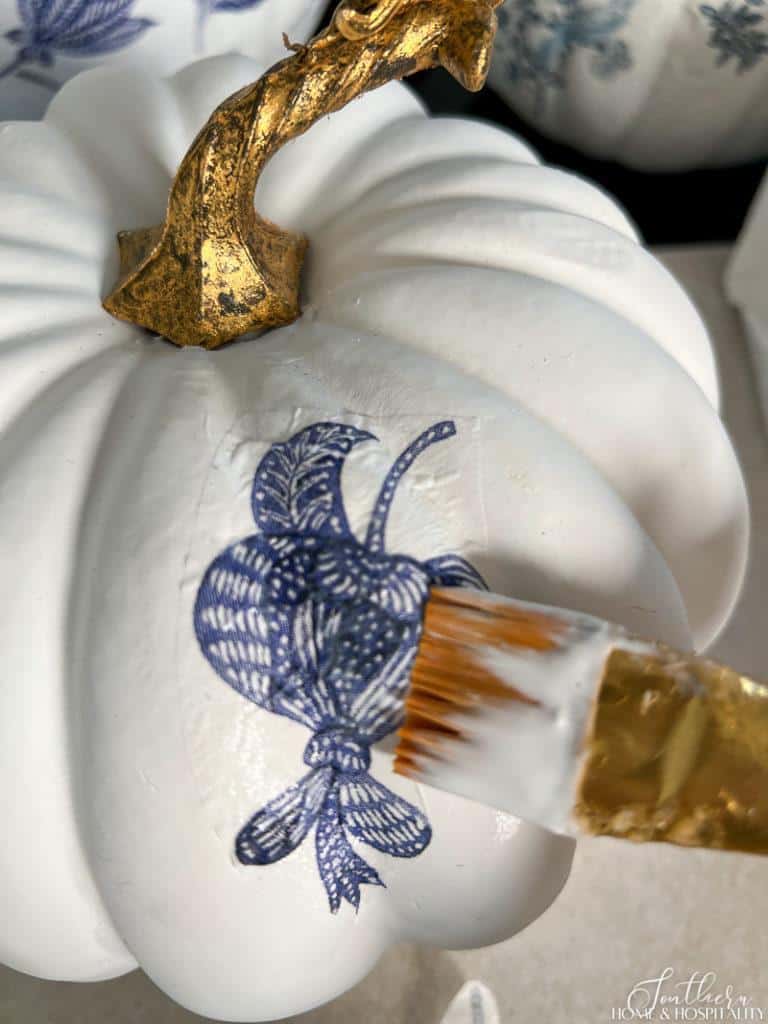
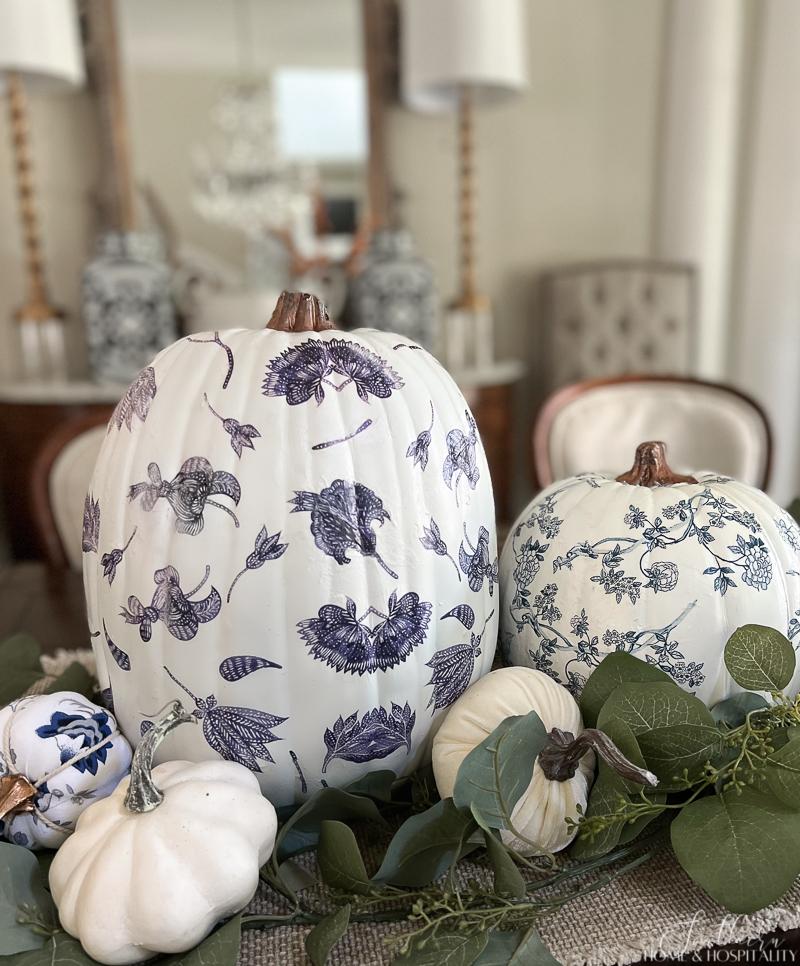
Continue adding patterns to the pumpkin until you’re happy with the way it looks.

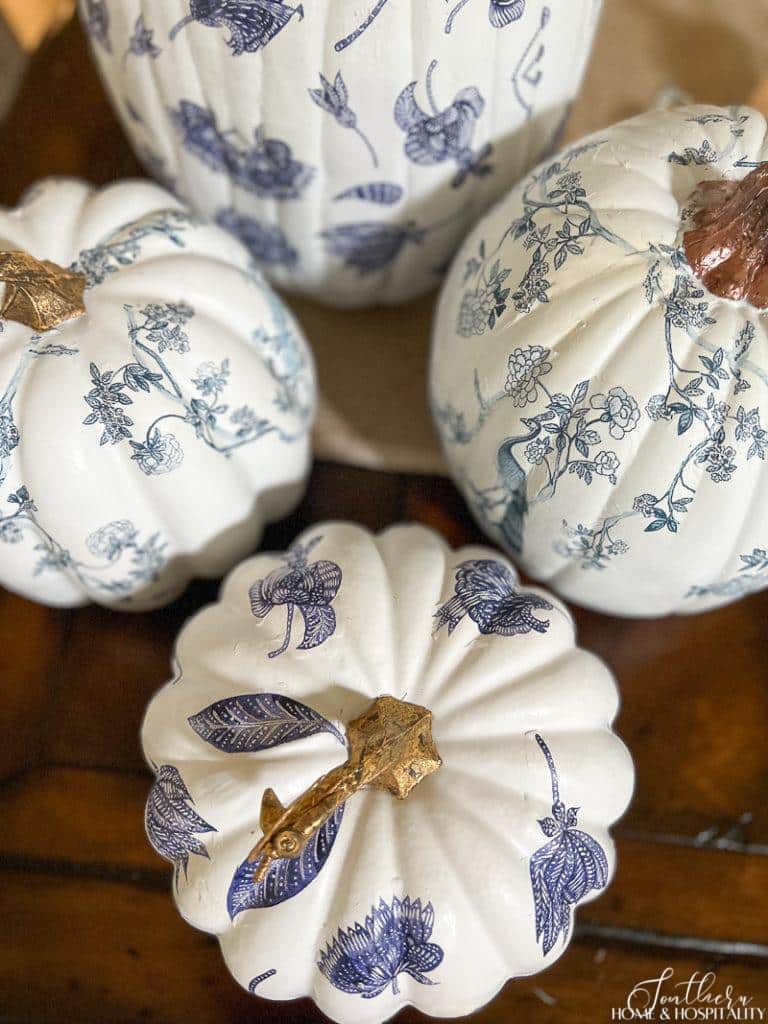
For this easy craft method, we don’t want to cover the whole pumpkin. Leave lots of white showing for a handpainted effect.
There’s no formula to follow so don’t overthink it. The patterns will automatically look good because they all came from the same napkin design.
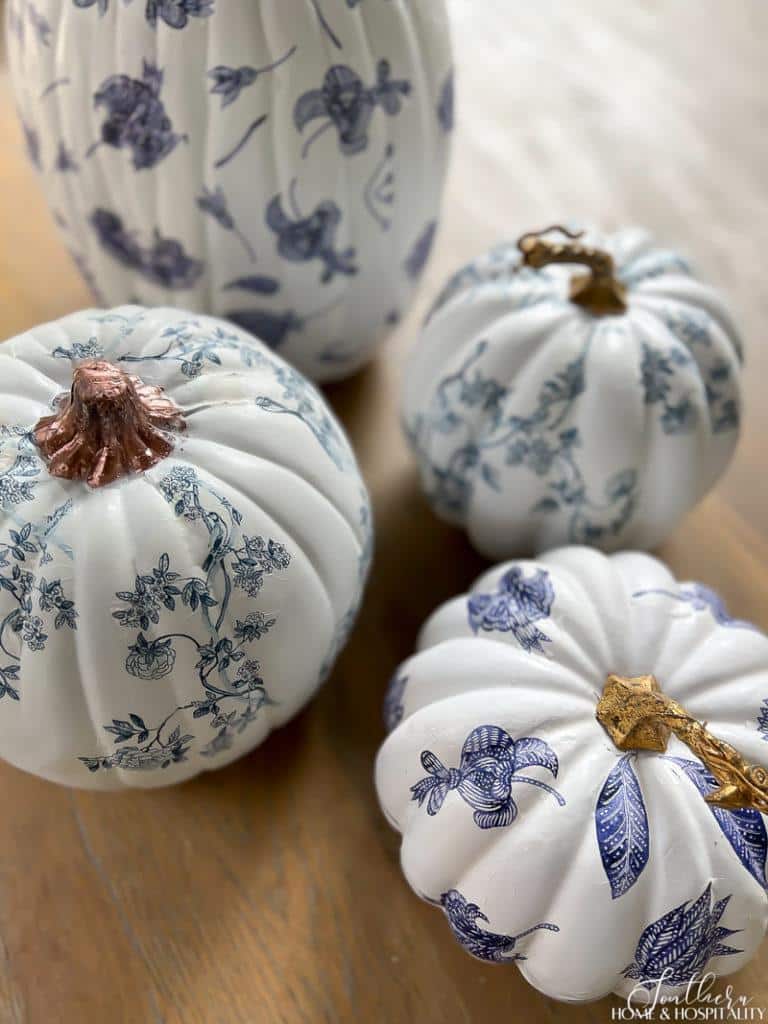
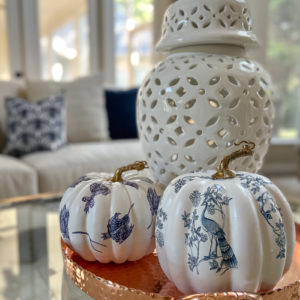
I used two different blue and white napkins for different chinoiserie looks. One with birds and floral vines. The other has more of a Jacobean pattern.
Speaking of chinoiserie, what exactly is it anyway?
Chinoiserie as a pattern is like the Asian version of French toile. with scenes and undulating vines, florals, and bird motifs.
Total newbie crafter here. What is Mod Podge?
Mod Podge is an all-in-one glue, sealer, and finisher. It looks like Elmer’s school glue but dries clear.
See my easy decoupage flower pots tutorial using Mod Podge.
What if I don’t decorate with blue and white?
This fun craft is definitely not only for chinoiserie fans! Any colored pattern napkins will make pretty pumpkins.
I don’t like the stems from my cheap fake pumpkins.
You can dress up or replace those stems with these options:
- Go glam by painting them gold, silver, or copper. Or use gold leaf or Rub ‘N Buff.
- Go rustic by replacing them with a stick from the yard cut to size.
- Go creative by wrapping the stem. Try burlap, twine, yarn, or cover it in a pattern too.
- Get real by hot gluing real stems to the artificial pumpkins.
It’s time to start the fall projects! Hit the local dollar store this weekend while they’ve still got their craft pumpkins and customize your own unique creations that won’t fight with your decorating style.

Before you go:
As always, I appreciate your visit, comments, and shares here on the blog! I’d love it if you also follow along with me on Pinterest, Instagram, and Facebook so you won’t miss any of my inspiration and ideas.
Don’t forget to sign up for updates to keep in touch.
If you’re not already a member of the SH&H family, I’d love to have you join me! You’ll not only get email updates, but you’ll have exclusive access to all the bonus materials in my free subscriber-only library, like this:
Pin it to remember it!
If you’ve enjoyed this post, please pin and share this on Pinterest:
Shortcut Decoupage Pumpkins
Equipment
- Paint Brush (craft brush or foam brush)
- Scissors
Ingredients
- Faux Pumpkin
- Patterned Paper Napkins
- Matte Mod Podge
- White Latex Paint (craft, household, or spray paint)
Instructions
- Remove the stem from pumpkin (or tape off an unremoveable stem)
- Paint the pumpkin white on all sides.
- Separate the layers of a napkin, discarding all but the top printed layer (see tips in post).
- Cut patterns out of napkin.
- Paint some Mod Podge on the pumpkin where you'll place a design.
- Lay a piece of the napkin pattern on top of the wet Mod Podge.
- Brush another coat of Mod Podge over the napkin piece, smoothing it out with the brush.
- Keep applying pattern pieces to the pumpkin until you have as many as you'd like, but make sure to leave a lot of the white pumpkin showing.
- Reattach the stem (decorating or painting first if desired).
Thank you so much!! Have been wanting to get back into crafting once again, especially items like your beautiful pumpkins. My home has so much of the blue and white already, so this is so perfect. Thanks for jump-starting me. (new life after working long hours in the legal field for years and then being a caretaker for my husband for ten years) I needed this!!
Thank you Donna! It sounds like you deserve to spend your time any way you want!!
This was such a lovely and simple way to make pumpkins fit more into your decor. If that is what you want of course. Next year I plan on playing with this idea. You made it so easy to follow and try… unlike other bloggers who give way too much what they think is direction…. just confusing information. Thank you Kate
Thank you Pat! I’m always looking for the easier way to do things!!