DIY Pretty Fall Leaf Bowl With Faux Leaves and Mod Podge
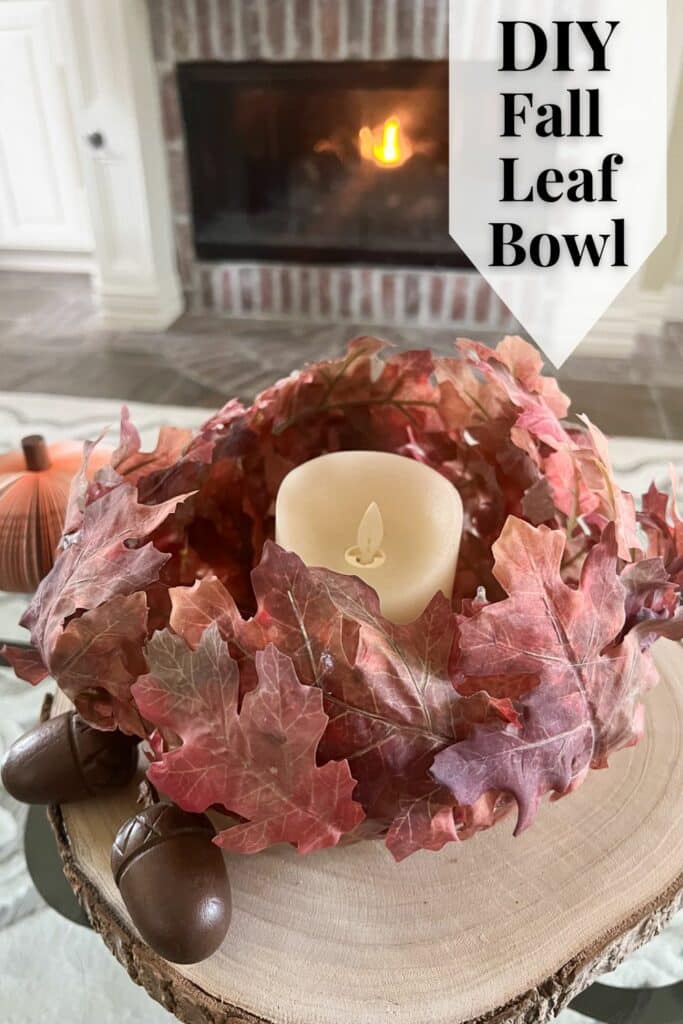
Inside: Looking for a cute craft for the fall season? This DIY Fall Leaf Bowl brings the colors of autumn to your decor using artificial leaves, Mod Podge, and a balloon.
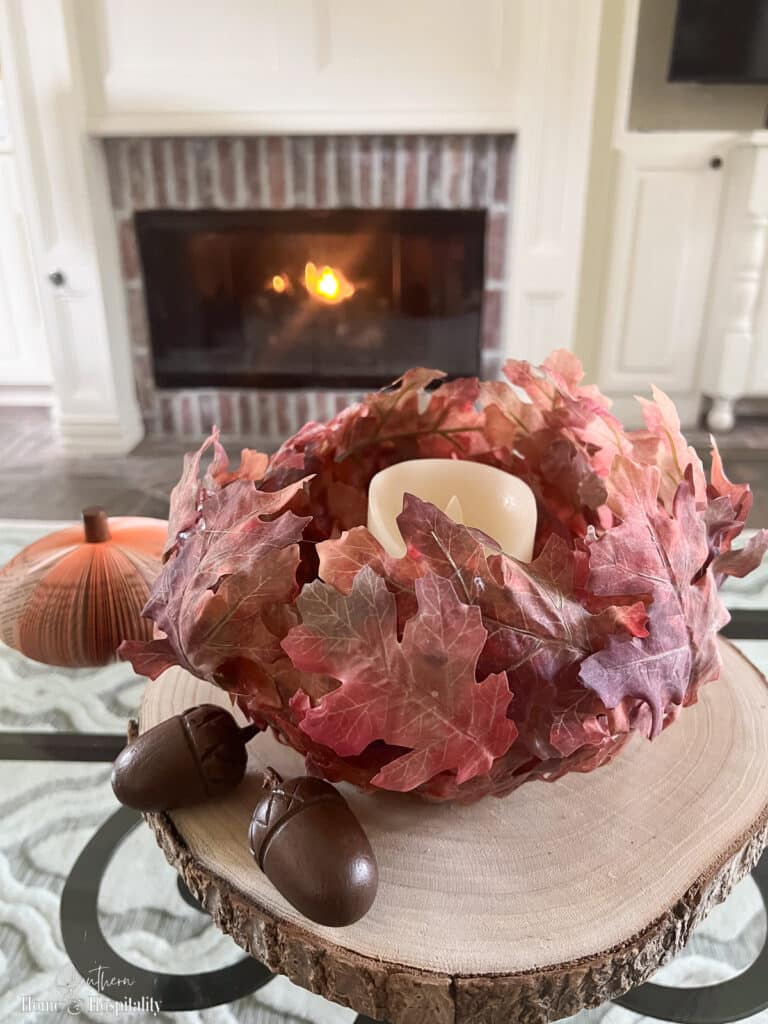
We don’t have much to speak of for fall foliage around here. We’re forced to buy fake, or look wistfully at the colorful leaves in Hallmark movies set in New England.
But I still love all the color the leaves of this season brings. So when I see these gorgeous bowls made from faux fall leaves in a rainbow of autumn hues, I’ve always been tempted to try one.
This year, I had a couple of extra faux stems of the most lovely dark red oak leaves, so I decided it was the perfect time to give my own leaf bowl a go! (Plus anything on the internet made around a balloon piques my curiosity.)
I’ll show you how I made mine—it was not without some hiccups, so I’ll let you in on how I made this fun craft work for me to get a result I was happy with.
This post contains Amazon and other affiliate links for your convenience. As an Amazon Associate I earn from qualifying purchases. If you purchase something through any link, I may receive a small commission, at no extra charge to you. I only recommend products that I love or would purchase for myself. See my full disclosure here.
Materials to make a DIY leaf bowl.
- Small bowl
- Balloon
- Scotch Tape or Glue Dots
- Mod Podge (matte finish)
- Paint Brush
- Artificial Leaves (I used two of these fall stems)
- Scissors or Wire Cutters
- Hot glue gun (I love my cordless glue gun!)
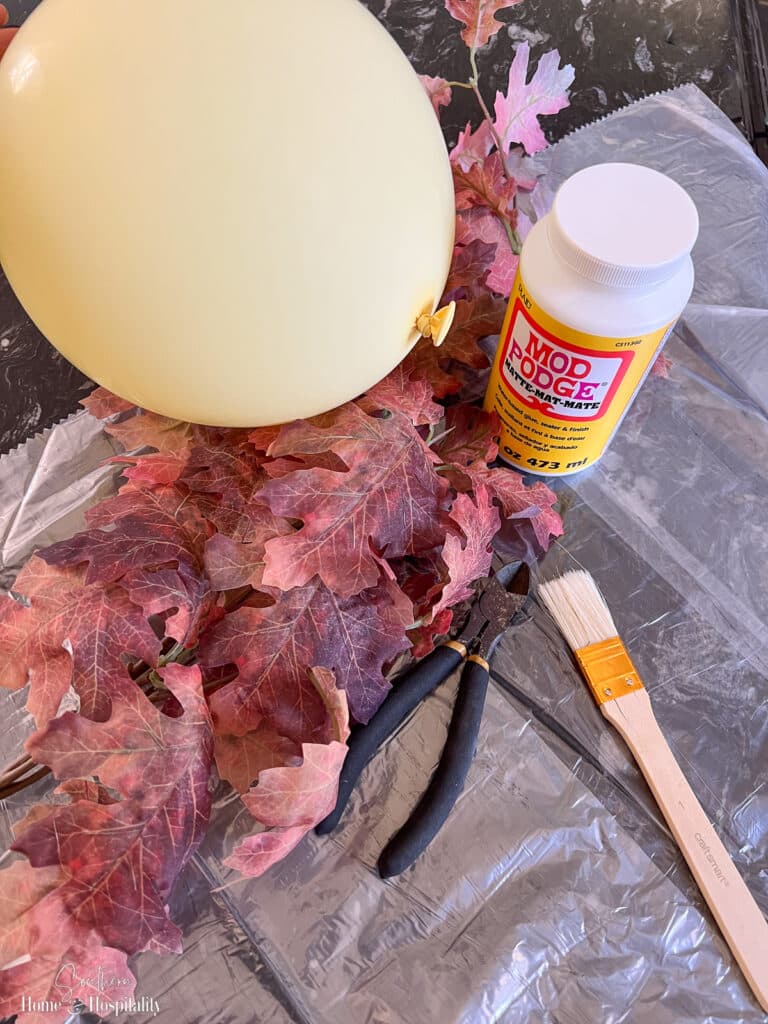
Instructions to make a DIY fall leaf bowl.
1. Attach a few Scotch tape loops or Glue Dots on the rim of a small bowl to hold the balloon in place while you work on it. Place the aired-up balloon knotted side down centered over the bowl onto the tape.
2. Cut the artificial leaves off of the bush or branch with scissors or wire cutters. Make sure to cut away the plastic stem.
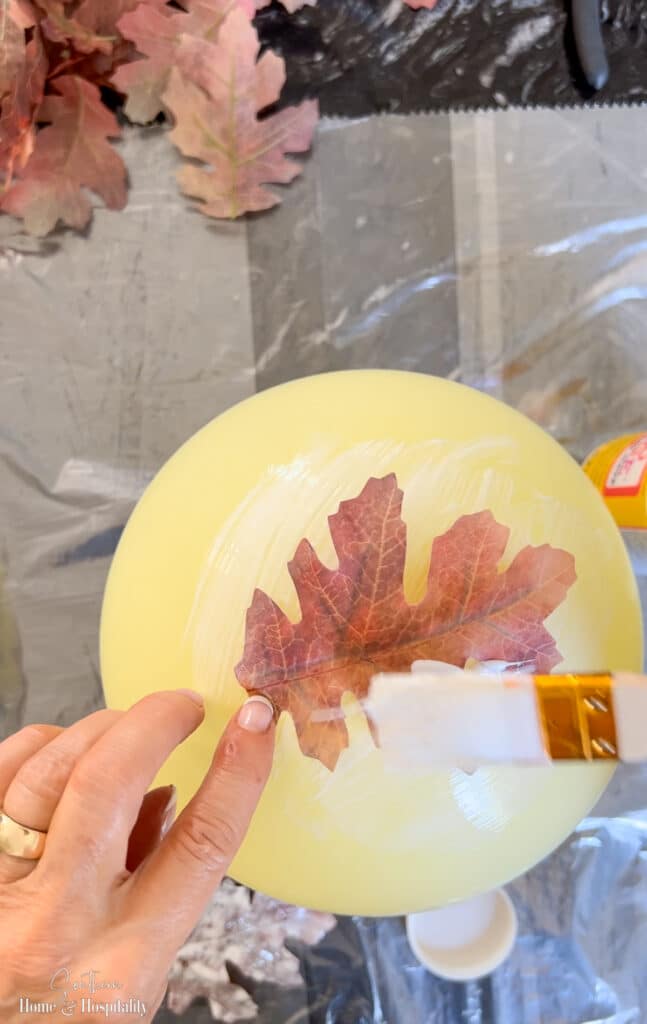
2. Paint Mod Podge onto the bottom of the balloon, lay the first leaf on it, and paint another layer of Mod Podge over it.
SH&H Tip: If you have different sizes of leaves, use the larger leaves on the bottom of the bowl, and the smaller leaves toward to top.
3. Place the next leaf over more of the wet Mod Podge, overlapping the first leaf just a little, and brush more Mod Podge over it.
4. Continue this process until the bottom of the balloon is covered. Don’t worry about the holes, you’ll be adding more leaves over this first layer.
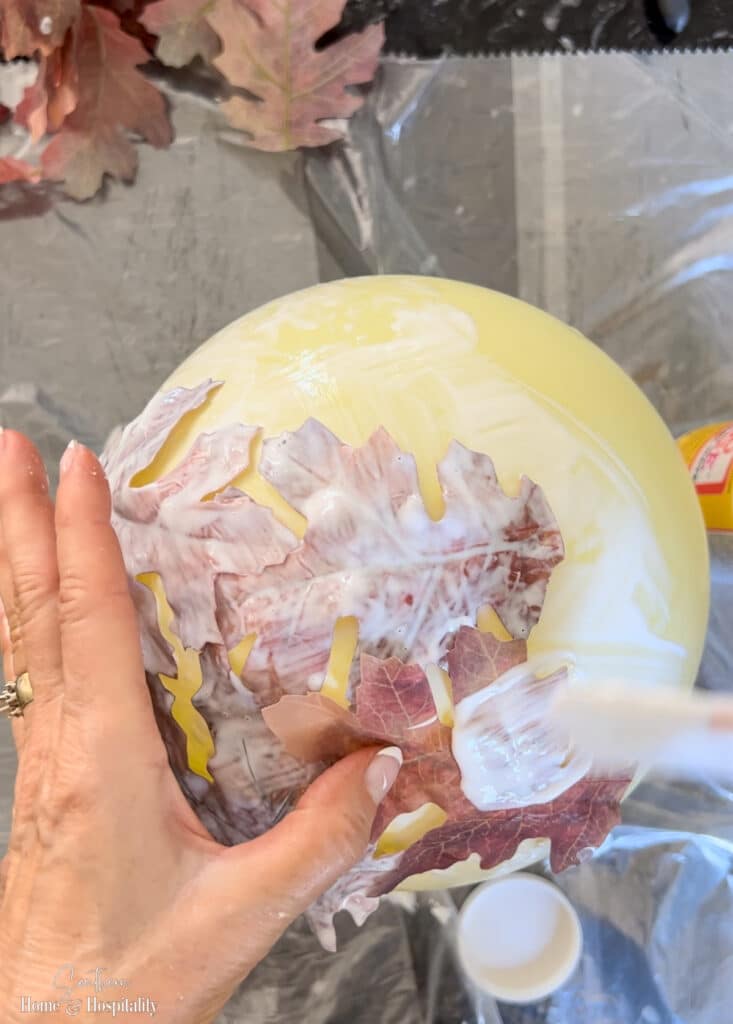
5. Let it dry for at least 30 minutes and come back and add another section further up the sides of the balloon. Repeat until you have the size and shape you want for your bowl.
6. Let the first layer of leaves dry, and add another layer over it in the same way to thicken your bowl and help fill in some of the holes.
7. Let it all dry well overnight.
The gluing was where I thought this project was going off the rails, and it required a bit of patience on my part! The leaves just wanted to slide and fall off—but I was determined to make it work.
It helped me to let a small section dry for a little while and then come back to it to add more. The drying definitely made this the longest part of the craft process.
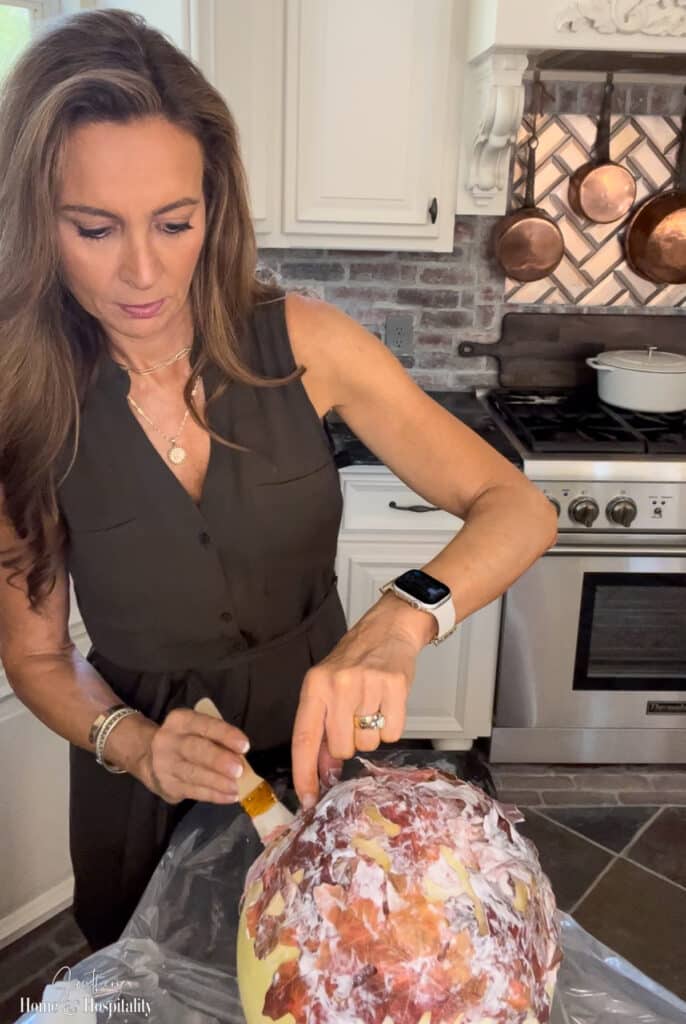
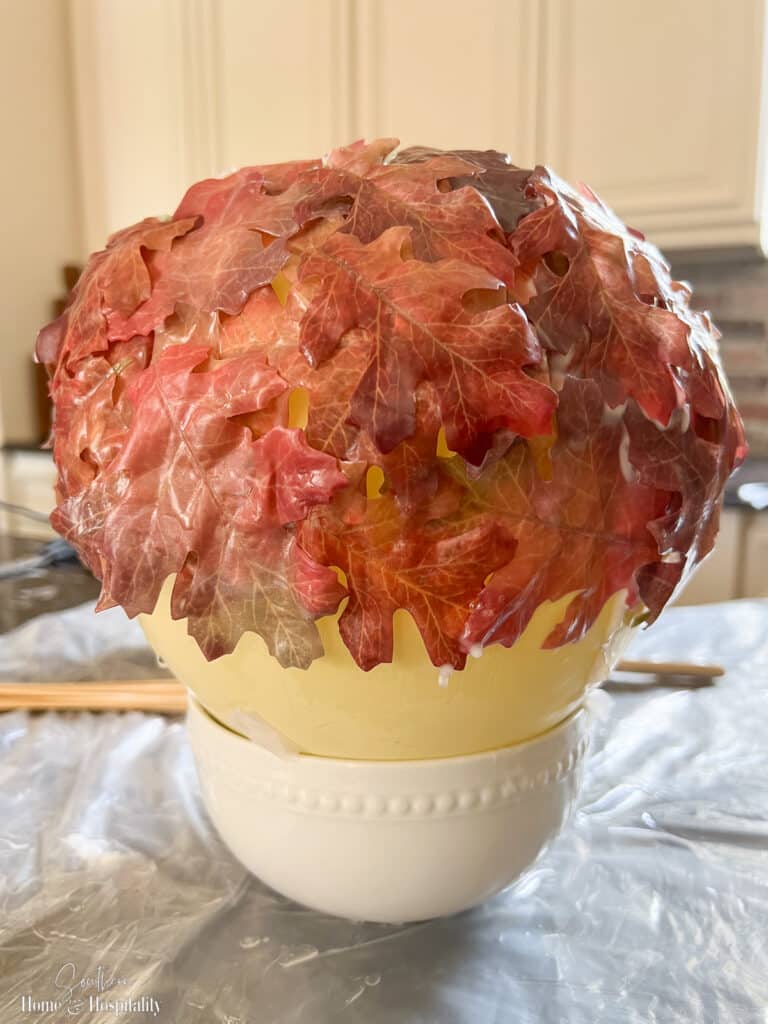
I also propped some of the leaves in place until they were set enough on their own by wedging some wood skewers into my plastic tarp:
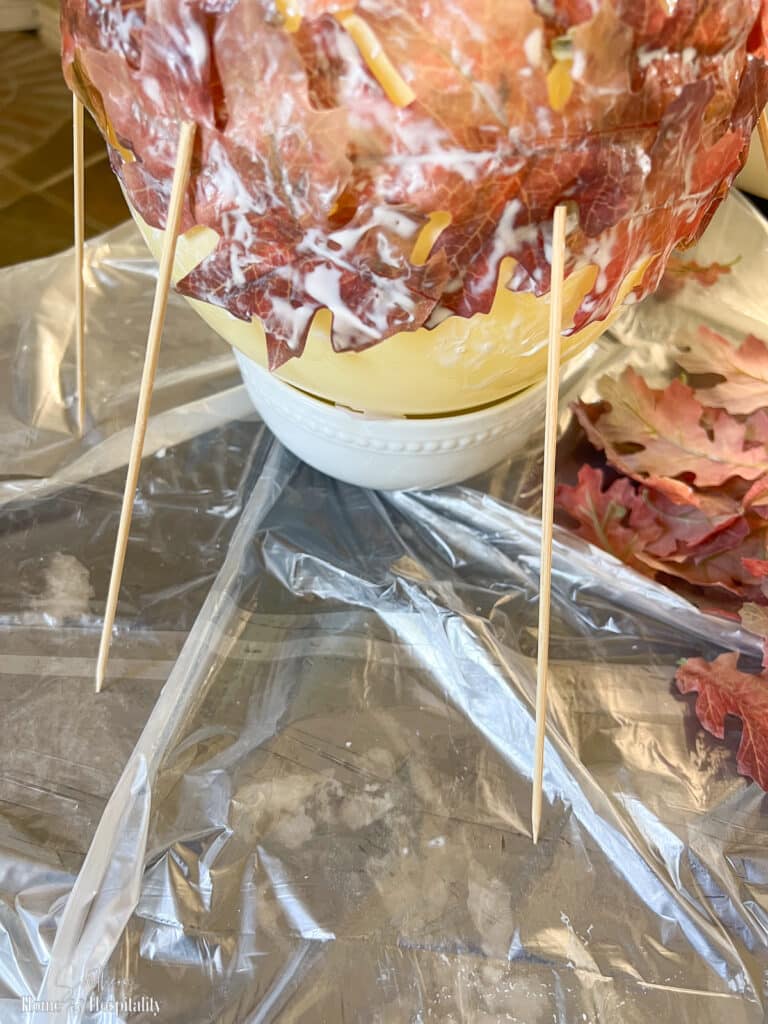
Learn from my experience. I think I had so much trouble getting my leaves to stay in place because of the plastic veining in them. I’ve seen beautiful leaf bowls that use fabric stiffener instead of Mod Podge, and I believe the leaves need to be mostly fabric (with no plastic veins) for that method. This would have made it a lot easier with the Mod Podge too!
8. The next day when all the glue is totally dry, let the air out of the balloon and pull the pieces out of the inside.
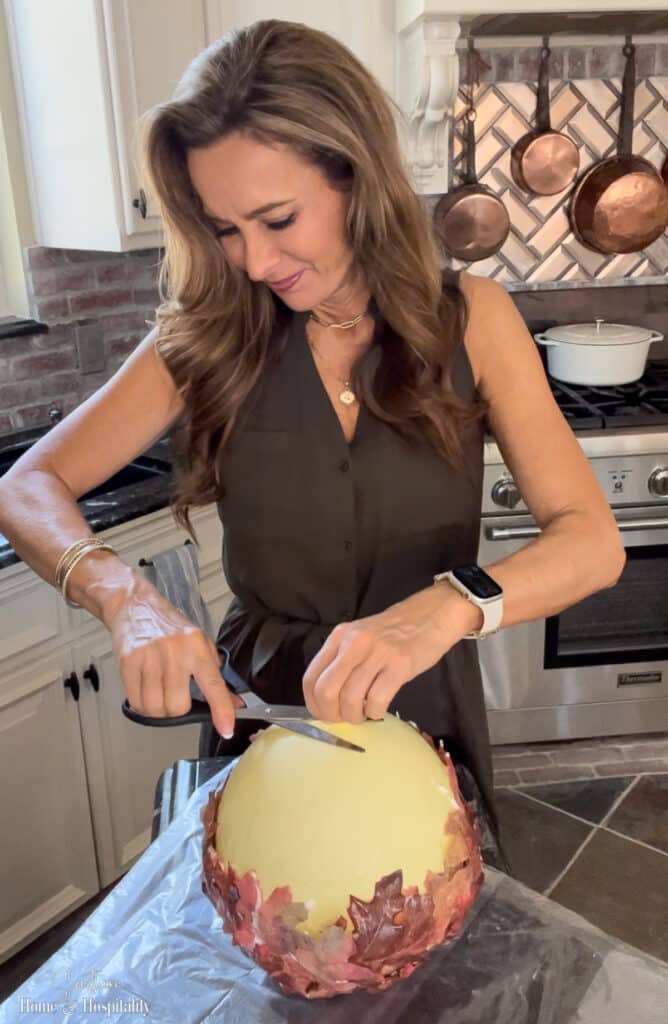
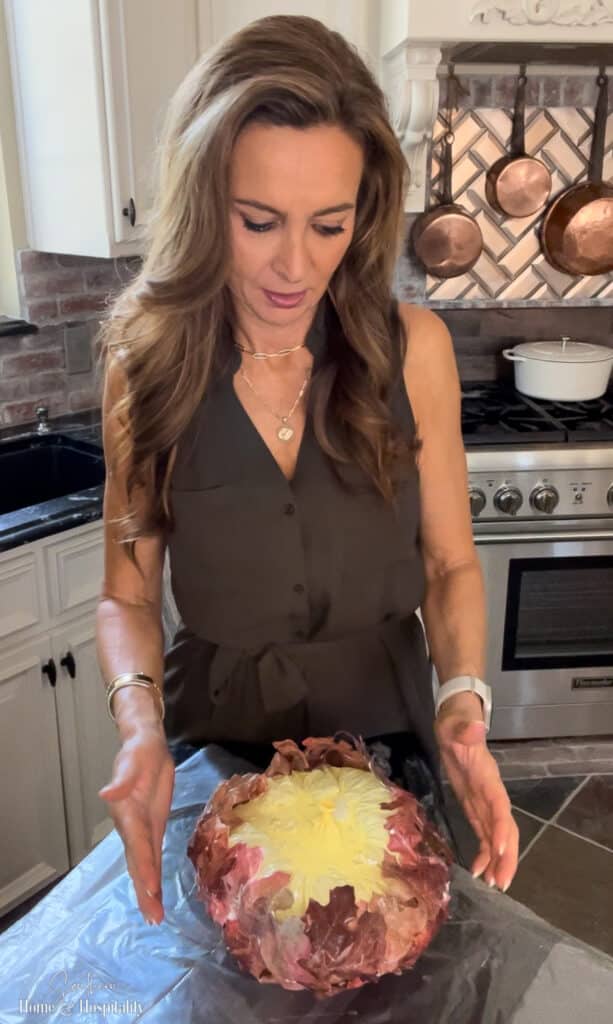
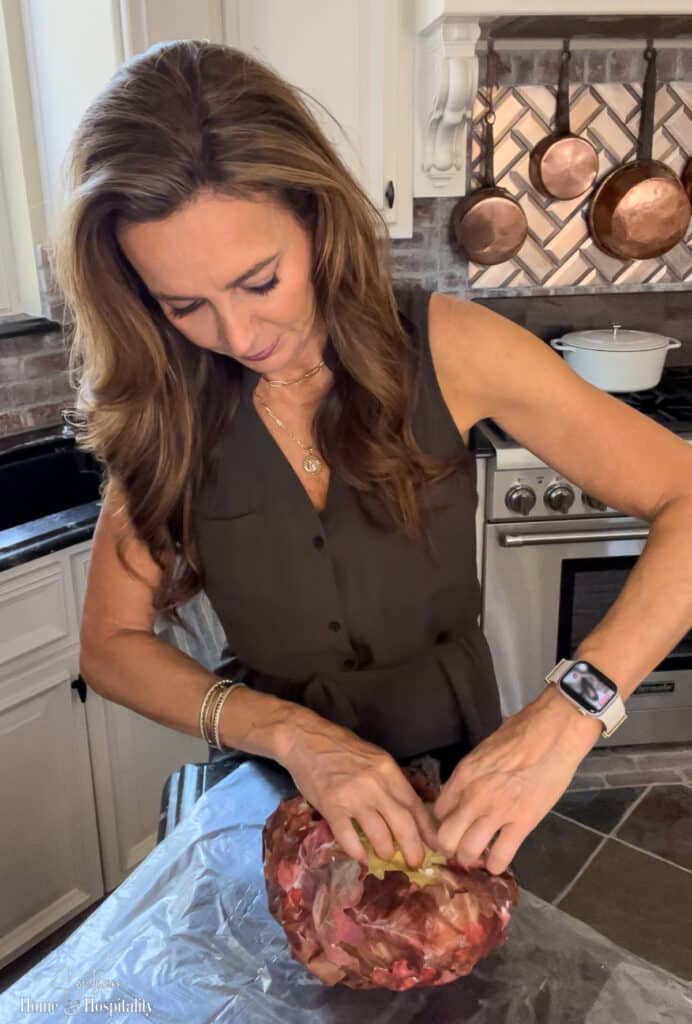
I cut a small hole in the balloon and slowly let the air deflate (don’t know why I look like it’s going to explode on me in the first pic, lol). I did have a couple of stubborn balloon pieces stuck to the glue as well, but I worked them off.
9. Clean up or trim any excess Mod Podge that might show around the top.
Most DIY tutorials I’ve seen stop here. However, I just wasn’t happy with mine at this point! I wanted it to have more voluminous layers of leaves. And even though I used matte Mod Podge, it still looked too glossy for my taste. So I’ve added this next extra step:
10. Put a little bit of hot glue on the back of more leaves and add them to the sides of the bowl, until you have the layered look and bowl shape that you like.
This step also made my quite delicate leaf bowl much sturdier.
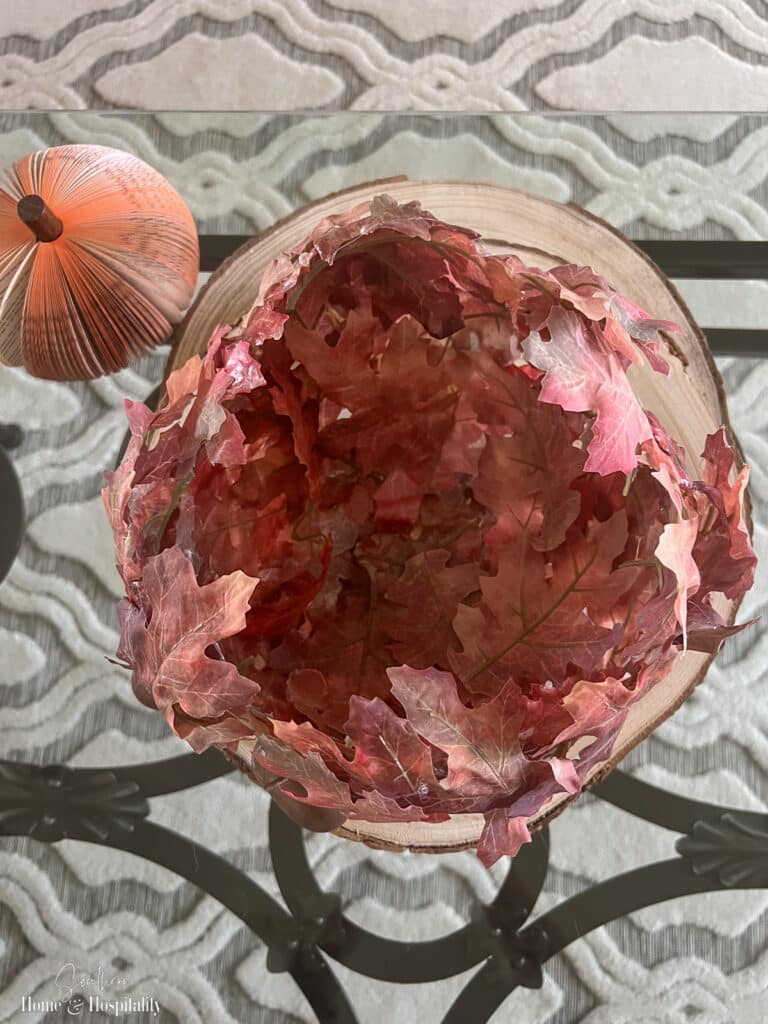
11. Toss a few fall leaves inside of the bowl to further add layers and to camouflage the backsides of the leaves and glue.
With a little trial and error on this balloon leaf bowl project, I finally did get a result that I was happy with! I think it was the balloon and Mod Podge that attracted me to this craft. But if I had to do it again, I would try making my first layer of Mod Podged leaves and then hot gluing on all the leaves from there.
See the rest of my cozy fall decorations in the family room and kitchen.
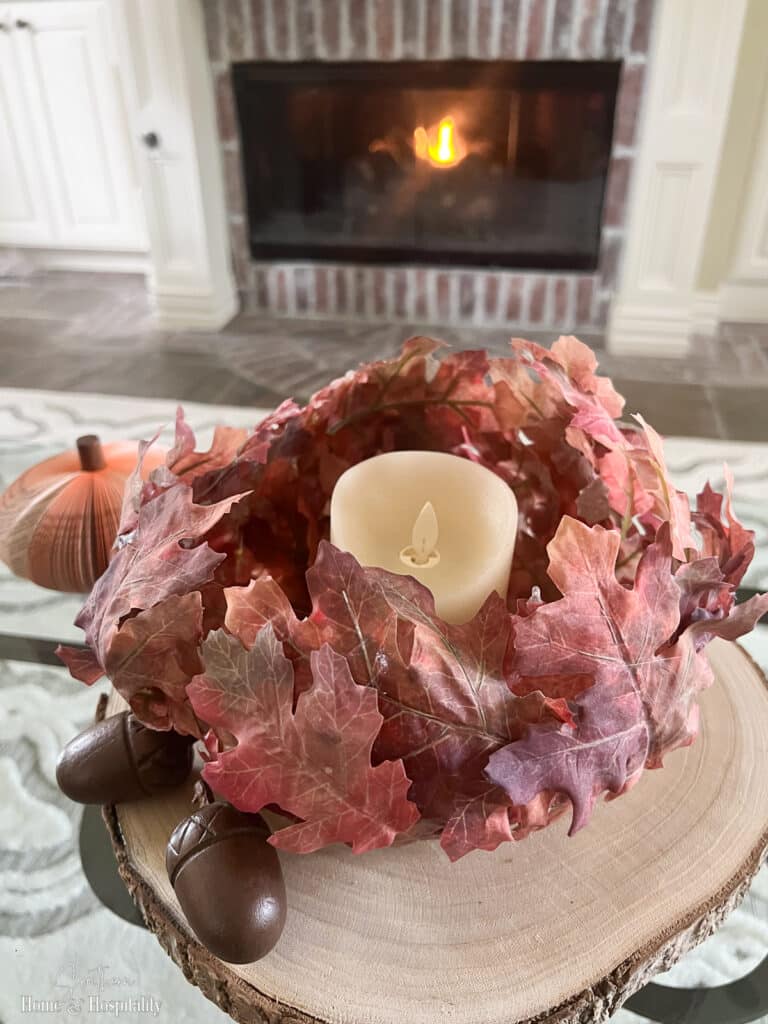
This autumn leaf bowl is also the perfect size for a candle holder—just make sure to use a flameless pillar candle inside.
If you make this or any of my DIY projects, or use any of my fall posts to help you decorate your home, please share a photo and tag @southernhomeandhospitalityblog on Instagram so that we can all enjoy, and I can share your inspiration in my stories!

Before you go:
As always, I appreciate your visit, comments, and shares here on the blog! I’d love it if you also follow along with me on Pinterest, Instagram, Facebook, TikTok, and YouTube so you won’t miss any of my inspiration and ideas.
Don’t forget to sign up for updates to keep in touch.
If you’re not already a member of the SH&H family, I’d love to have you join me! You’ll not only get email updates, but you’ll have exclusive access to all the bonus materials in my free subscriber-only library, like this:
Pin it to remember it!
If you’ve enjoyed this post, please pin and share this on Pinterest:


Did you make the book pumpkins and if you did will you show us how to make them. Thank you
Hi Linda! I bought those off of Amazon. Much faster!😁 You can see the product listing here: https://rstyle.me/+TCzgwwRJQQ2tQ2b17Gbl9A