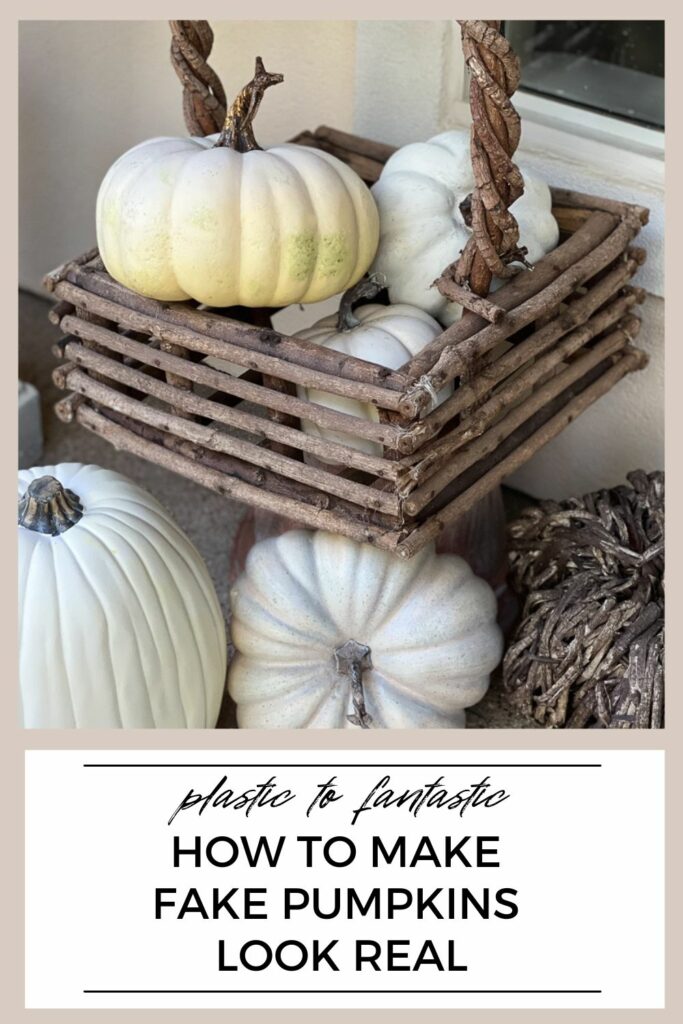
How to Make Faux Pumpkins Look Like the Real Deal
Inside: Do your plastic pumpkins look a little too shiny, too perfect, and too cheap? Try these easy hacks to give those inexpensive pumpkins a more realistic look! ➡
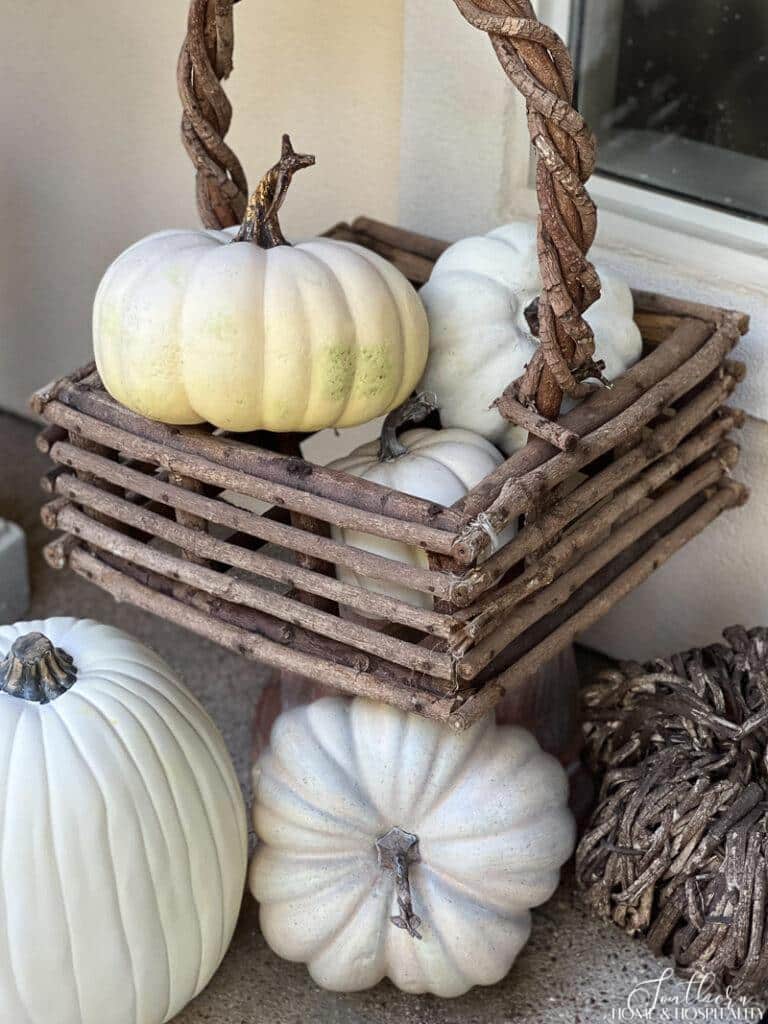
White pumpkins are like the little black dress of fall decorating. They go with every style, whether it be colorful or neutral. And they look fantastic.
Unless they look plastic.
If you’re like me, you’d rather use faux and not have to rebuy real pumpkins every year. You only pay once, they’re available as early as you want to decorate, and they won’t change into a rotten pumpkin at midnight (or halfway through the season).
The only problem is they can look too white. And too shiny. And too fake.
The good news is, I have some really easy hacks to help tone down the fauxness of foam pumpkins!
This post contains Amazon and other affiliate links for your convenience. As an Amazon Associate I earn from qualifying purchases. If you purchase something through any link, I may receive a small commission, at no extra charge to you. I only recommend products that I love or would purchase for myself. See my full disclosure here.
Paint the pumpkins white.
Make those el cheap-o bright orange pumpkins from the craft store into classic white beauties that you’ll use for years to come with some white paint!
You’ll need:
- Craft pumpkins
- White chalk paint, or acrylic paint with a matte finish (spray paint is fine). A slightly ivory or off white paint color will look more realistic than bright white.
First, pull the stem out before painting. If the stem isn’t removable, cover it with some painters tape.
Apply a thin coat of paint covering the top and the bottom of the pumpkin. The first coat’s probably not going to be enough – it may take 2-3 coats of paint to cover a dark or bright orange color.
Optional: If you’d like to spend more time making white pumpkins look even more realistic, dab on a tiny bit of green paint in spots and blot it off with a paper towel to soften and blur it.
Wax the pumpkins.
Real white pumpkins aren’t really white and not as shiny as the fake ones.
Once your pumpkins are completely dry, you’re ready to tone down that whiteness and shine a bit. This is where the waxing comes in.
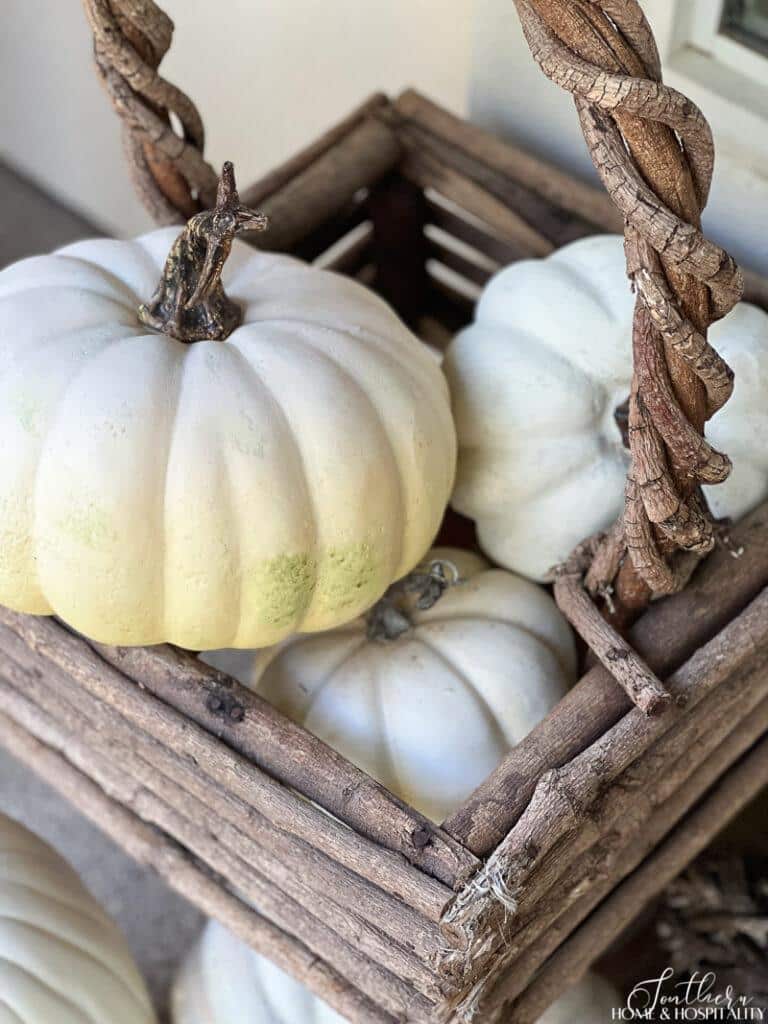
This pumpkin was already white so this easy DIY only took a few minutes!
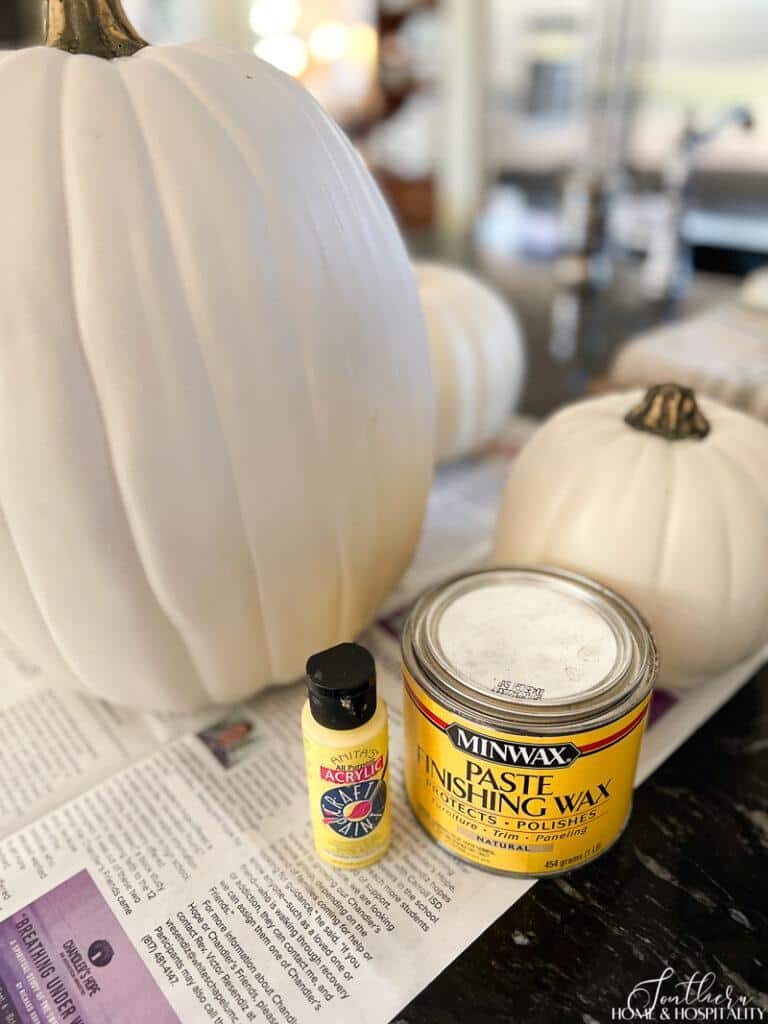
You’ll need:
- Clear furniture wax
- Medium yellow craft paint (flat or satin finish)
- Paper towels or soft white cloth
- Disposable plate or bowl and spoon
The first step is to mix some furniture wax and yellow craft paint together. I used about a heaping spoonful of wax and a healthy squirt of yellow paint:
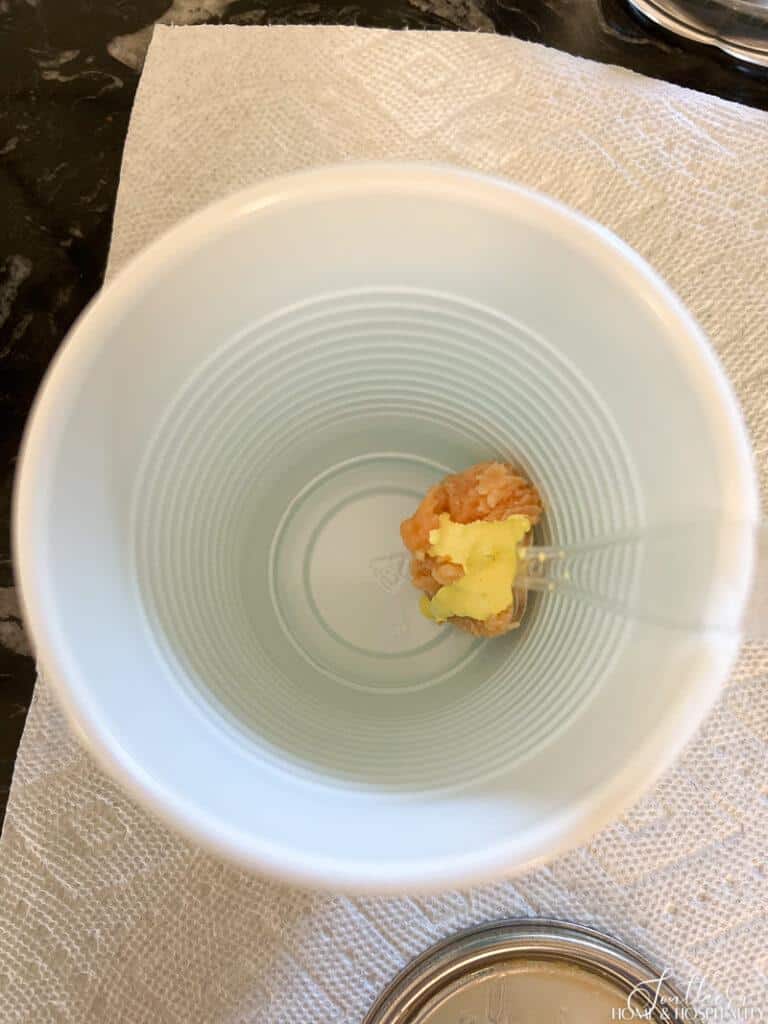
Mix it well with a plastic spoon until it looks like yellow wax.
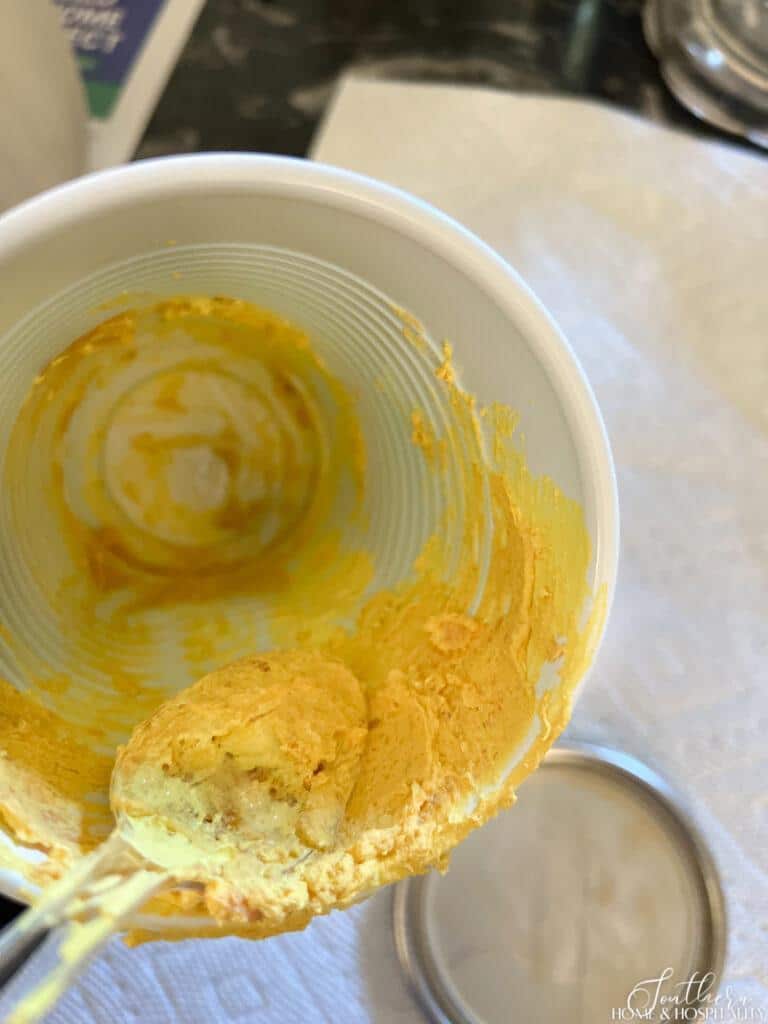
Next, rub the wax mixture over the entire pumpkin with a paper towel or rag.
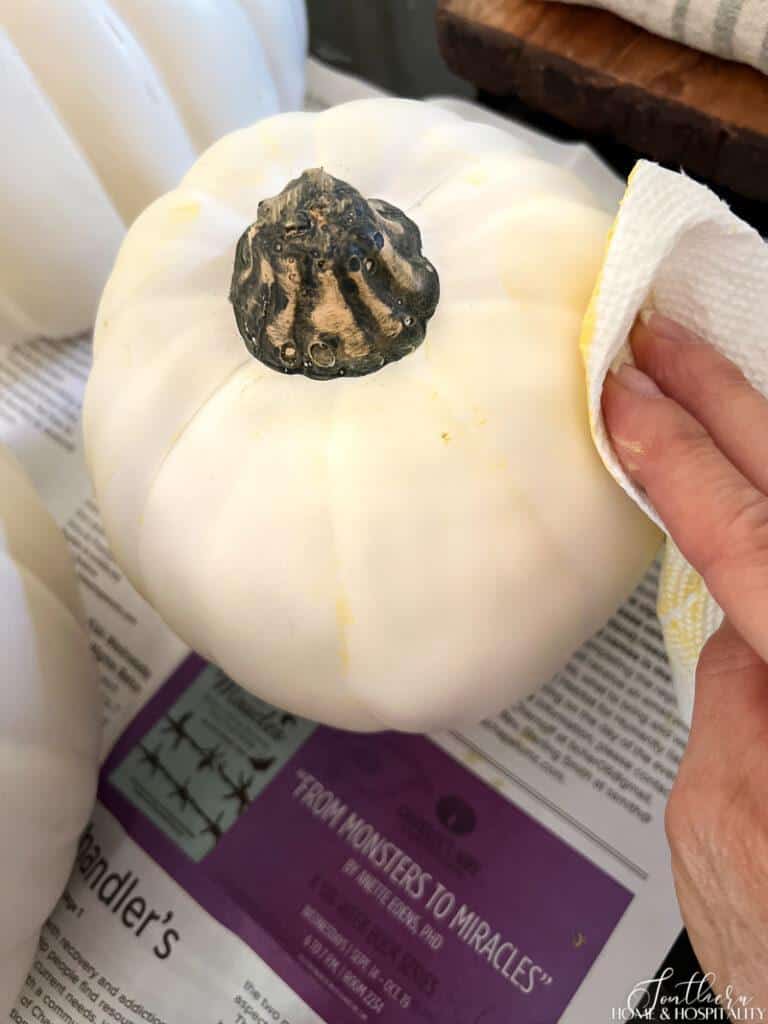
Let the wax sit for 2-5 minutes. Then with a clean paper towel, rub off the excess wax. You can touch up with a little more if you didn’t get enough coverage the first time. There’s no exact science to this.
You’re left with a much more natural creamy white pumpkin!
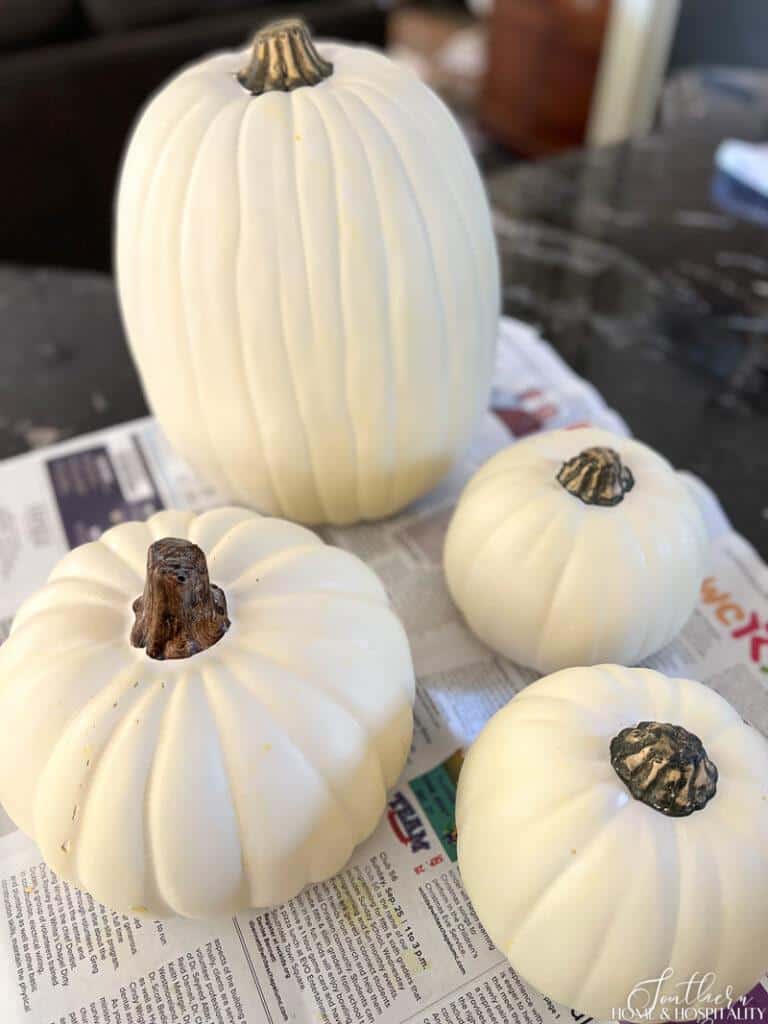
The wax also knocks down a bit of the shine.
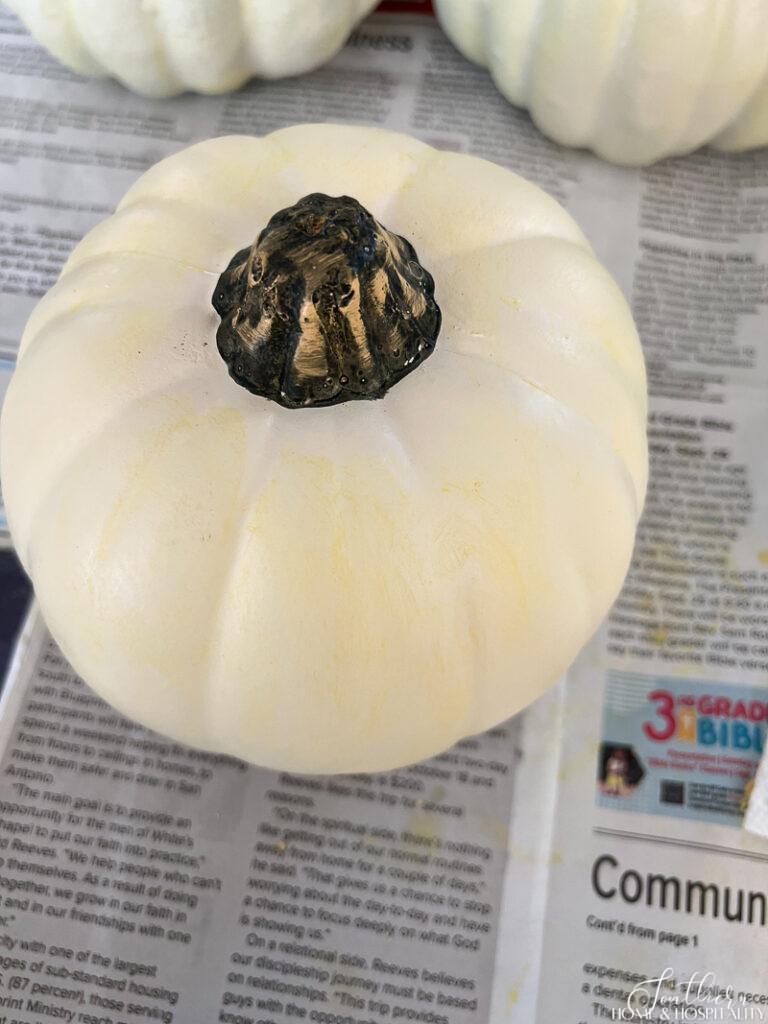
The pumpkin on the left has been rubbed with yellow wax. The one on the right is just painted white. See the difference?
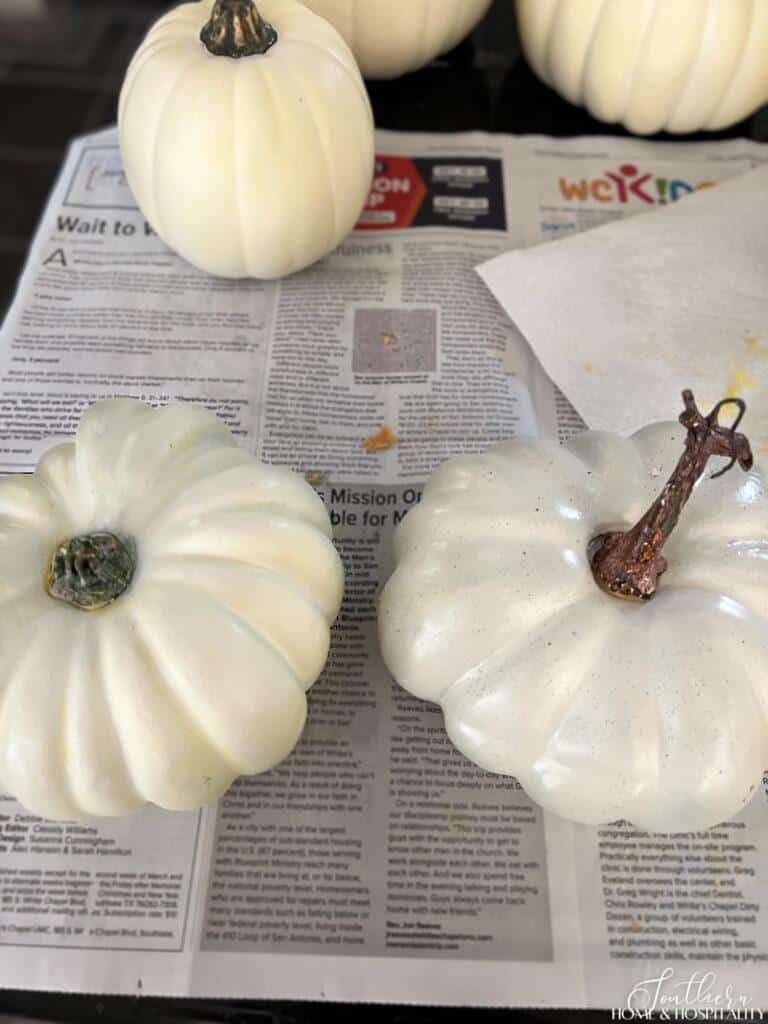
How to make the pumpkin stems more realistic.
The stems on artificial pumpkins can look just as shiny and fake as the pumpkin. There are two ways you can dress up the stem:
1. Use real pumpkin stems.
Save the stems from your real pumpkins each year. Simply pop them off at the base of the stem or if it’s stubborn, cut it out. Or see if your local pumpkin patch has some real stems lying around that will get thrown away.
If you’re lucky enough to have some, this is a great way to make fake plastic pumpkins look like the real thing! Just remove the fake stems and attach the real stems to the top of the faux pumpkin with a hot glue gun.
2. With white wax or paint.
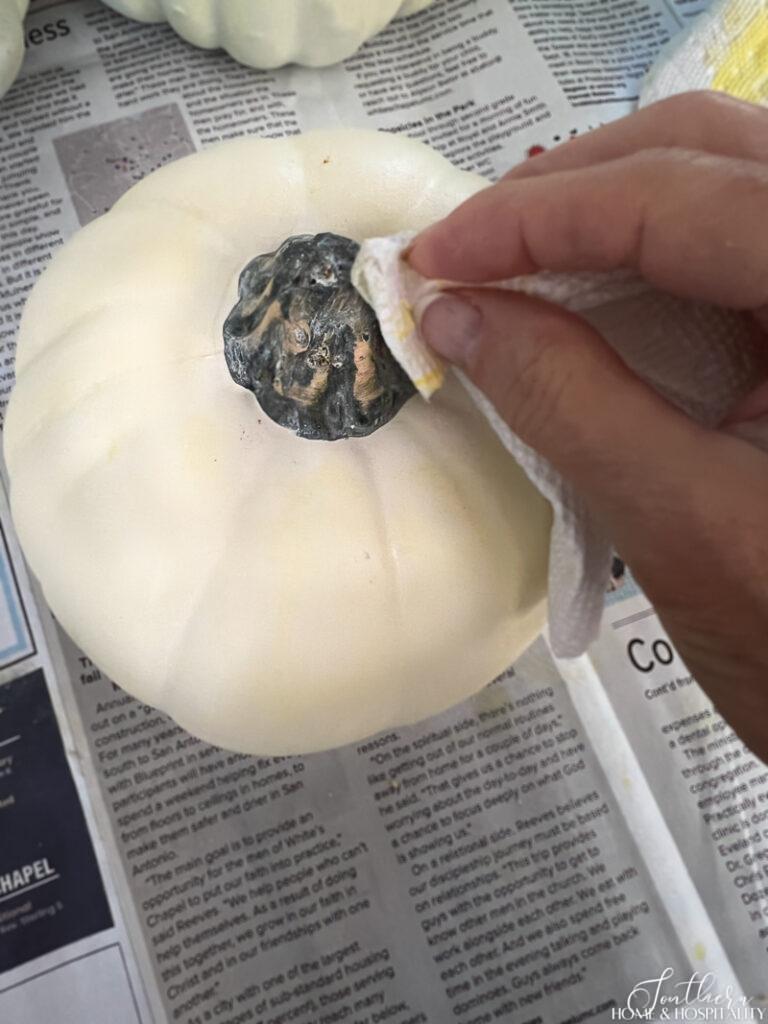
If you can’t remove the stem, dry brush the faux stems with a little white wax or matte white craft paint.
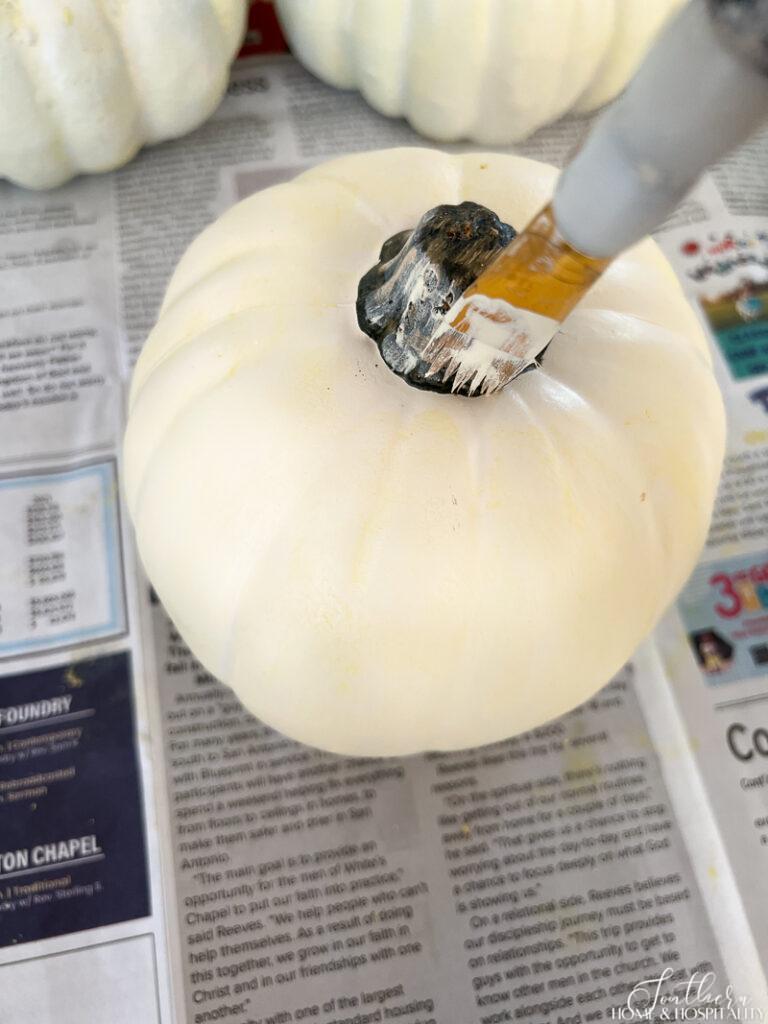
Then dab off the excess paint or wax to expose some of the darkness, leaving the white in the crevices. The color of the stem will then be less uniform—a sure sign of a fake.
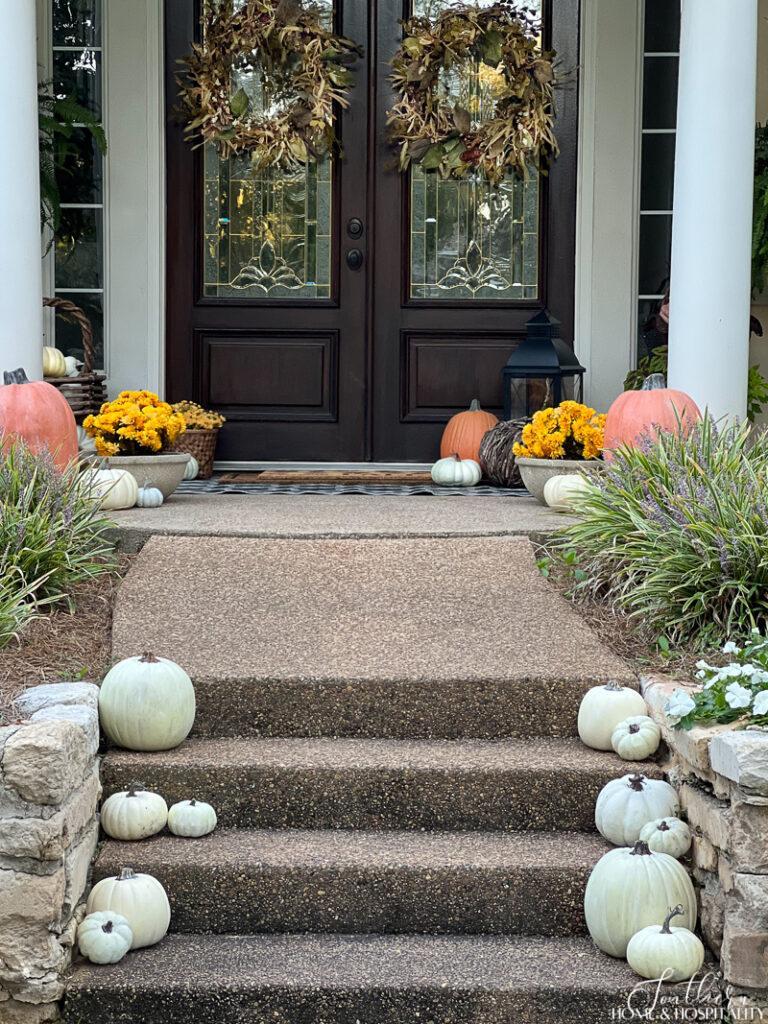
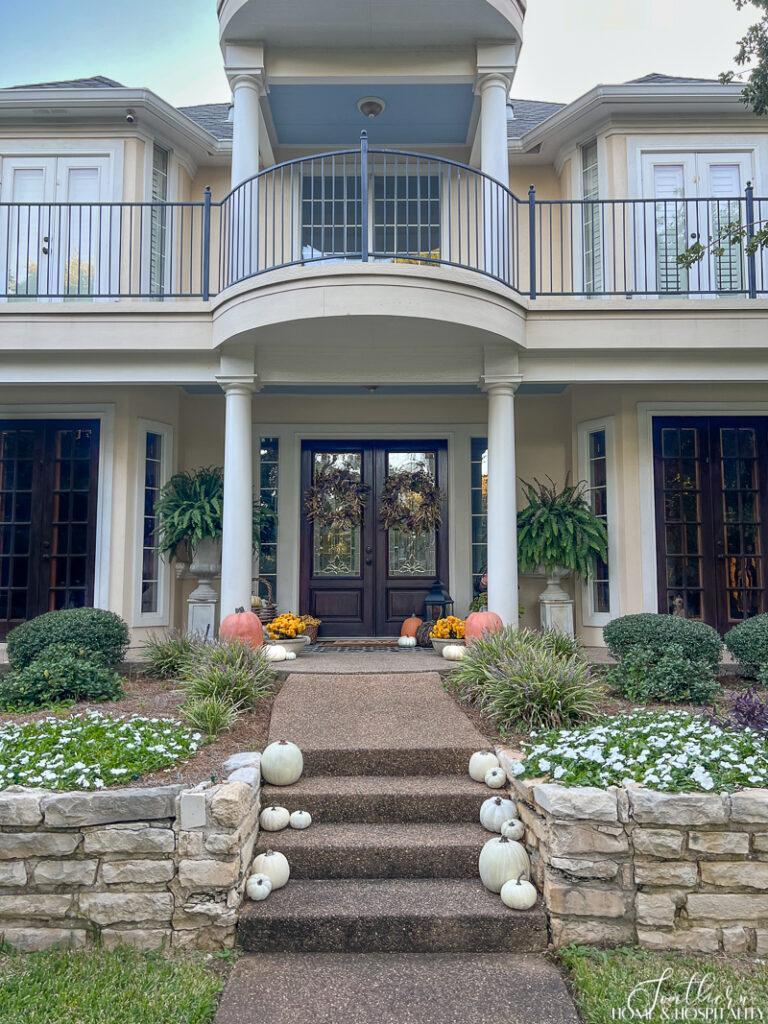
My porch steps are lined with white pumpkins this year to welcome the fall season. All of them are faux and some of them were even glossy green pumpkins from the dollar store!
I like to mix up the more realistic faux heirloom pumpkins with really cheap plastic pumpkins. Large, medium, and mini pumpkins along with the variety of shapes make it more natural and interesting!
How to make colored fake pumpkins look more realistic.
You’ll spot a few orange pumpkins on the porch too. They were a little brighter than I wanted, so I rubbed white wax on them, let it sit for a couple of minutes, and rubbed the excess away.
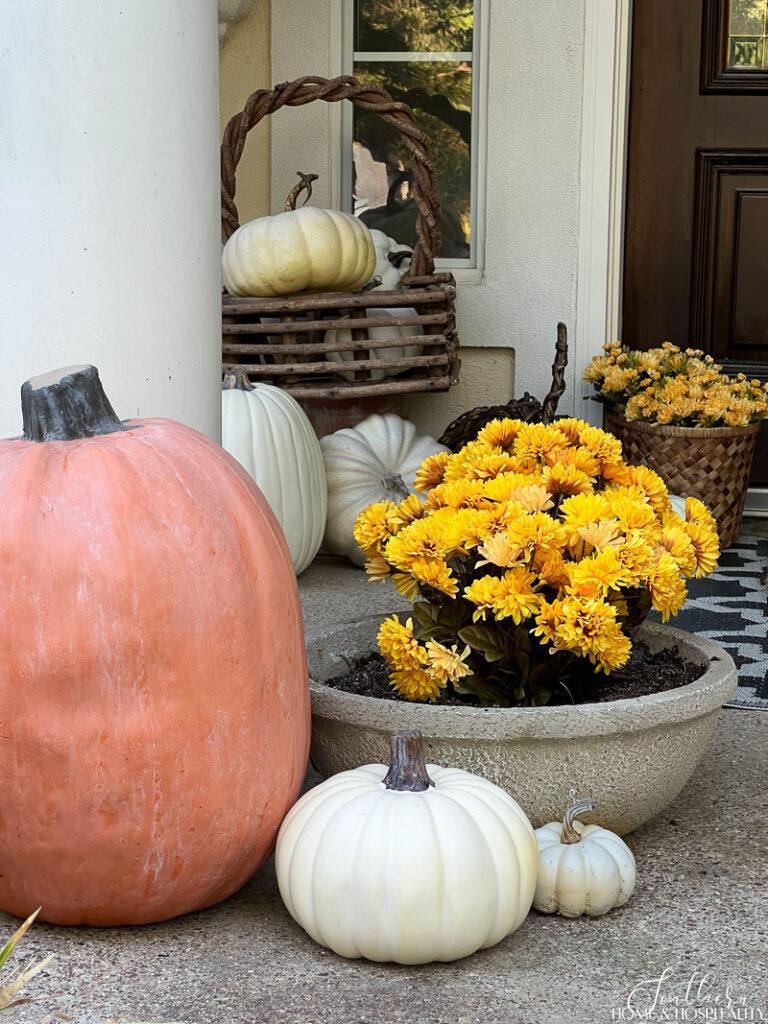
I’ve collected a mishmash of faux pumpkins over the fall seasons and I’m able to still use them by bringing them together with this creamy white makeover.
If you’d like to see more fall porch decorating ideas, check out Simple Fall Front Porch Ideas on a Budget and The Easiest DIY Wreath Ever for a Fabulous Fall Front Door.
Happy Fall Y’all,

Before you go:
As always, I appreciate your visit, comments, and shares here on the blog! I’d love it if you also follow along with me on Pinterest, Instagram, and Facebook so you won’t miss any of my inspiration and ideas.
Don’t forget to sign up for updates to keep in touch.
If you’re not already a member of the SH&H family, I’d love to have you join me! You’ll not only get email updates, but you’ll have exclusive access to all the bonus materials in my free subscriber-only library, like this:
Pin it to remember it!
If you’ve enjoyed this post, please pin and share this on Pinterest:
