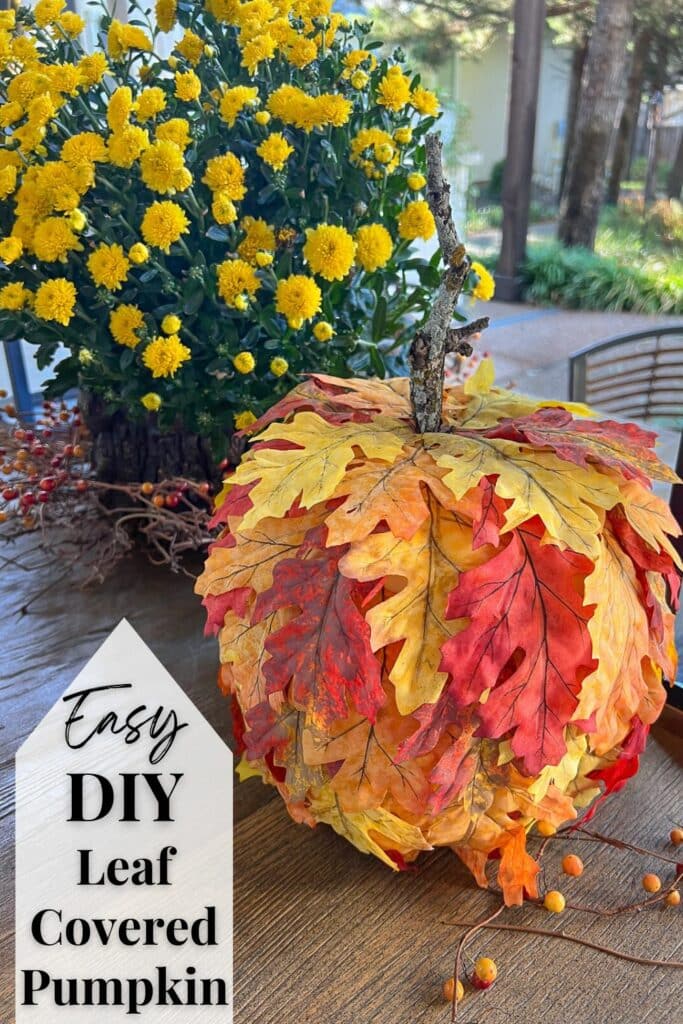
DIY Leaf Covered Pumpkin for Delightful Fall Decor
Inside: Transform a tired craft pumpkin into a stunning leaf covered pumpkin, glowing with all the charm of the autumn season. This fun project is cheap and you can make it in less than an hour!
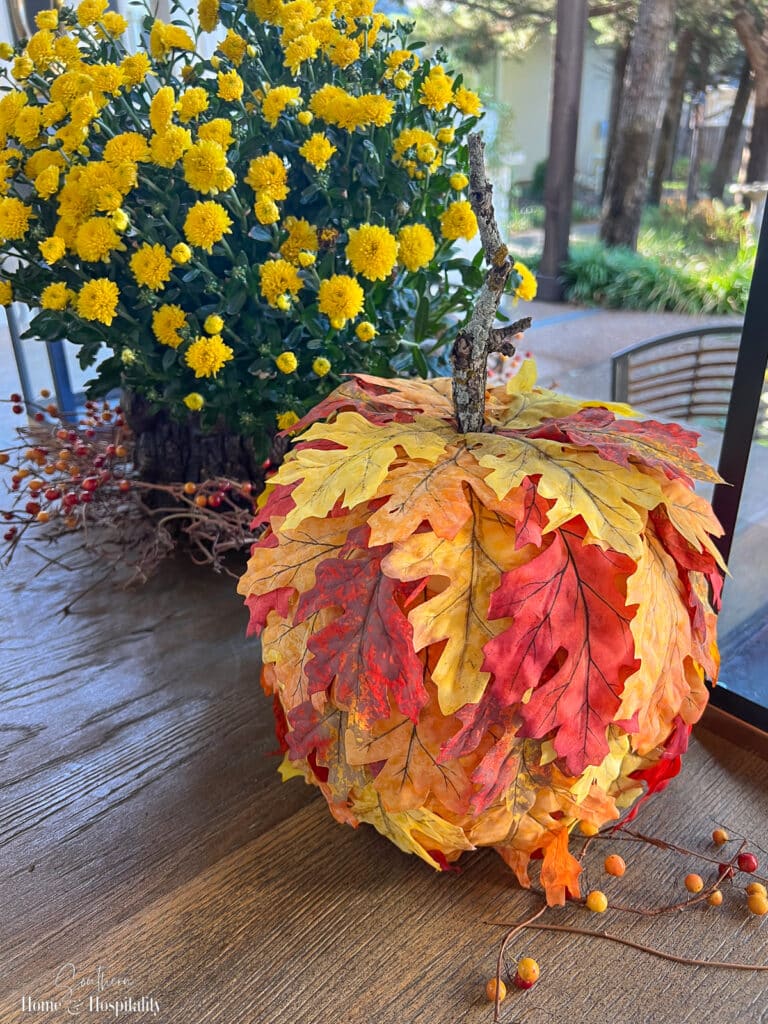
I am always on the lookout for different ways to make the same old seasonal decor a little more special.
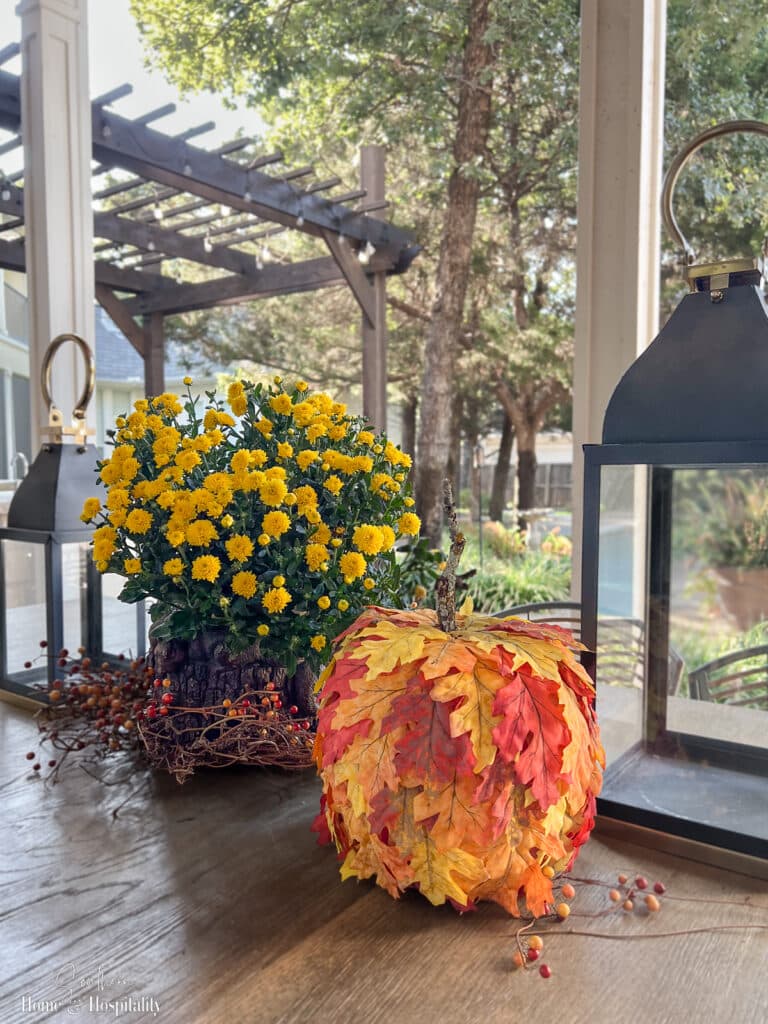
So instead of plopping more plain faux pumpkins onto the back porch dining table, I gave one a super simple, super cheap makeover, using the other most associated symbol of the fall season.
It’s a pumpkin and fall leaf mashup!🎃🍁
This post contains Amazon and other affiliate links for your convenience. As an Amazon Associate I earn from qualifying purchases. If you purchase something through any link, I may receive a small commission, at no extra charge to you. I only recommend products that I love or would purchase for myself. See my full disclosure here.
Materials to make a fall leaf-covered pumpkin.
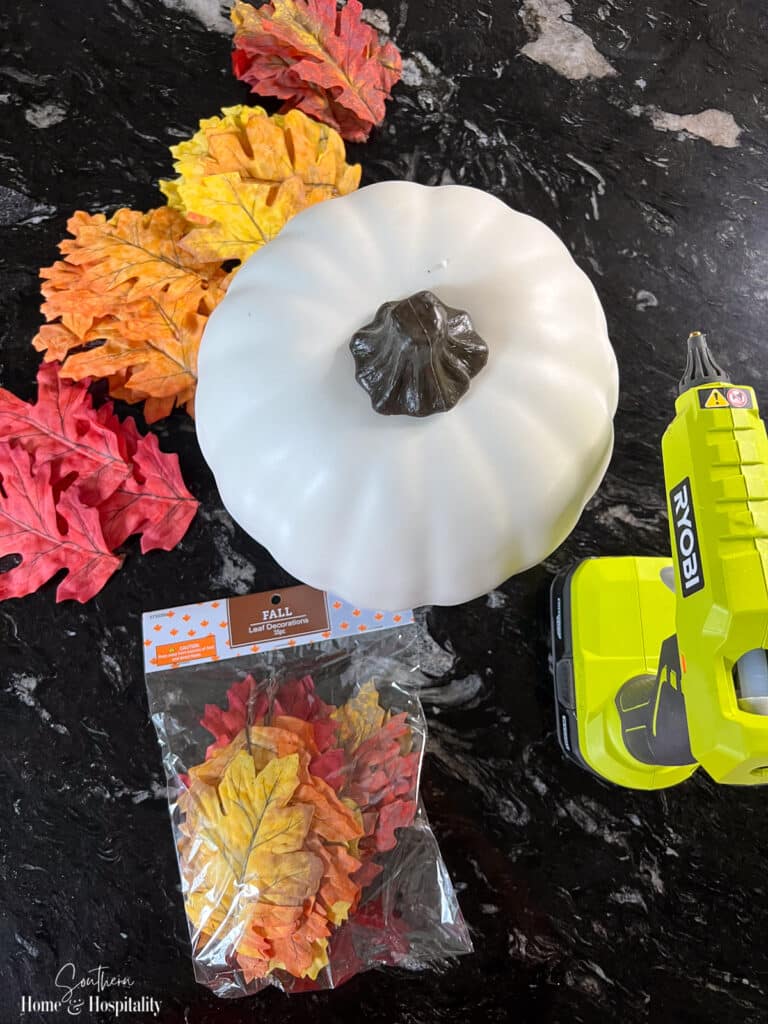
I almost hate to call this a DIY because it’s so easy. I’d rather say I’m putting my little project out there for a different idea to decorate pumpkins. Here is all this simple craft takes:
- A faux pumpkin
- A hot glue gun (this is my favorite cordless one)
- Package of faux fall leaves (the number depends on your pumpkin size; I used two bags on this one)
You can see in the photo that the pumpkin I started with was nothing special, and fairly fake looking. Then I found these cheap 35-piece packages of leaves at Hobby Lobby (they were about three dollars), but I believe Dollar Tree sells some too. (Here is also a fall leaves package at Amazon.)
Want to see my tips to make fake pumpkins look more real? Read the post, “How to Make Faux Pumpkins Look Like the Real Deal“.
Instructions to make a fall leaf pumpkin.
1. First, I cut all of the stems off of the ends of the leaves and separated them by color.
2. Next, I turned the pumpkin upside down and set it on a bowl to keep it steady.
3. I added a little bit of hot glue to the center of the first leaf and pressed it onto the pumpkin with the top of the leaves facing up (toward the bottom of the pumpkin). I overlapped the next leaf over the first one just a little, then repeated gluing on leaves around the pumpkin, trying to spread out the different colors as best as I could.
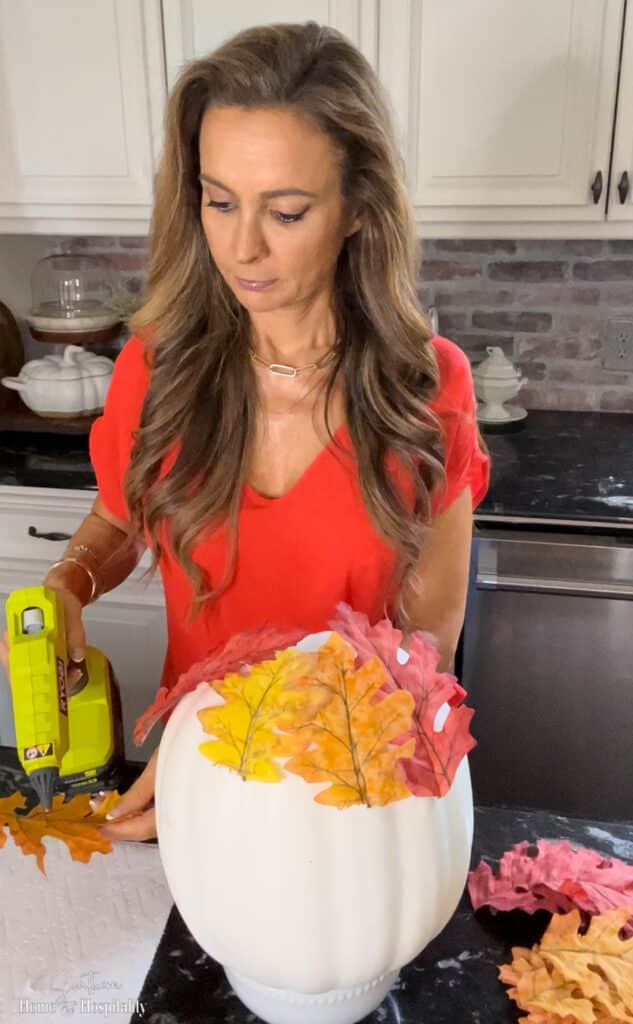
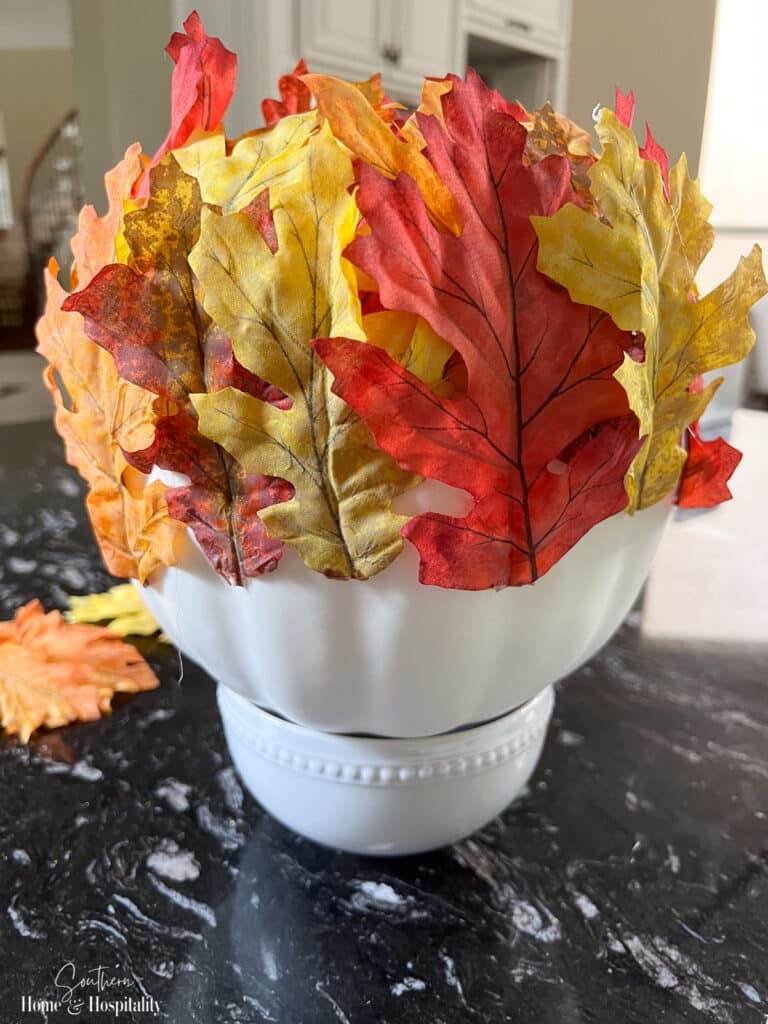
4. After the first row was done, I started the next row. leaving about 1/3-1/2 of the first row showing. I tried to place these leaves in between the leaves on the first row, which helped to cover the holes and added more interest. I repeated rows until I was about halfway up the pumpkin.
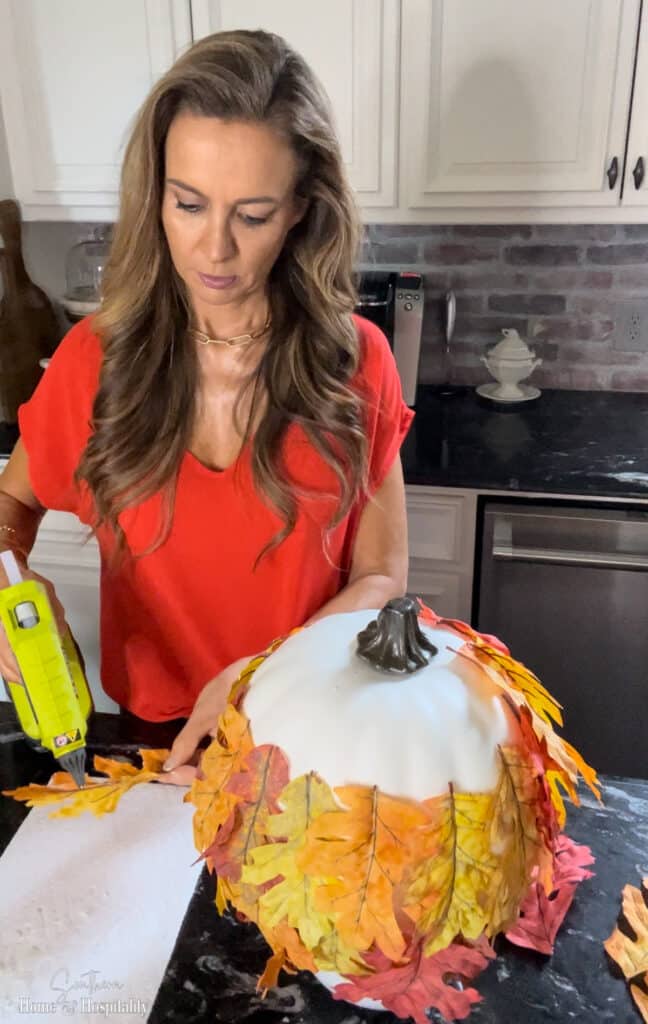
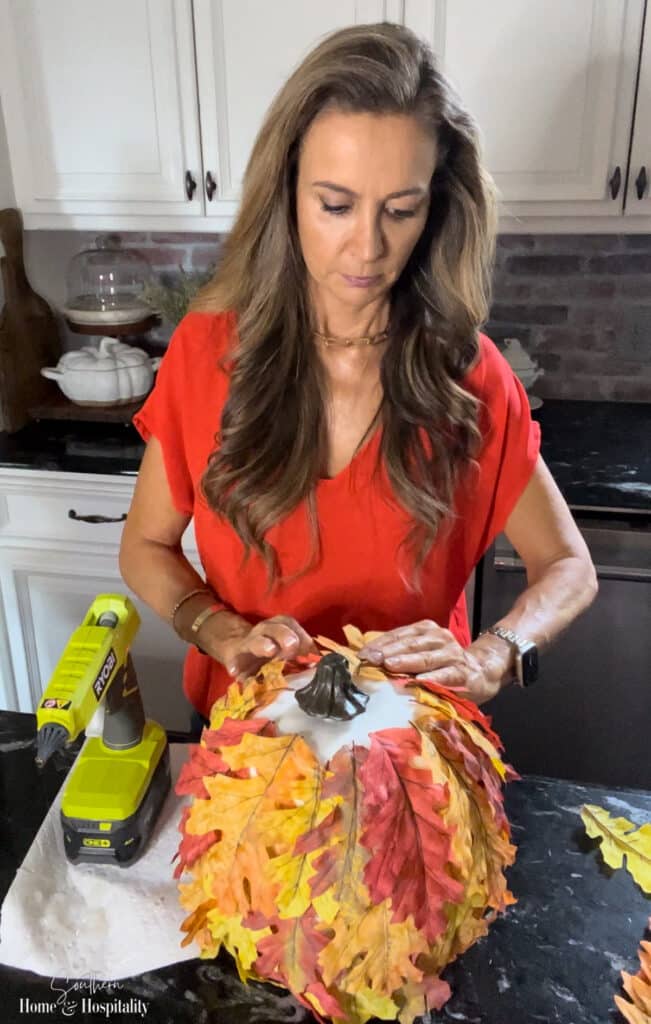
5. Then I flipped it over and started gluing the rows from there.
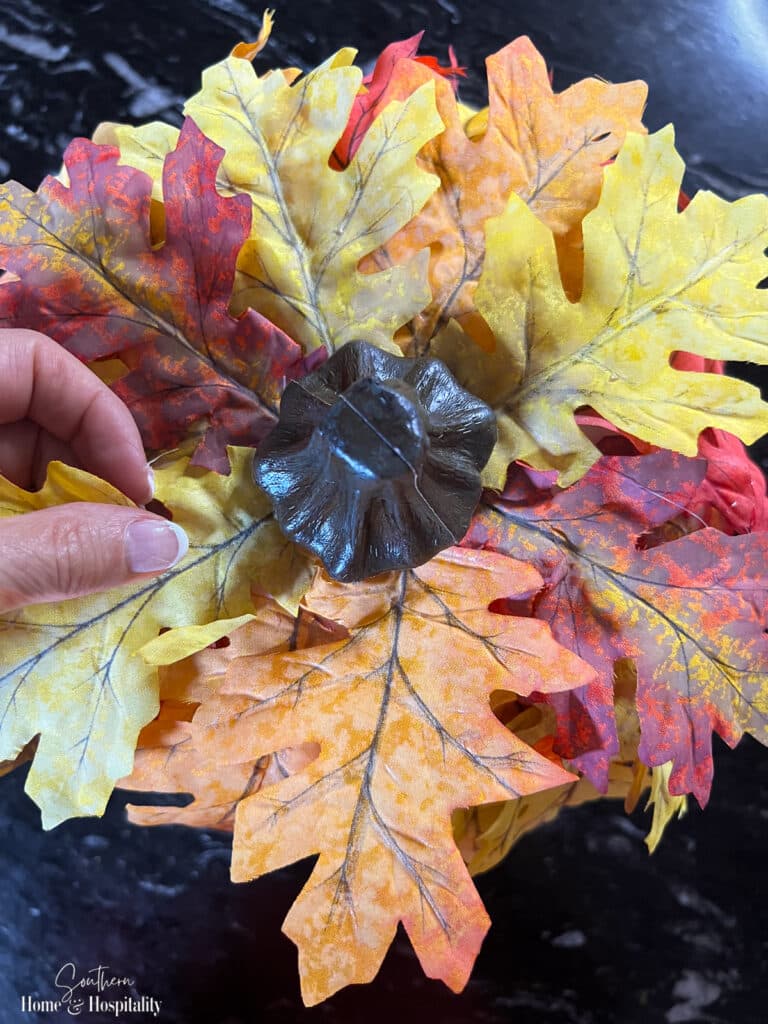
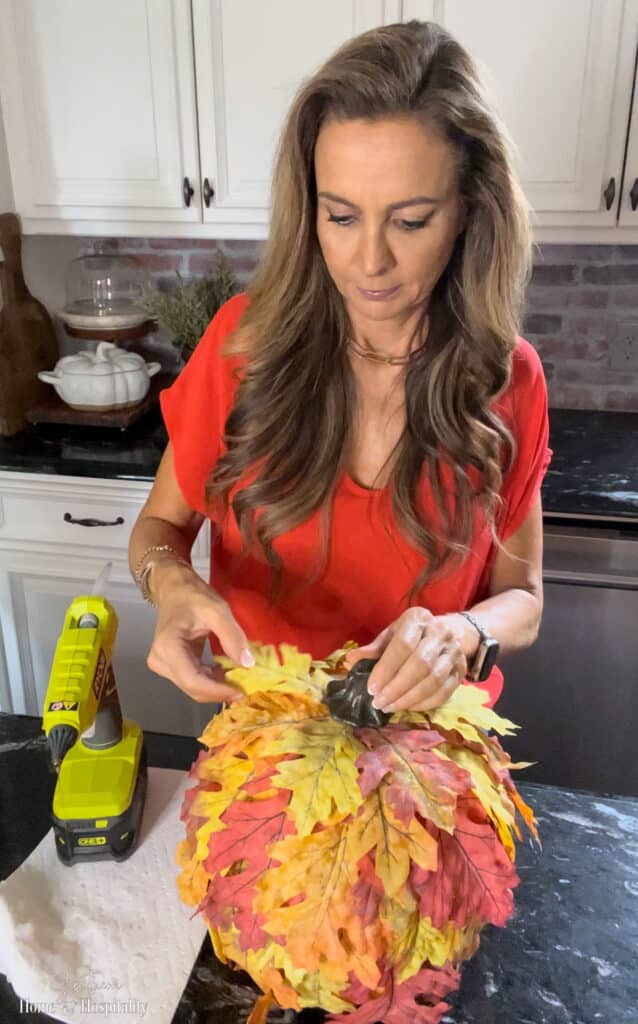
6. When I reached the very top of the pumpkin, I pulled up the stem and glued the final row close to the hole and where it would be up under the existing stem.
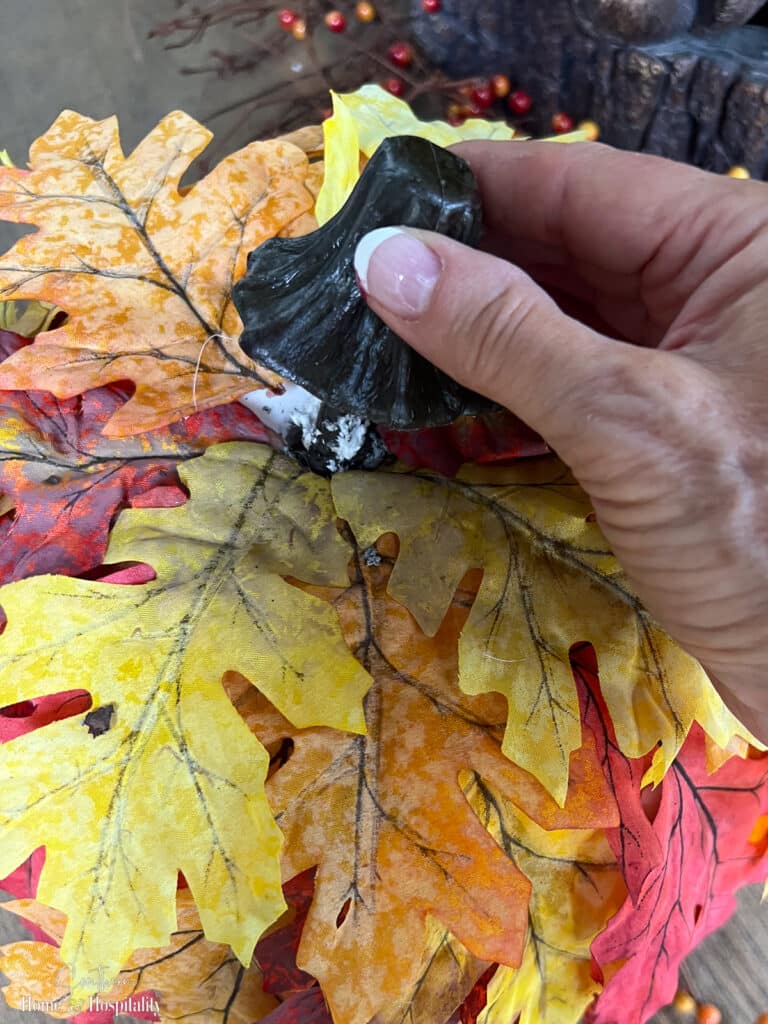
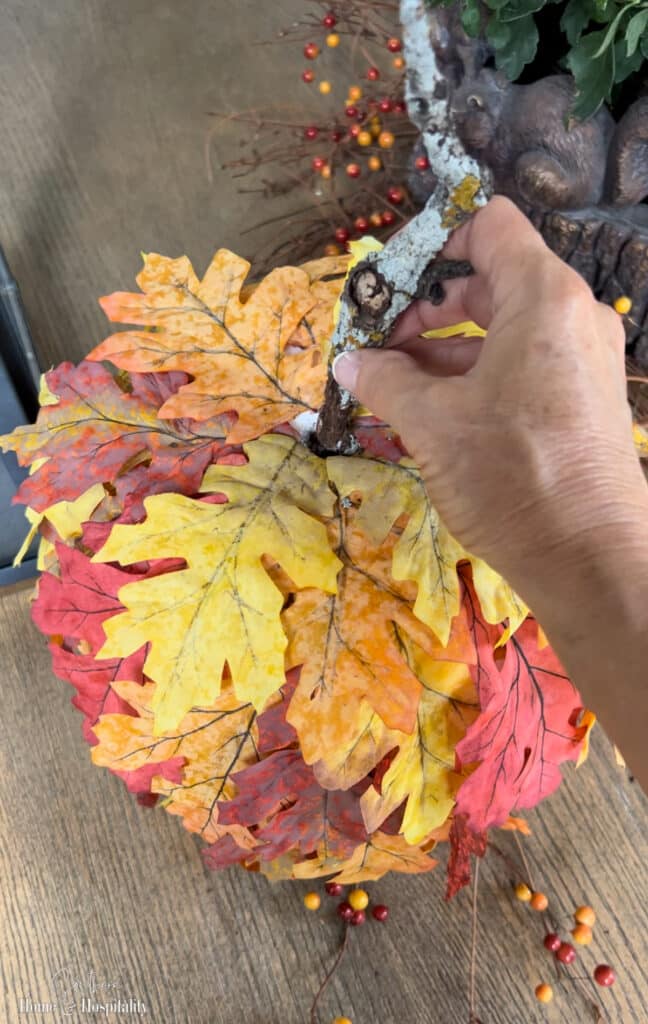
7. The finishing touch was to get rid of that ugly, fake plastic stem of the pumpkin altogether. I was out of real pumpkin stems that I usually save in my fall decor, so I picked up this fallen stick out of the yard. I pulled out the original stem, and pushed the twig into its place—I didn’t even need to glue it because it was the perfect size.
See a fall craft where I used a real stem to elevate craft pumpkins in the post, “Make This Easy DIY Stacked Pumpkin Topiary to Welcome Fall“.
It’s a little different than a pumpkin stem, but I think this final detail may have upgraded this fall craft project from just cute to downright charming.
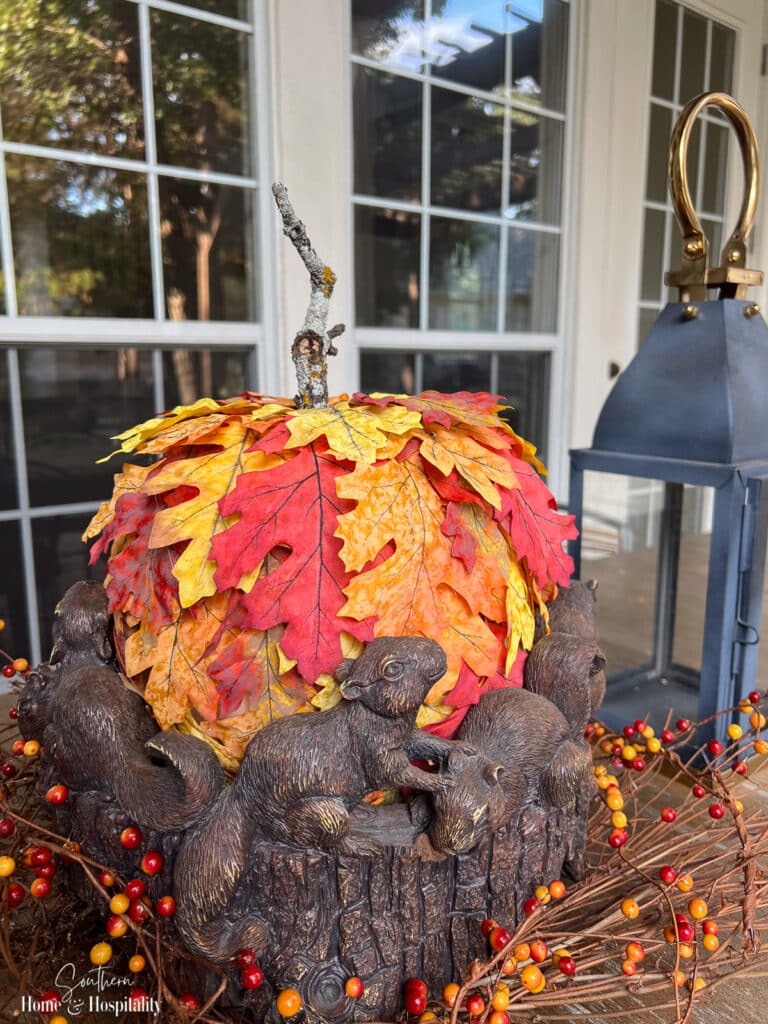
We don’t have the autumn beauty of real leaves this time of year where we live, but I do have this festive pumpkin all aglow with the beautiful colors of fall!
Tips and ideas for this Leaf Covered Pumpkin DIY.
- If you use white pumpkins like I did, you have to watch out for holes between the leaves because that white is easy to spot. In hindsight, orange pumpkins would be more forgiving.
- If you’re using different sized leaves, place a lot of the larger leaves towards the bottom, and reserve smaller leaves for the very top.
- Try and set aside a few smaller leaves in case you need to cover any areas of the pumpkin that you missed.
- Since the goal is to just retain the pumpkin shape, it doesn’t matter what the pumpkin looks like! Use the cheapest pumpkins you can find and reserve your pretty pumpkins for other decorating. This craft is the perfect way to put pumpkins you don’t like to good use. (A plastic pumpkin will even work, although you might not be able to remove the stem.)
- Using leaves of all one color would be super striking—maybe make a pair or trio of pumpkins in traditional fall colors.
- Cover a large pumpkin in leaves for an attention-getting beautiful fall centerpiece for the dining table in colors that match your home decor.
If you use this easy craft or any of my fall posts to help you decorate your home, please share a photo and tag @southernhomeandhospitalityblog on Instagram so that we can all enjoy, and I can share your inspiration in my stories!

Before you go:
As always, I appreciate your visit, comments, and shares here on the blog! I’d love it if you also follow along with me on Pinterest, Instagram, Facebook, TikTok, and YouTube so you won’t miss any of my inspiration and ideas.
Don’t forget to sign up for updates to keep in touch.
If you’re not already a member of the SH&H family, I’d love to have you join me! You’ll not only get email updates, but you’ll have exclusive access to all the bonus materials in my free subscriber-only library, like this:
Pin it to remember it!
If you’ve enjoyed this post, please pin and share this on Pinterest:
