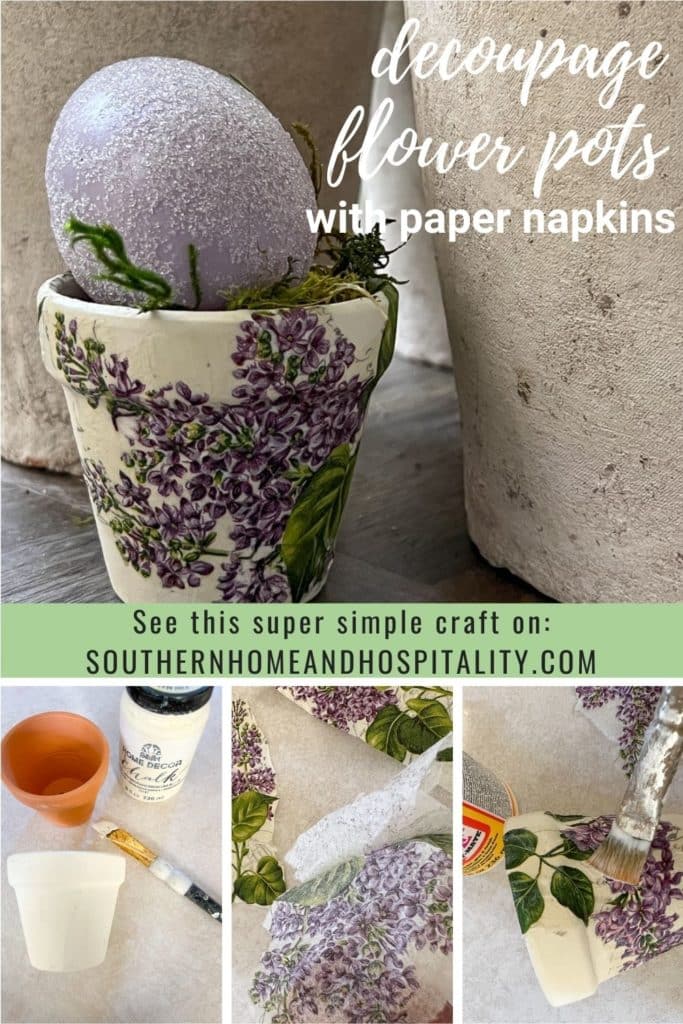
How to Decoupage Flower Pots with Napkins: Fun DIY for Pretty Planters
Inside: Make a beautiful and easy floral decoupage flower pot in minutes with simple terra cotta pots, pretty paper napkins, and Mod Podge!
Torn napkin decoupage is super popular in the Pinterest crafting world. Because it’s fun. And easy. And your artist palette is unlimited. Florals, geometrics, chinoiserie—pick your favorite pattern and “paint” it onto a simple garden pot for an instant handpainted look!
I’d made decoupage Easter eggs with this technique and had always wanted to try it out on garden pots. So when I had a couple of extra pots left over after making the spring vintage flower pot place cards for my Easter tablescape, they became the perfect guinea pigs for me to use for my next decoupage fun project.
Let me show you how very simple these decoupage terracotta pots were to make—it’s one of those truly easy, gratifying crafts!
This post contains Amazon and other affiliate links for your convenience. As an Amazon Associate I earn from qualifying purchases. If you purchase something through any link, I may receive a small commission, at no extra charge to you. I only recommend products that I love or would purchase for myself. See my full disclosure here.
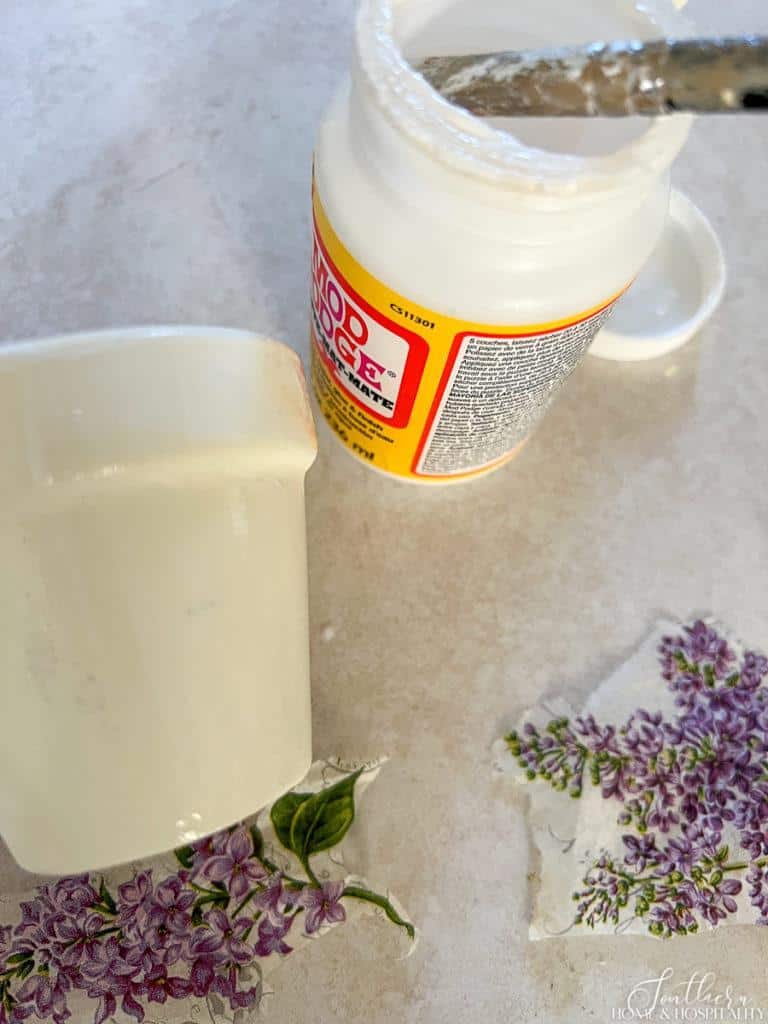
Supplies For Decoupage Flower Pots.
- Terra cotta pots
- Patterned paper napkins or paper guest towels (I used this pretty patterned napkin)
- Mod Podge, matte finish
- Antique white craft paint
- Paintbrush or foam brush
How To Decoupage a Terracotta Pot.
1. Paint the pot.
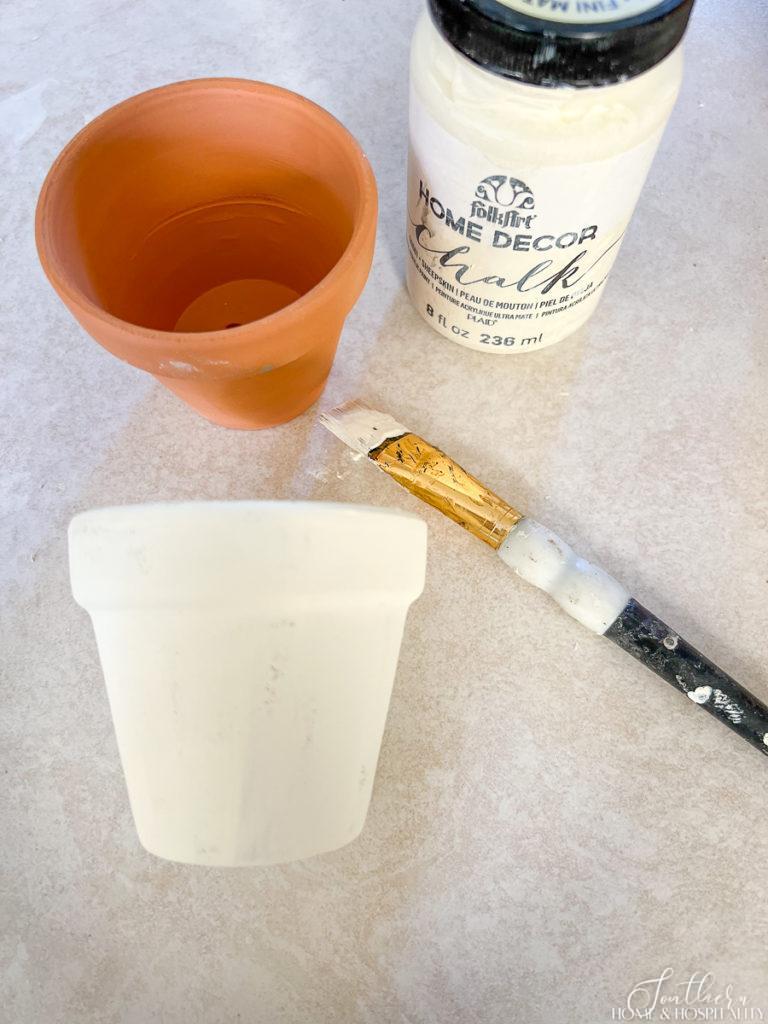
First, paint the orange pot with a coat of soft white paint. The pots are so porous it only takes a few minutes to dry. Paint the inside of the pot too, just in case you ever want to display it empty.
I used chalk paint I had on hand that gave me this nice matte finish.
2. Separate the layers of the napkin.

It’s easiest to separate the whole napkin before you cut out the designs. But in these photos, I was working with scraps I had left over from the Easter egg project so the napkin was already cut up.
You may have never noticed, but most paper napkins are either two-ply or three-ply. You’ll want to separate the napkin layers and use just the very top layer with the print on it.
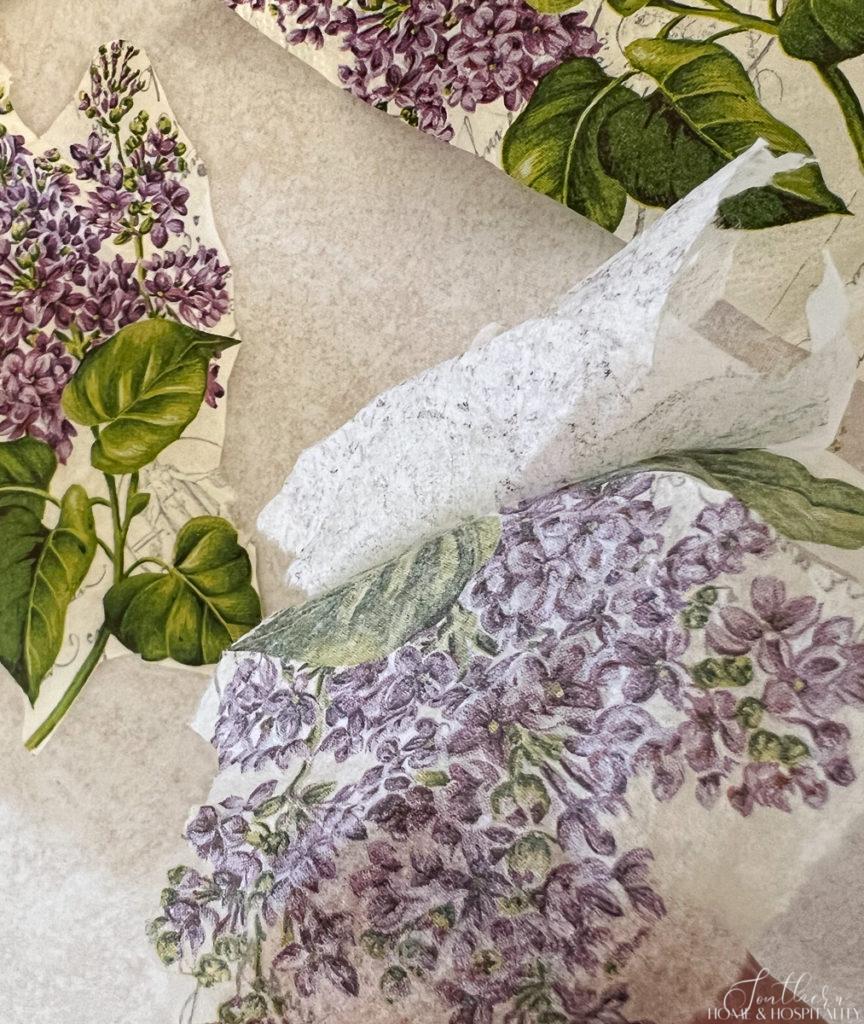
This is honestly the hardest part, but not even hard with this trick to get it started:
Tear or cut off the corner. Holding the edges of the cut in each hand, pull the napkin in and out quickly a few times. You should see the layers start to separate. You can then start to tease them apart and peel away the back white layer. You’ll be left with the printed layer that looks like tissue paper.
3. Cut out the designs.
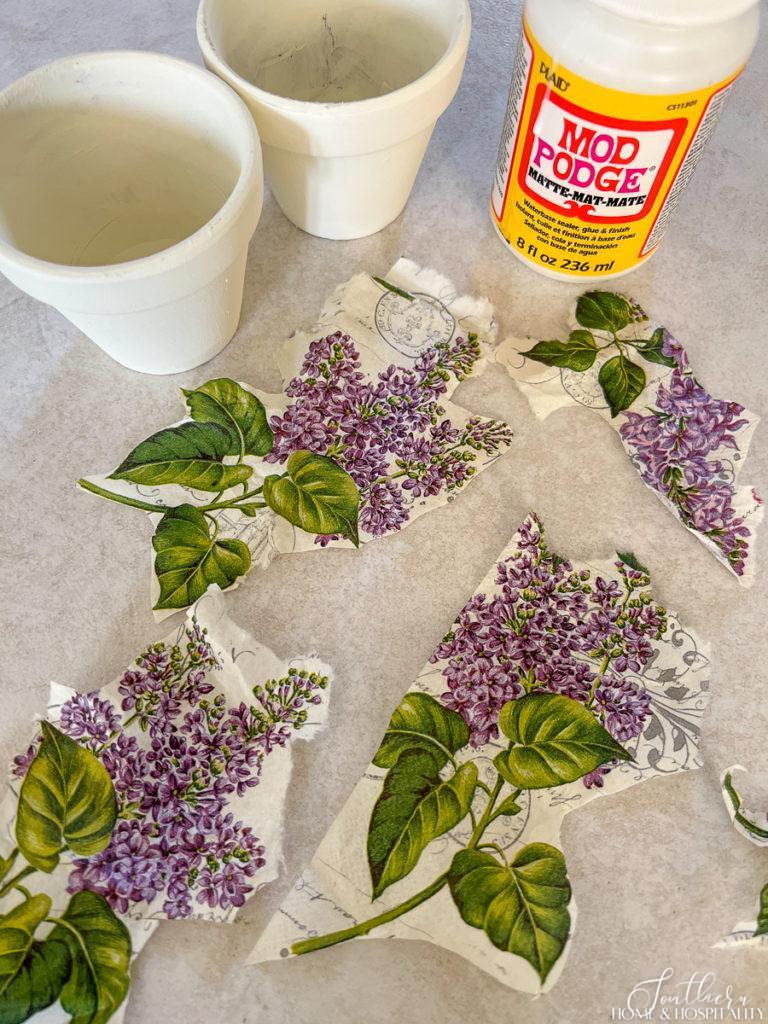
Next, cut or tear out the designs from the napkin you want to apply to the pot. I wanted just the purple flowers from my napkins so I cut out a few of those.
4. Apply the napkin pieces to the pot.
Paint a coat of Mod Podge (a decoupage glue that looks like school glue) onto the pot where you want to apply a design.
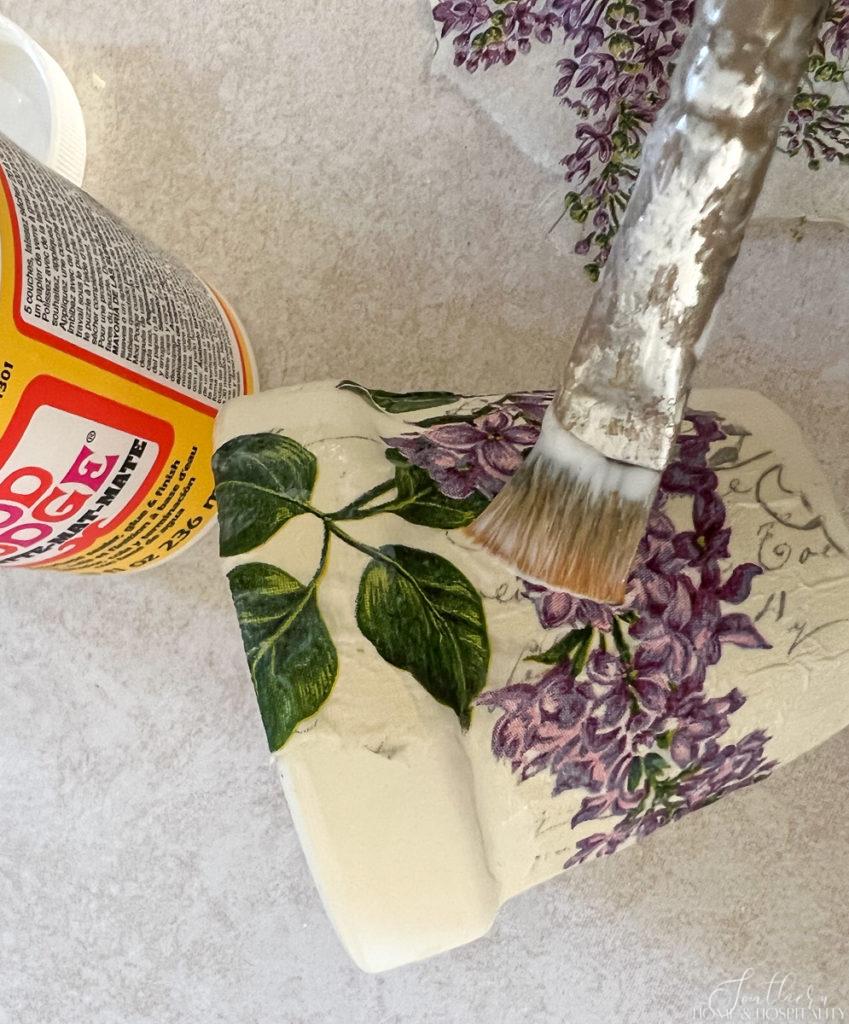
Carefully lay the napkin piece on top of the wet Mod Podge area. Then apply more Mod Podge on top of the design.
You can gently do some smoothing of the paper at the same time with the brush. Don’t worry that the Mod Podge looks white—it will dry clear.
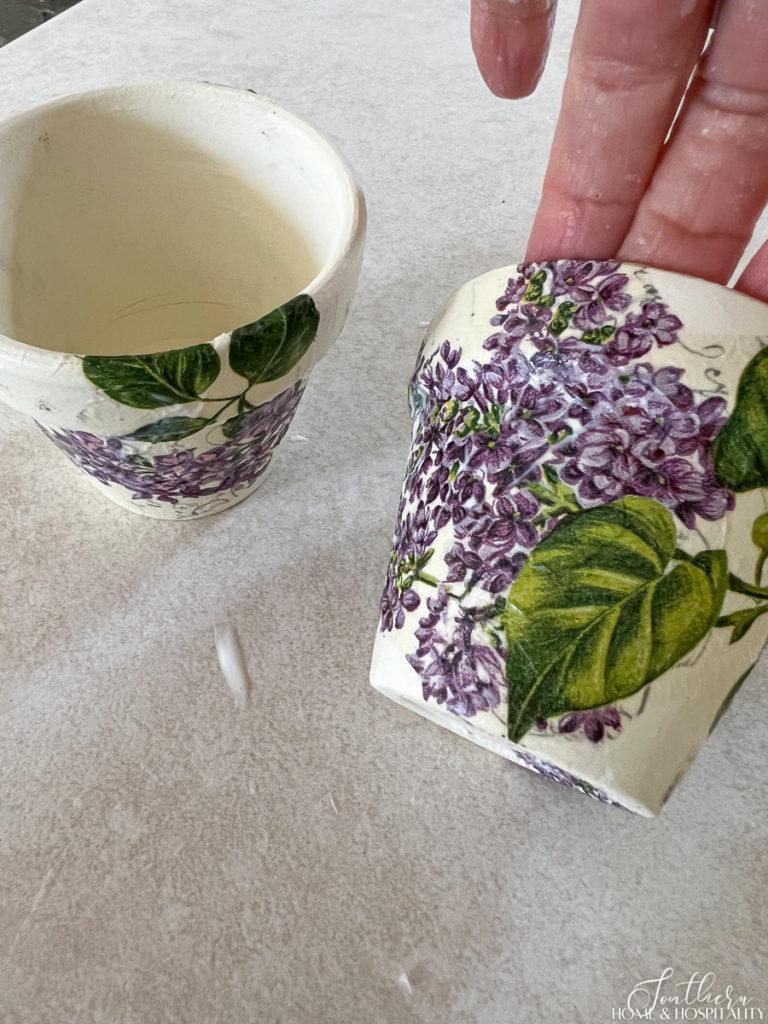
Let the piece dry for a couple of minutes before moving on or the paper tends to pull up when you touch it.
Continue applying the pieces in this way around the pot until you’ve achieved the look you want. I chose to only add two or three pieces to these pots and leave them partially uncovered. You can also cover the entire pot with designs or somewhere in between—all different ways will make for a pretty planter!
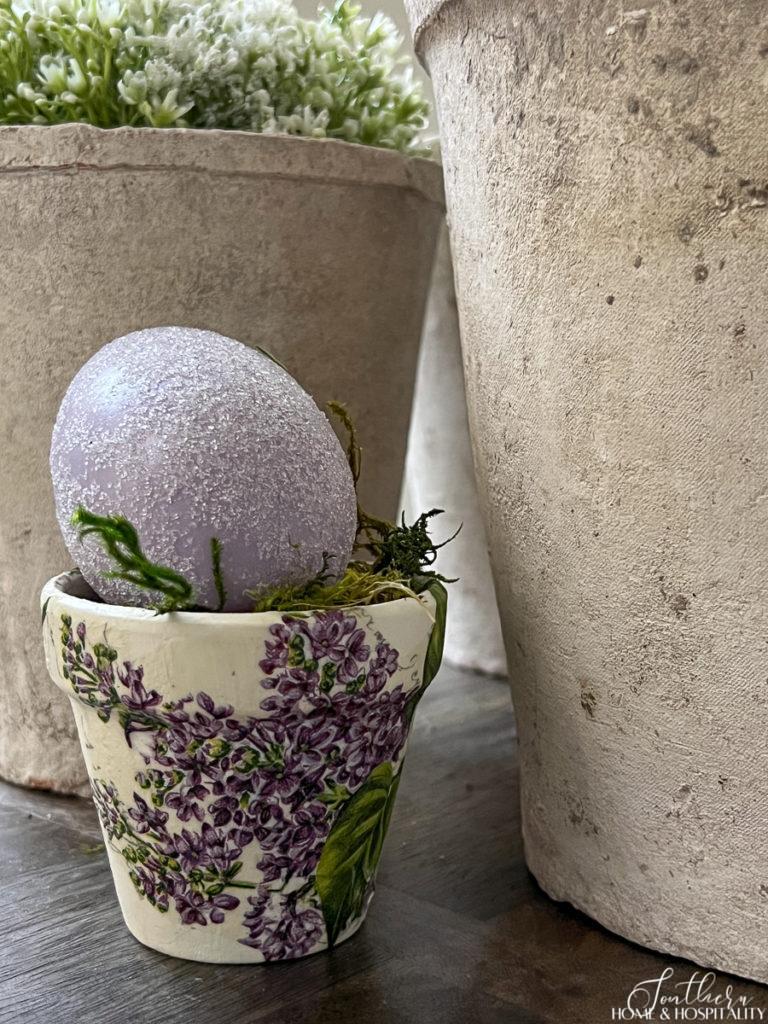
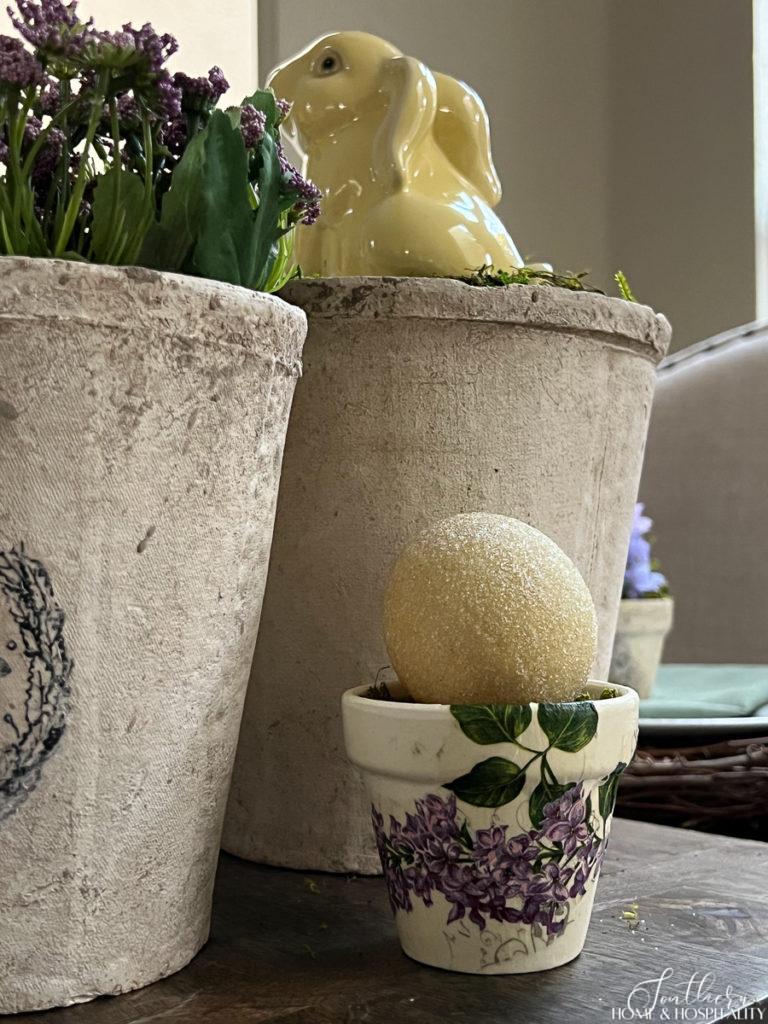
I’m no artist but this craft lets me create pots that look hand painted. I popped some moss and an Easter egg inside the pots and they became a cute addition to my Easter garden theme table centerpiece.
You definitely don’t have to be crafty to make this decoupage project. And it doesn’t cost much—only one or two pretty napkins and the cost of the pot. And terra cotta pots are cheap. You may already have pots lying around, or you can pick some up at Dollar Tree or a local flea market. You could even use this same technique on some inexpensive plastic pots.
I hope you give this fast and fun craft a try to add some of your own sweet little custom pots to your spring decor.
Maybe people will even think you painted them.😉

Before you go:
As always, I appreciate your visit, comments, and shares here on the blog! I’d love it if you also follow along with me on Pinterest, Instagram, Facebook, TikTok, and YouTube so you won’t miss any of my inspiration and ideas.
Don’t forget to sign up for updates to keep in touch.
If you’re not already a member of the SH&H family, I’d love to have you join me! You’ll not only get email updates, but you’ll have exclusive access to all the bonus materials in my free subscriber-only library, like this:
Pin it to remember it!
If you’ve enjoyed this post, please pin and share this on Pinterest:
This is such a beautiful idea that I still haven’t tried myself. I love the pattern you picked. The purple is so pretty!
Kate these are super cute. I love the color in the napkins, I can see hyacinth in a pot like that. Pinned.
I am always a lover of decoupage pots and these are gorgeous! I am in love with the napkins you used for these! Pinning it!
Kate, I love your pots. Those napkins that you found are lovely and perfect for spring.
I’m making a note to look for napkins next time I’m in HomeGoods! I love these cute little pots and think they would so pretty in a spring tablescape! Pinning!
Kate, your decoupage pots are just beautiful! I love the pretty purple flowers, and yes, they do look hand-painted!
I love decoupage projects, Kate, and you’ve done a great job of explaining the process. Your flower design is lovely and perfect for spring. Thank you are sharing at Celebratw the Holiday.
HI Kate! I love this and the napkin is perfect. I need to try this trend! Great job, laura
These garden pots are so cute! I love them. HUgs to you.
Beautiful!
Where do you find flowered napkins?
Thanks Peggy! I’ve found them at Amazon, Bed Bath and Beyond, Homegoods, and gift shops. The ones I’ve used with the pretty prints are usually the paper “guest towels”.
Are these paper napkins? Do they stay glued to the pots or is the design transfered? It’s absolutely beautiful!
Thank you! The very thin top layer with the napkin print on it is basically glued to the pot with Mod Podge. It’s so easy you should give it a try!
iI am curious if this is done on a terra cotta pot that you plan to grow plants in if it will affect the ability for the pot to absorb the water up into the pot from the terra cotta tray? Please advise..
If you only paint the Mod Podge on the outside and not on the bottom, I wouldn’t think so. But the Mod Podge itself probably will not stand up to getting very wet, so I would water the plant carefully. Thanks for your question!
This is so pretty. I love it. I would love it if you would share this on the Fabulous Friday Link Party. You can find the link on my website. Hugs to you, my friend.
Would love to Renae! Thank you!!