How to Make an Easy Bow for a Wreath in Minutes
Inside: An easy tutorial for how to make a wreath bow. Change the look of a wreath or decor for any season with a beautiful new bow anyone can make!
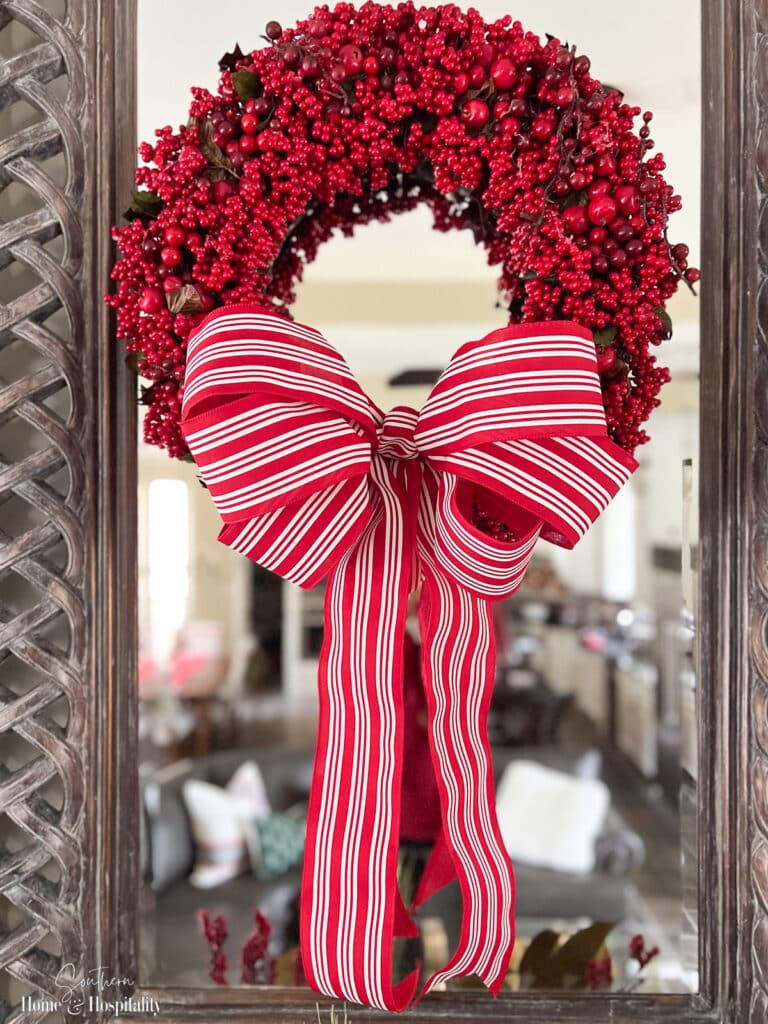
Putting the special finishing touch on a wreath, or changing the look of an old tired one is just a matter of a new beautiful bow! With all the cute ribbon available in the craft stores you can give a wreath a makeover in just minutes.
Think you don’t have the skills? Think again. Because the method I use is super simple. It doesn’t require a special bow-making tool, hot glue, or even the fear of your fingers losing their grip on your hard work before it’s tied off.
This post contains Amazon and other affiliate links for your convenience. As an Amazon Associate I earn from qualifying purchases. If you purchase something through any link, I may receive a small commission, at no extra charge to you. I only recommend products that I love or would purchase for myself. See my full disclosure here.
Supplies needed to make an easy wreath bow.
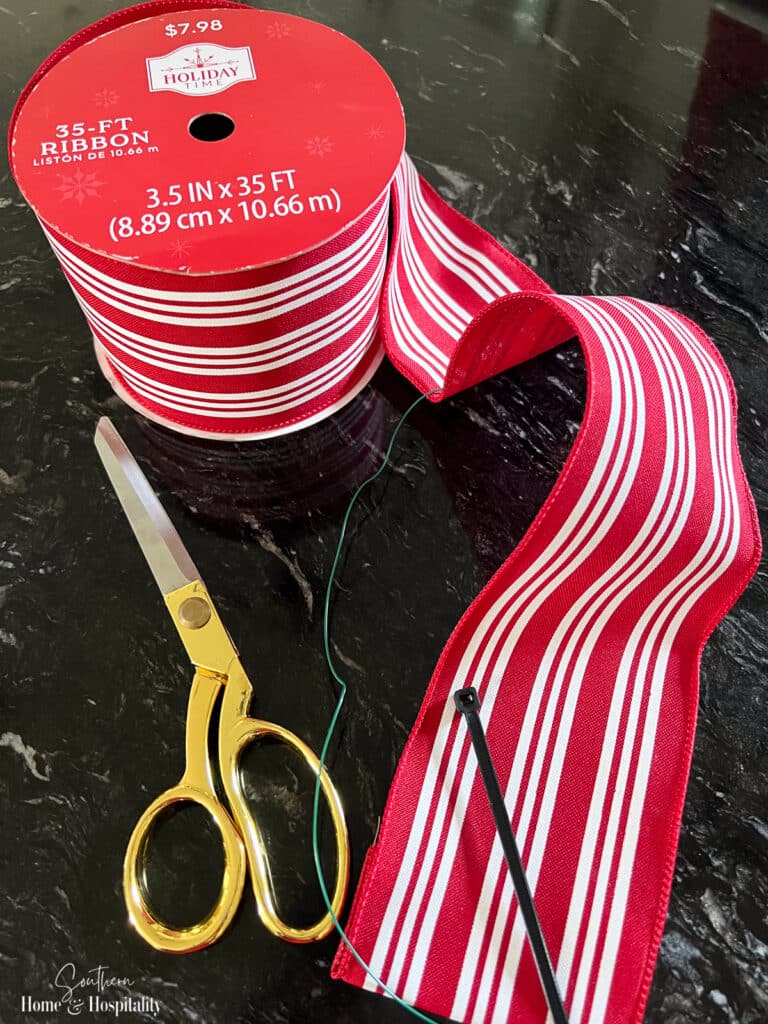
- Ribbon (Although you can make bows this way with different types of ribbon, wired ribbon looks best for a wreath bow)
- Zip tie (Or a pipe cleaner, piece of floral wire, or twist tie long enough to secure the bow)
- Sharp scissors
- Floral wire to attach the bow to the wreath
SH&H TIP
Use wide ribbon to make a larger bow with large loops and make smaller bows with more narrow ribbon. For nonwired ribbon, use smaller loops.
The easy steps to make this simple bow.
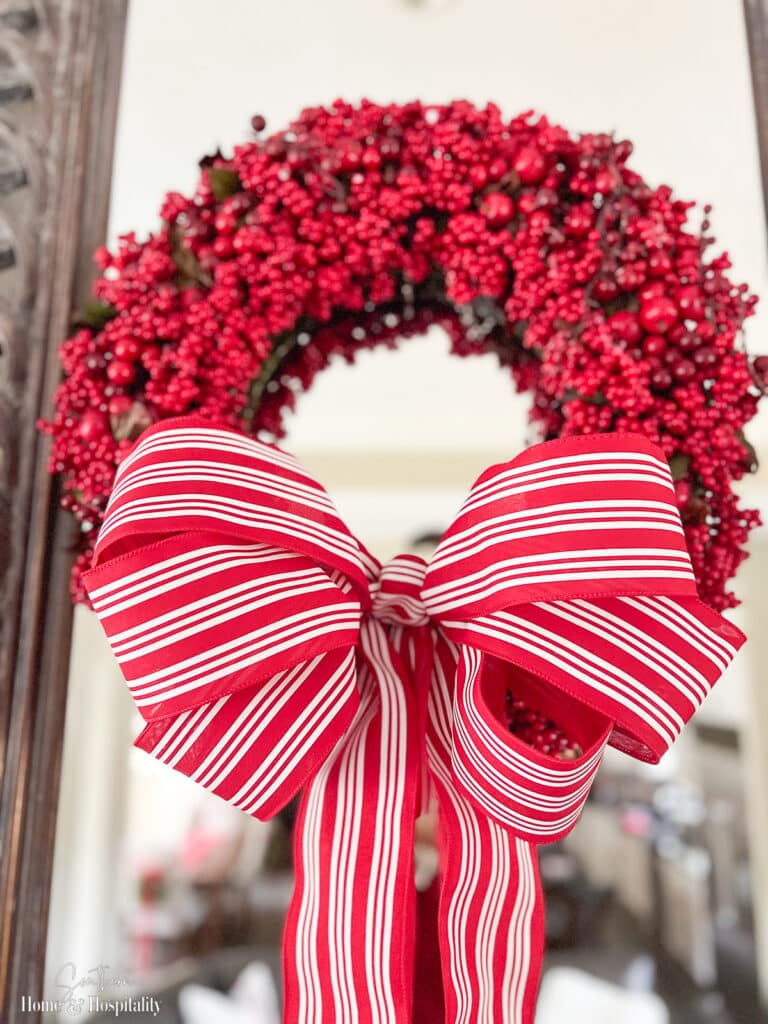
I’ll show you step-by-step how I made a six loop bow, but the process is the same for two, four, six, eight (who do we appreciate—sorry), and more loop bows.
If you’re more of a visual learner, I’ve included a quick video at the bottom of this post.
1. Make the first loop with the ribbon. The size of this loop will determine the width of your bow with allowance for fluffing.
Then bring the end of the ribbon a little past the center:
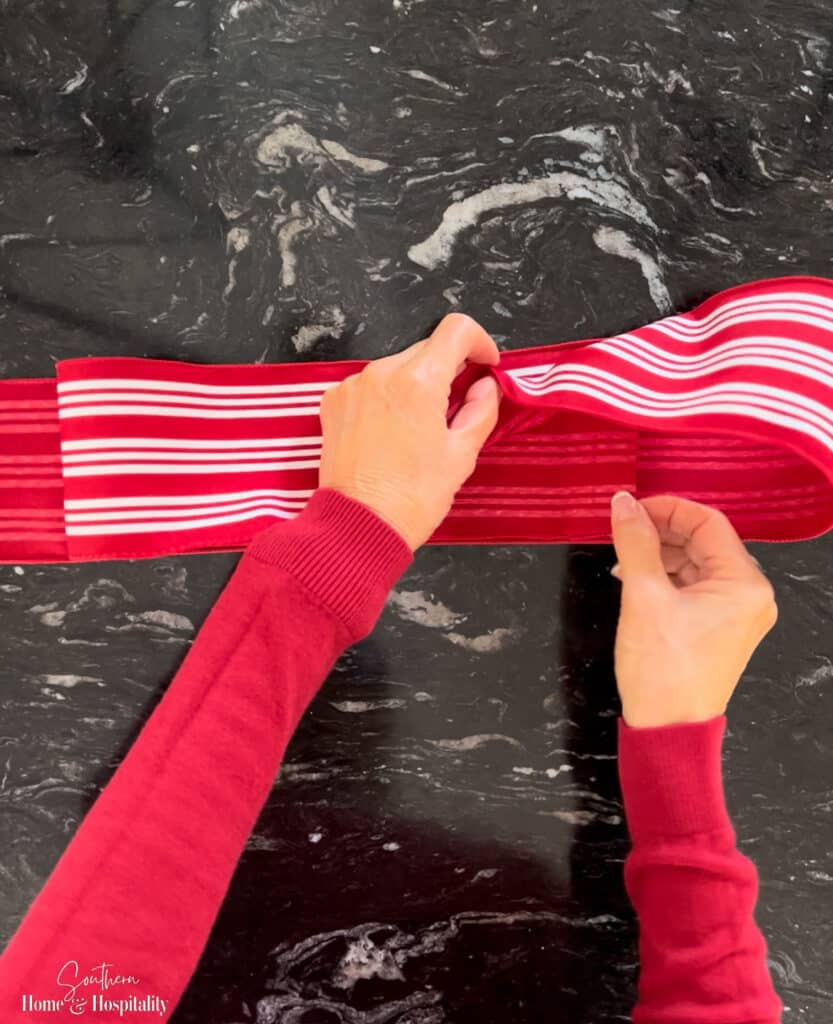
I wanted to make a fairly big bow with this 3.5 inch wide ribbon, so I made sure to make my first loop large enough.
2. Wrap another loop of ribbon around the first loop.
Then wrap one more time until you have three layers of ribbon on each end:
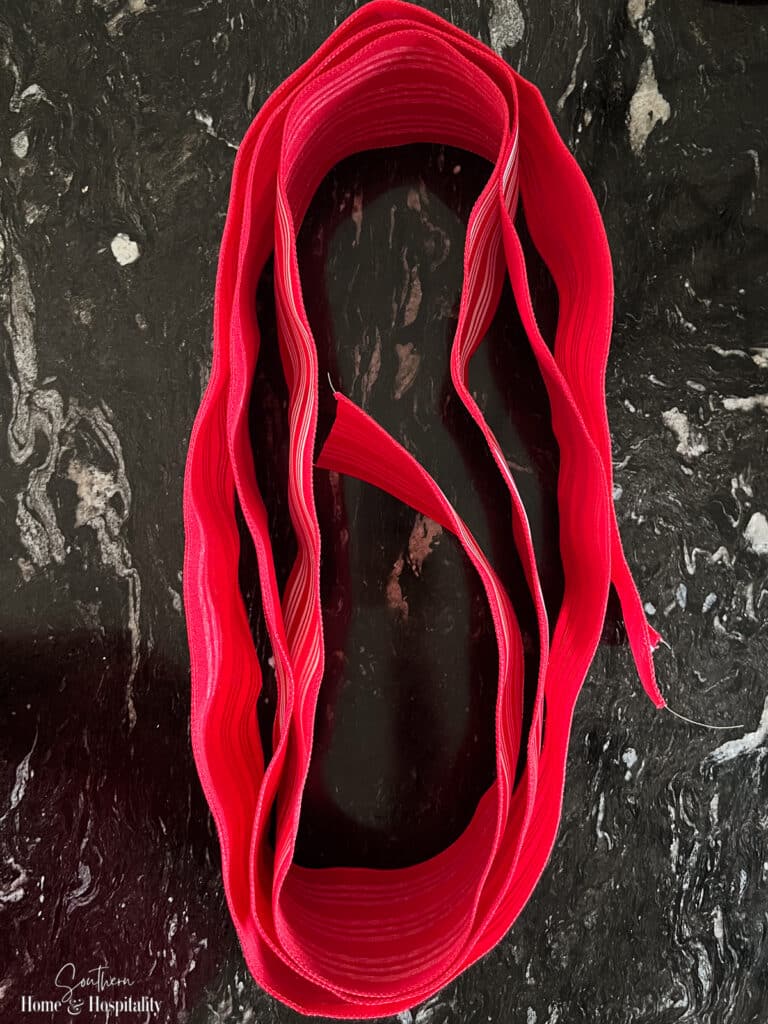
3. Cut the ribbon, ending it a little bit past the center again, so that the zip tie will catch both ends of the ribbon in the middle of the loops.
The number of loops or circles you make will determine how many loops you’ll have on each side of the finished bow.
4. Set aside the looped ribbon to make the other two pieces:
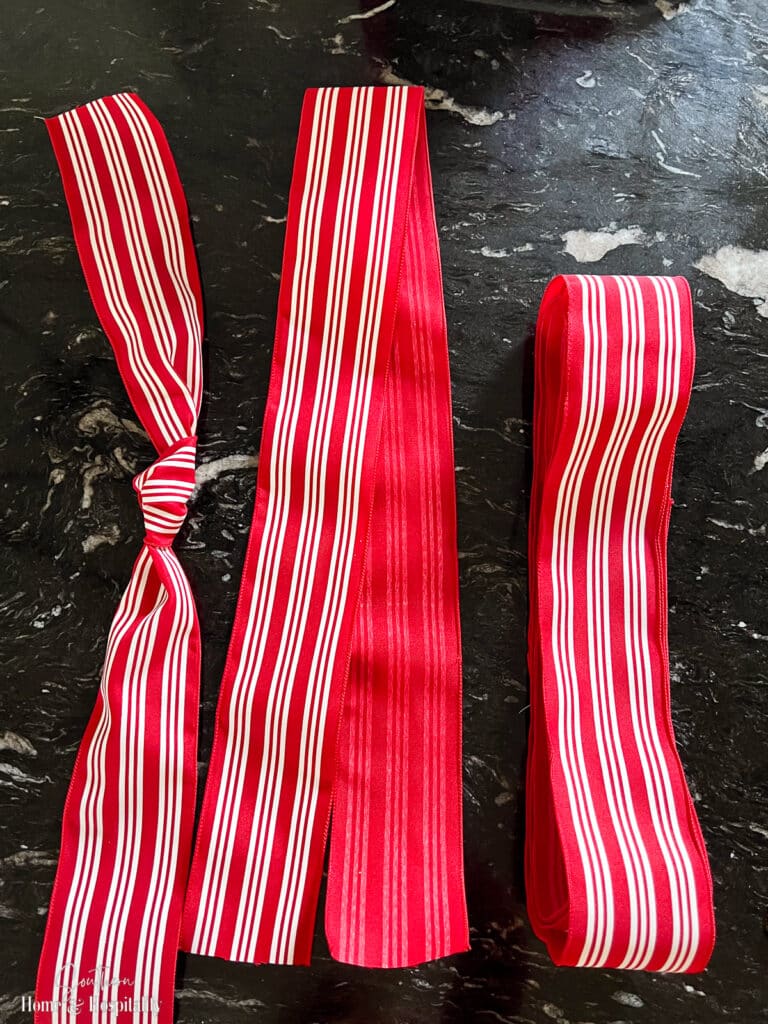
- Make the tails: Cut a piece of ribbon the desired length of each ribbon tail when folded in half.
- Make the knot. Cut another piece of ribbon long enough to be able to easily tie the first knot and another knot around the bow. (If you want to use this piece to tie the bow onto anything leave it extra long.) Then tie a knot in the middle:
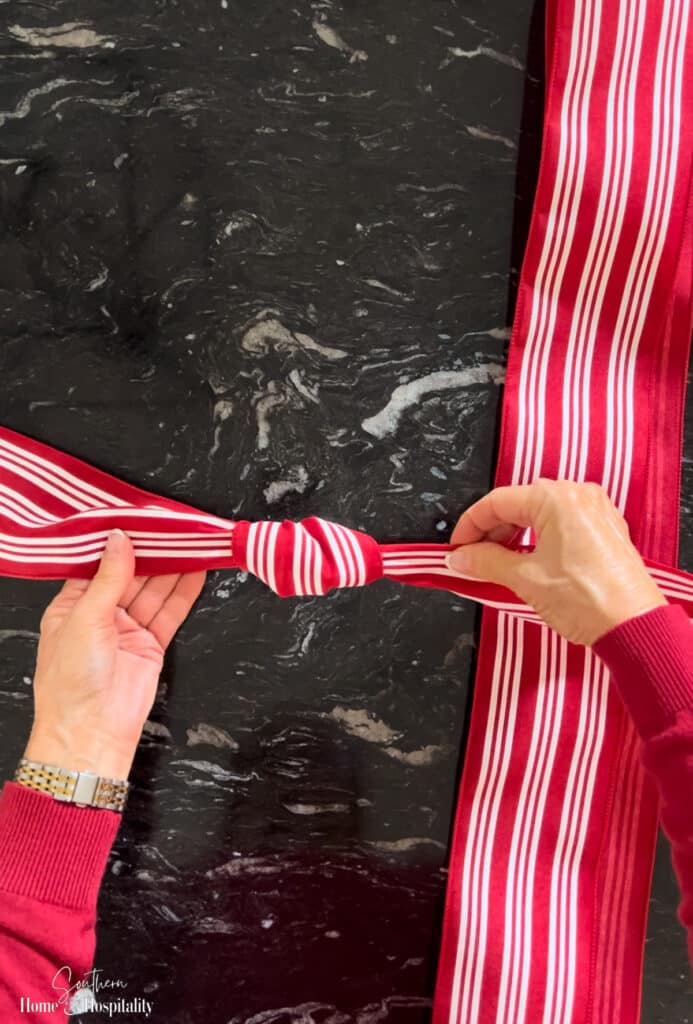
5. Fold the looped ribbon in half to find the middle, then fold/pinch the center together:
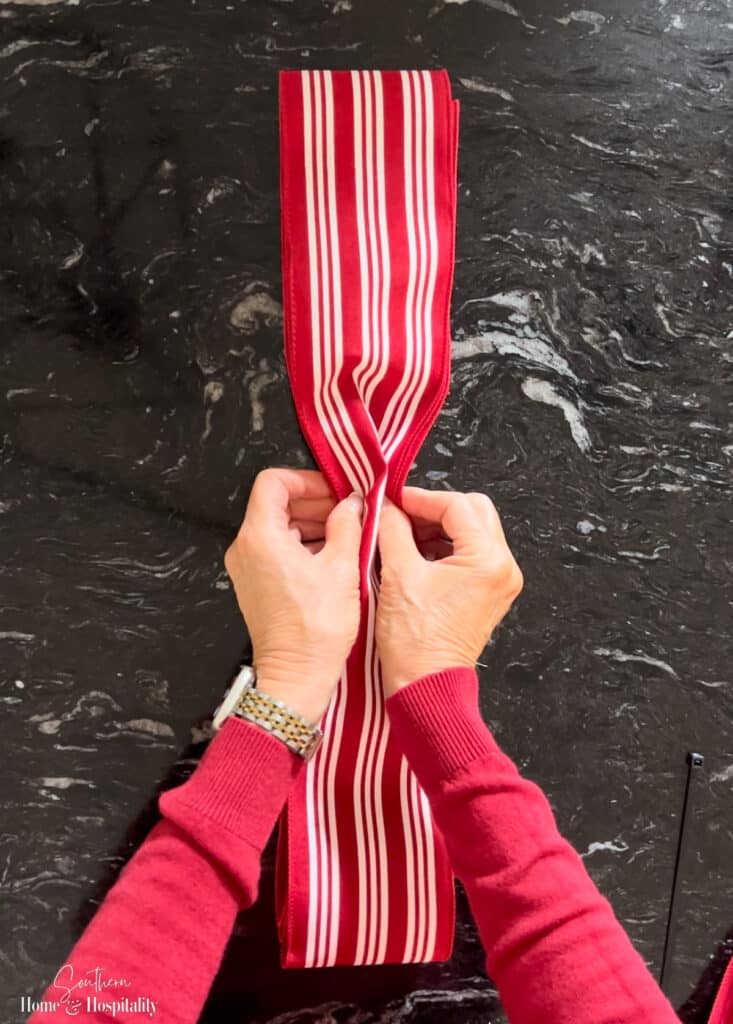
6. Fold the tails piece in half, pinch the center, and hold it against the bottom of the pinched loops:
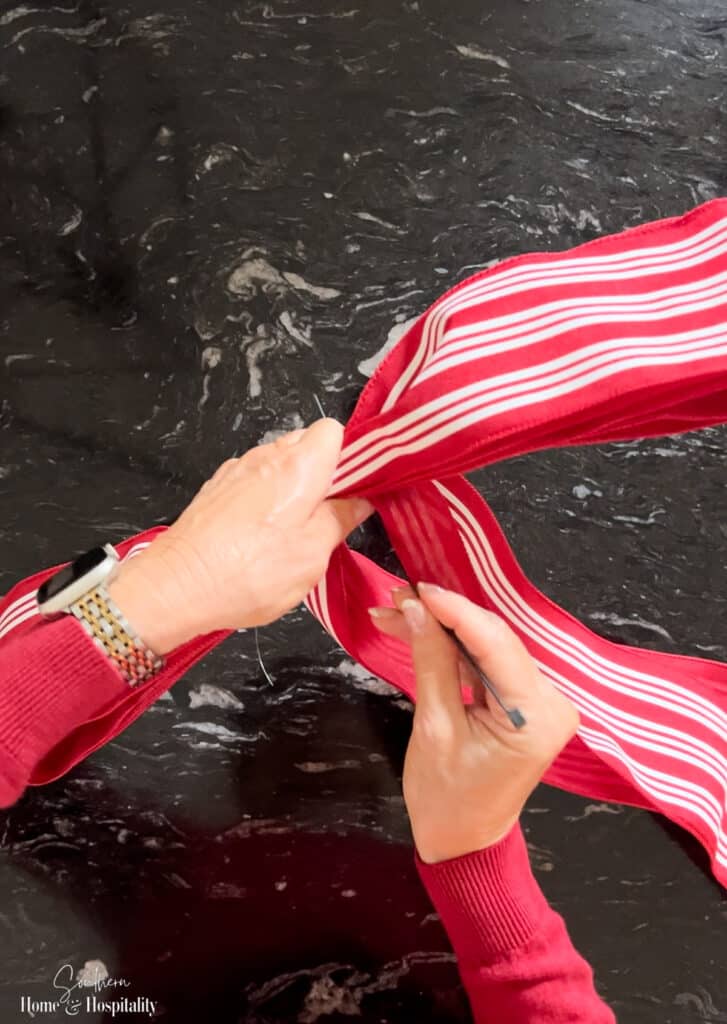
7. Wrap the zip tie around the center of the pinched loops and tails piece and pull it tight, bringing the connection part to the back of the bow. Then cut off the excess zip tie.
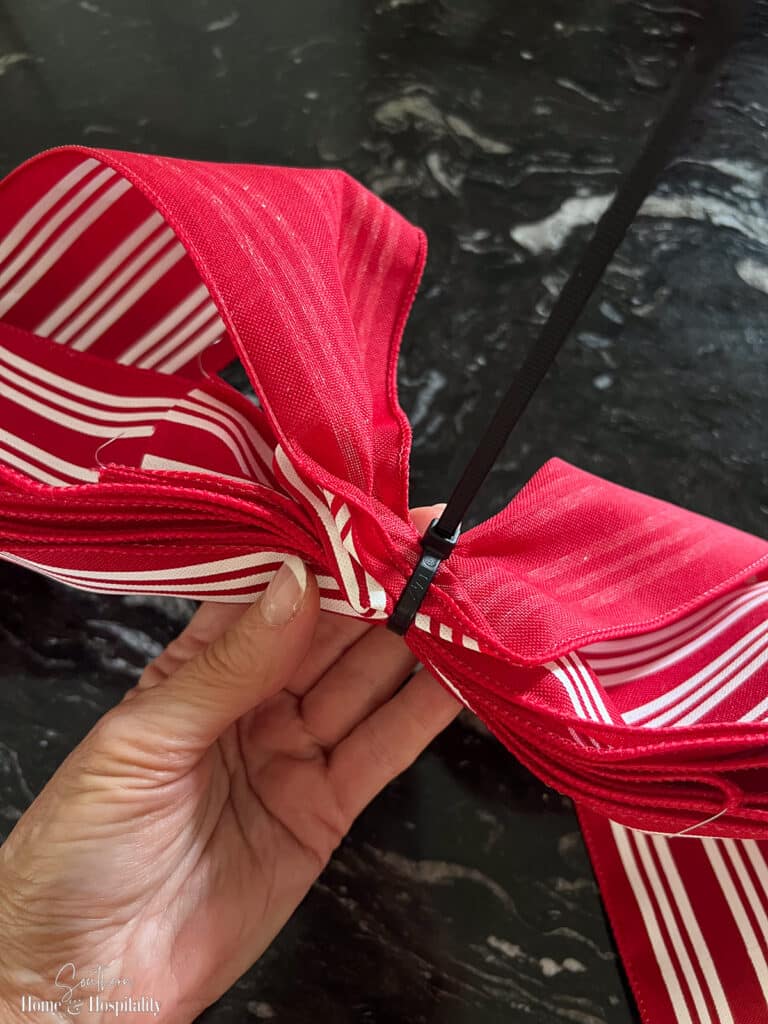
You can also use wire or a pipe cleaner if you don’t have a zip tie. For me, zip ties are just so easy to pull nice and tight.
8. Place the knotted part of the last piece over the center of your bow in the front.
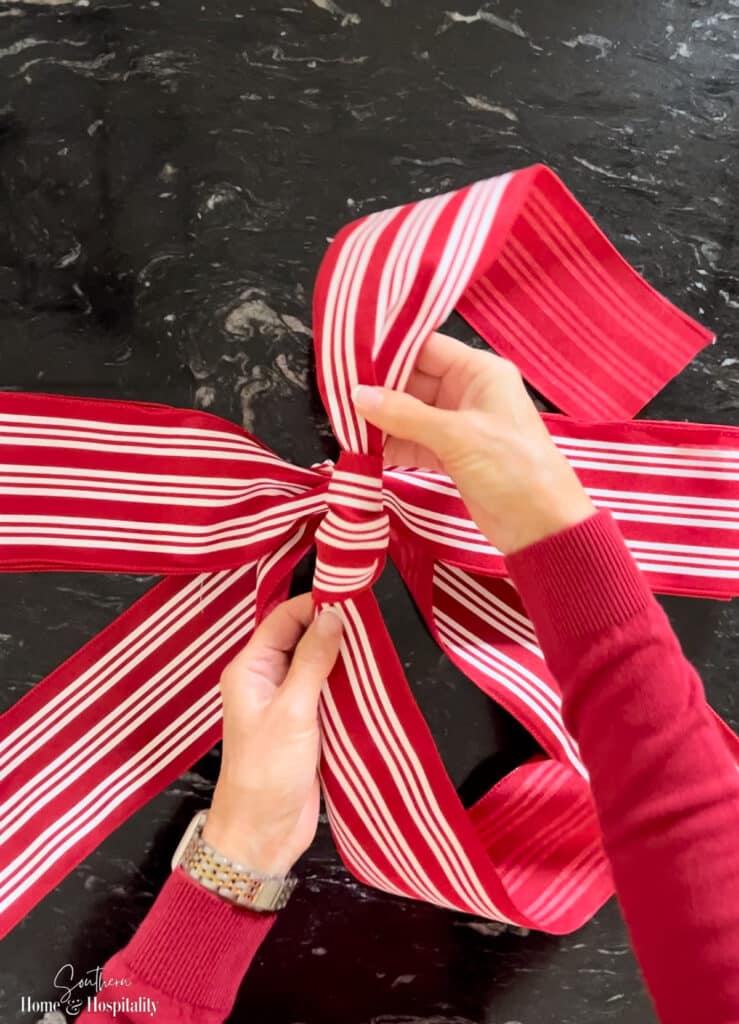
Flip the bow over and tie the tails of this piece in a knot on the back over the zip tie.
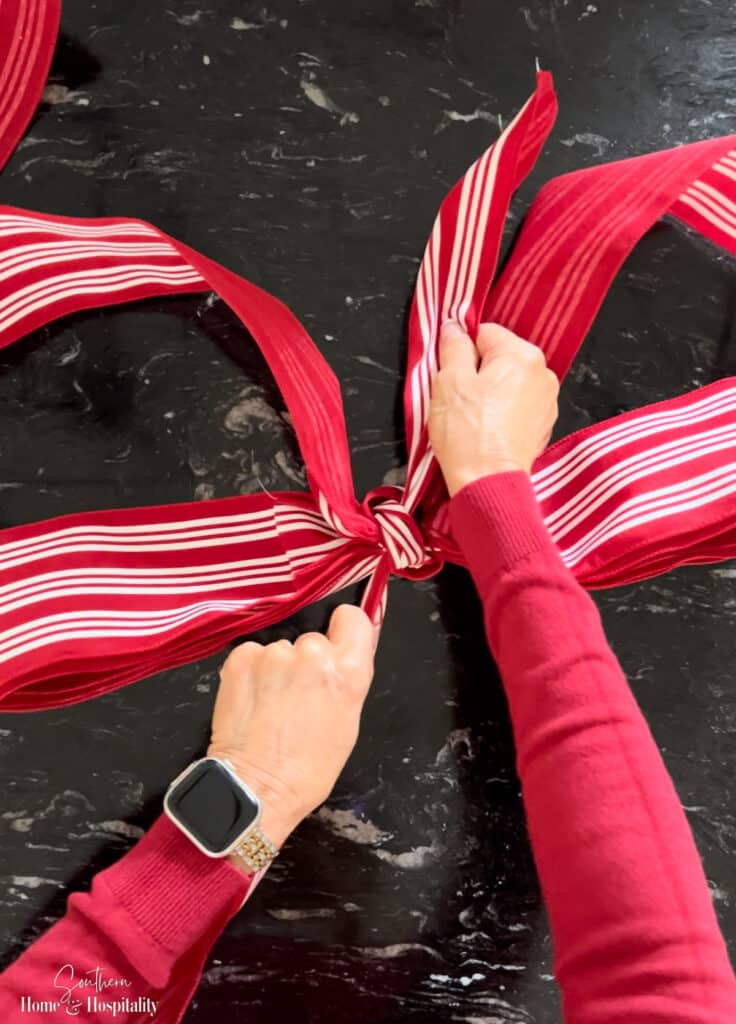
At this point, decide how you’ll attach the bow to your wreath or decor. You can either:
- Run a piece of floral wire through the back of this knot and cut off the knot streamers enough so they won’t show from the front.
- Or leave these streamers long and use this ribbon to tie the bow onto the wreath form or decor.
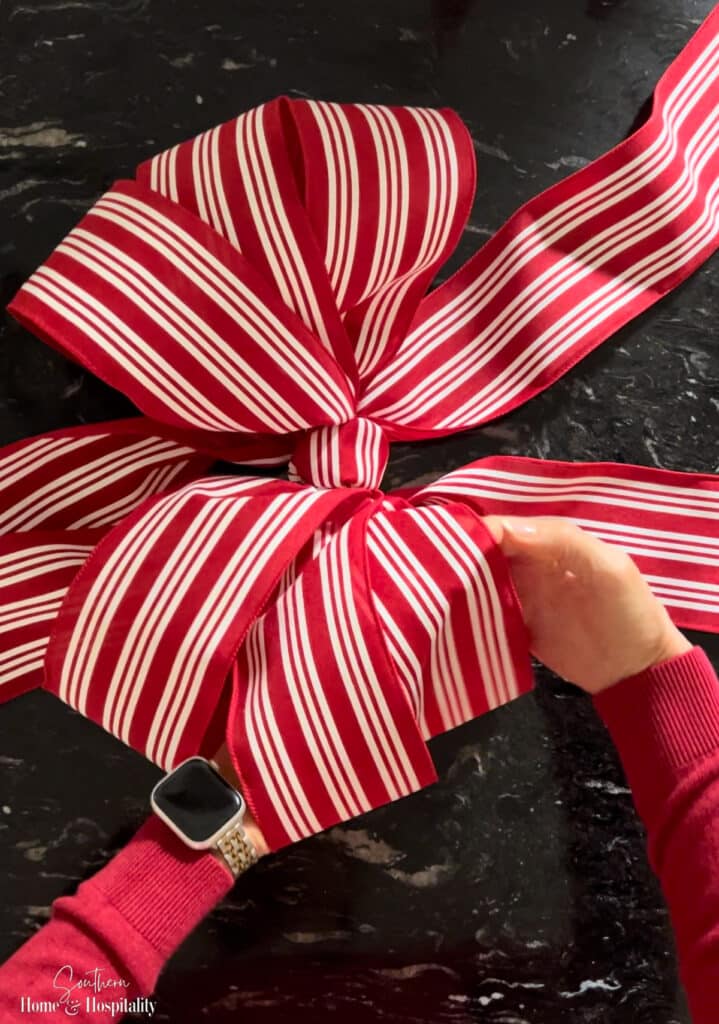
9. Pull apart and fluff out the loops. Pull the inside loops out to either side in different directions on one side of the bow and then repeat on the other:
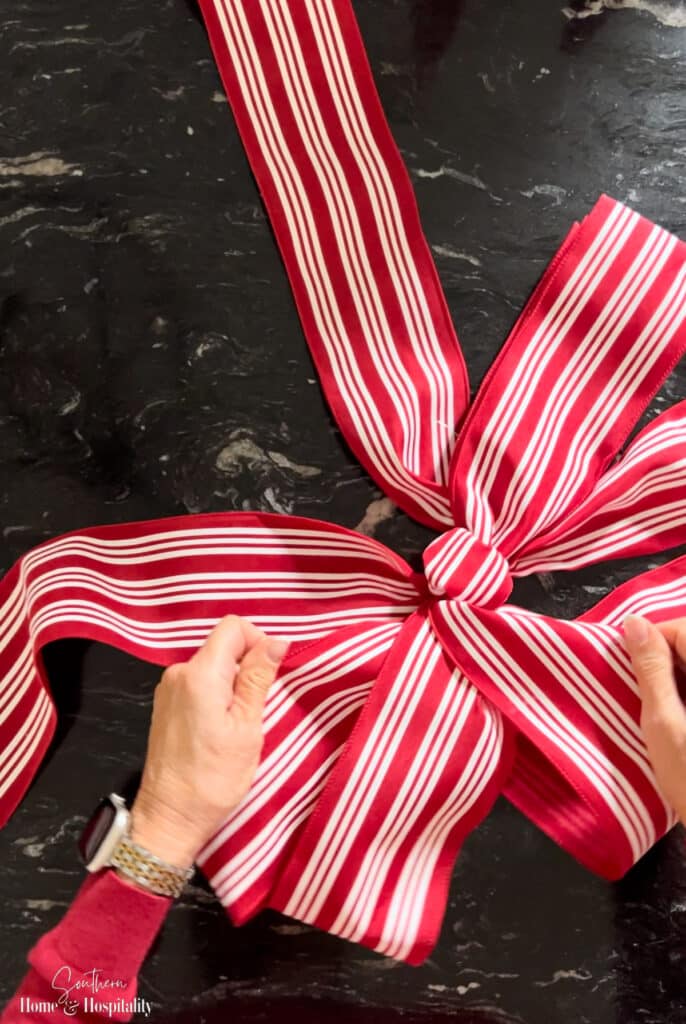
Then fluff up and shape the wired ribbon loops:
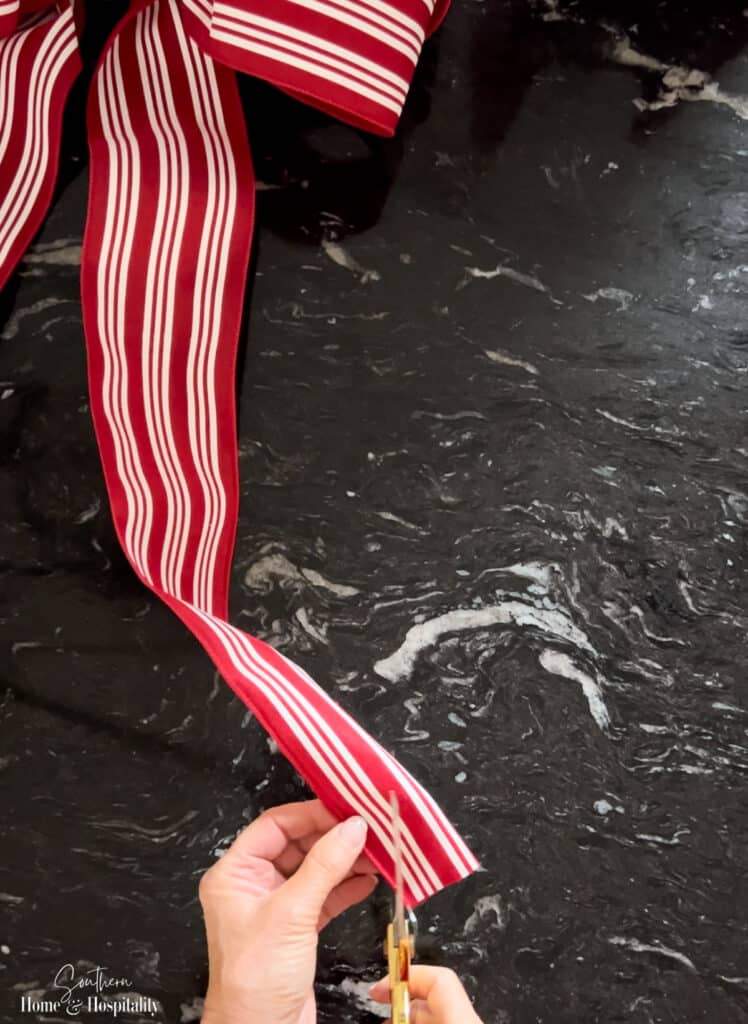
10. Cut the ends of the tails. Finish the end of each streamer with a dovetail cut by folding the ribbon in half vertically and cutting at a diagonal starting at the bottom left:
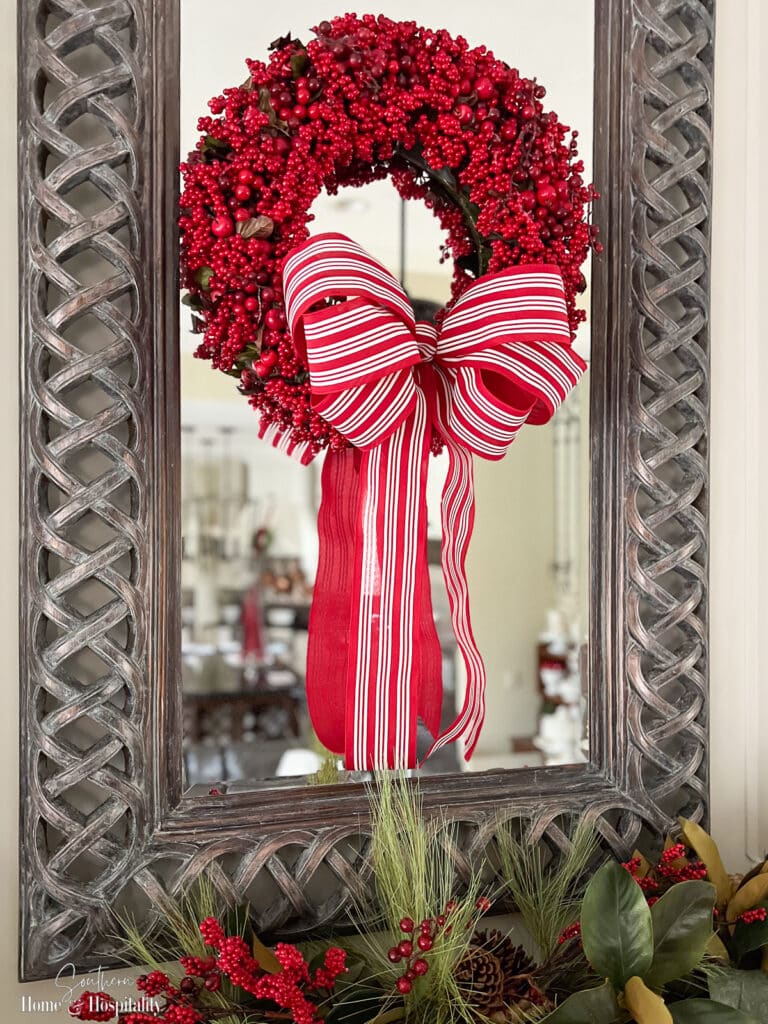
Then attach the bow to your wreath or decor and do the final shaping!
I tied this one onto the berry wreath using the long streamers of the knotted piece:
This holiday season I used a wide pretty plaid ribbon and a simple double loop Christmas wreath bow. (See it the kitchen and family room tour later this week!)
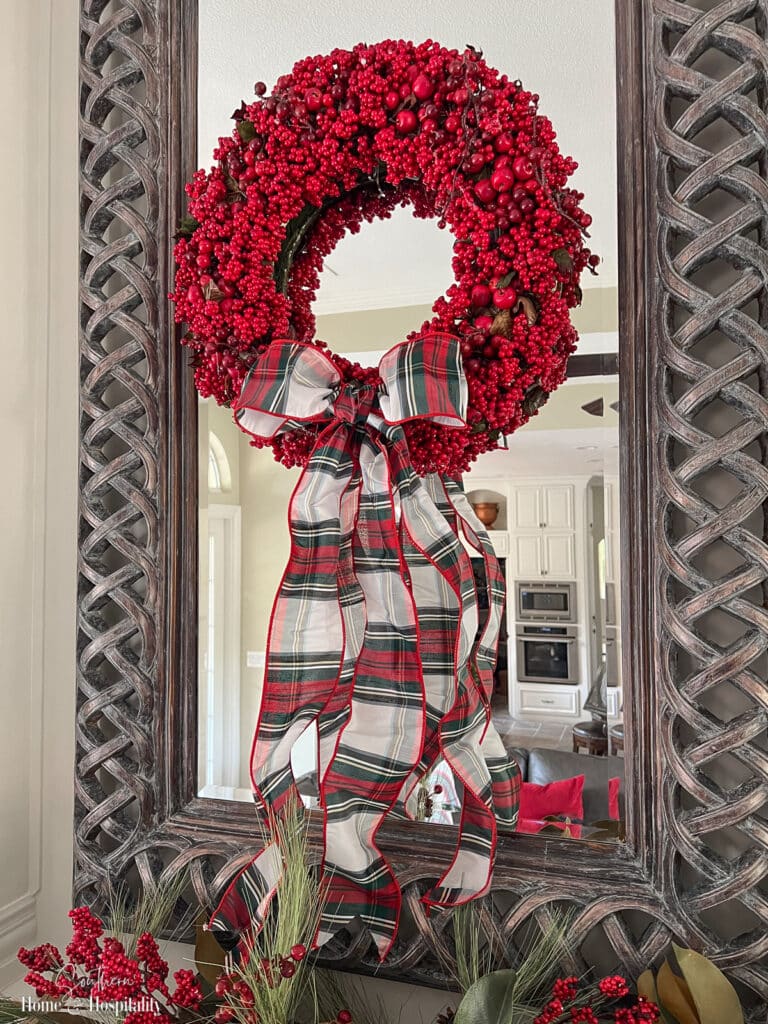
I had an extra ribbon scrap so it got double tails too.
This bow technique is not just for wreaths. Once you see how easy this is, you may start putting bows everywhere! I’ve used them in so many different ways.
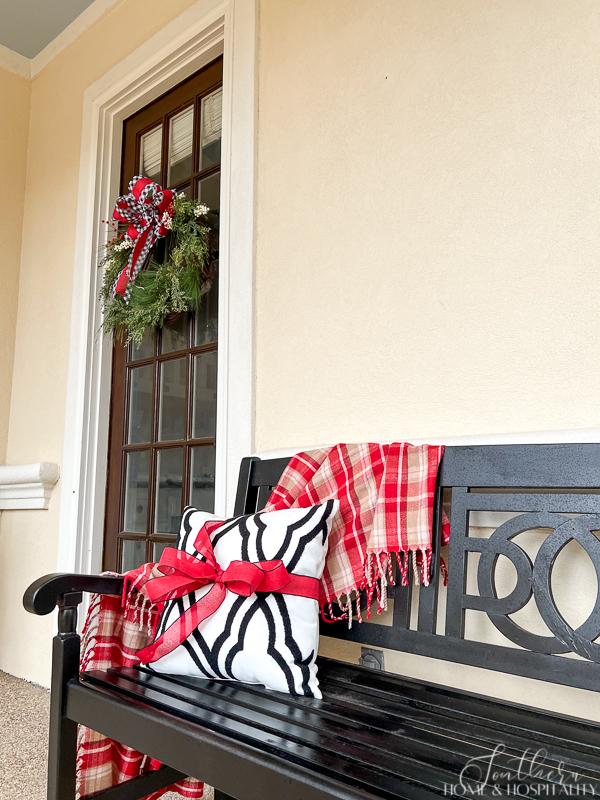
I updated this wreath on the side yard porch with a red and buffalo check ribbon and even added a quick bow to the throw pillow in a coordinating burlap ribbon.
I’ve tied them on the lantern and a tree by the front door:
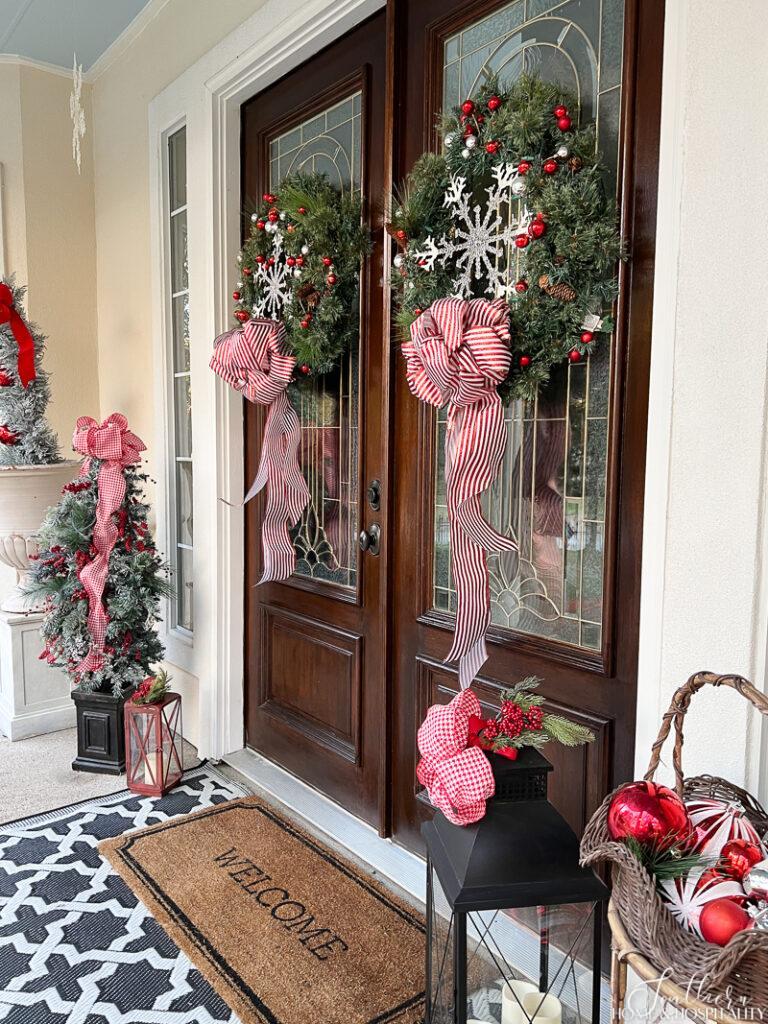
See the full tour of our outdoor holiday decor in the post, “Christmas Southern Porch Ideas and Inspiration“.
I’ve made tree toppers for the Christmas tree using 3-4 bows that look like one big one:
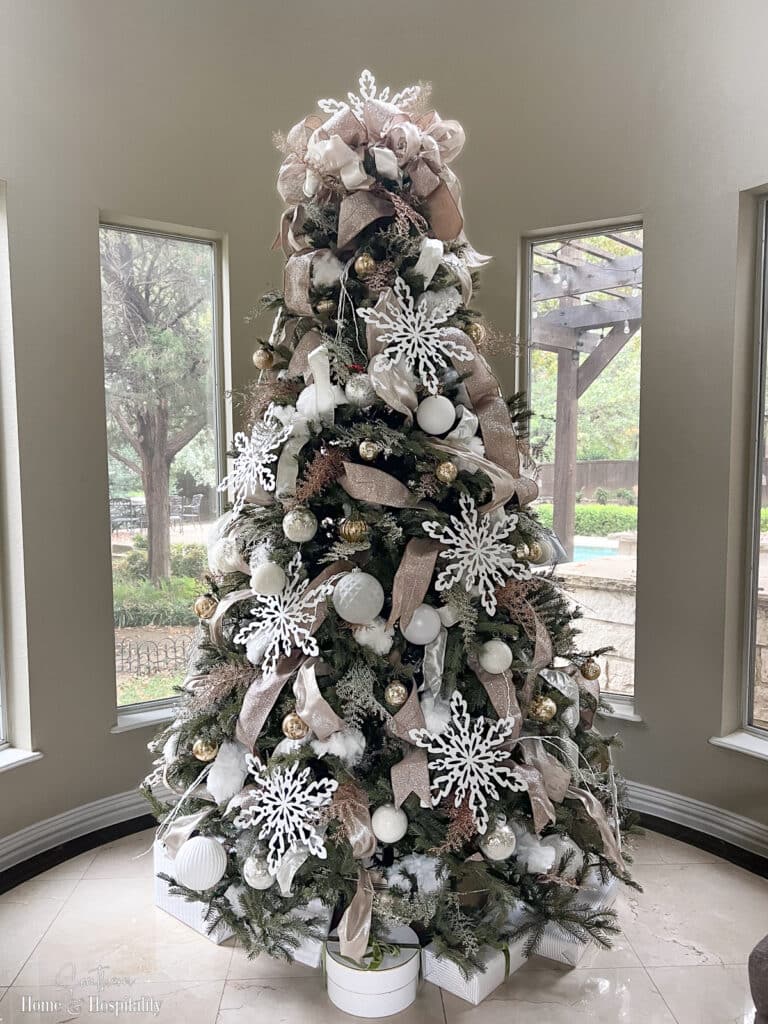
See simple tips for putting on the ribbon in the post, “How to Put Ribbon on a Christmas Tree the Easy Way!”
And it’s also a perfect bow for gifts. Here I’ve used a nonwired satin ribbon:
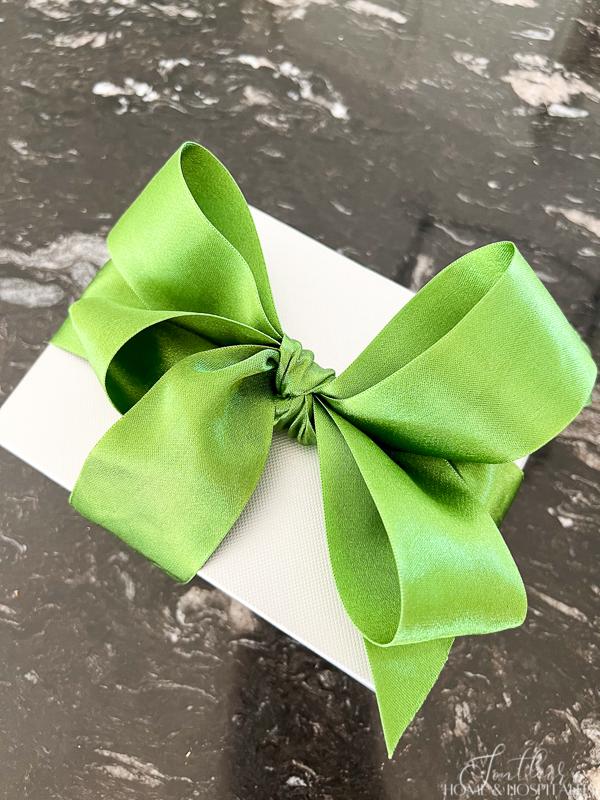
See another quick way to tie a gift bow in the post, “How to Tie an Easy Gift Bow“.
Video with step-by-step instructions.
And here’s a really short video so you can see how fast and easy this really is:
Happy Holidays!

Before you go:
As always, I appreciate your visit, comments, and shares here on the blog! I’d love it if you also follow along with me on Pinterest, Instagram, Facebook, TikTok, and YouTube so you won’t miss any of my inspiration and ideas.
Don’t forget to sign up for updates to keep in touch.
If you’re not already a member of the SH&H family, I’d love to have you join me! You’ll not only get email updates, but you’ll have exclusive access to all the bonus materials in my free subscriber-only library, like this:
Pin it to remember it!
If you’ve enjoyed this post, please pin and share this on Pinterest:


Love the beautiful red wreath & bow!!!
Thank you Marlis!💗
Making bows today.
Perfect timing !
Oh good Marianne! You’ll see how easy this is!!