How to Decorate a Christmas Tree Like a Pro Step by Step!
Inside: An inside look at the entire process and secrets for decorating a Christmas tree from a professional tree decorator!
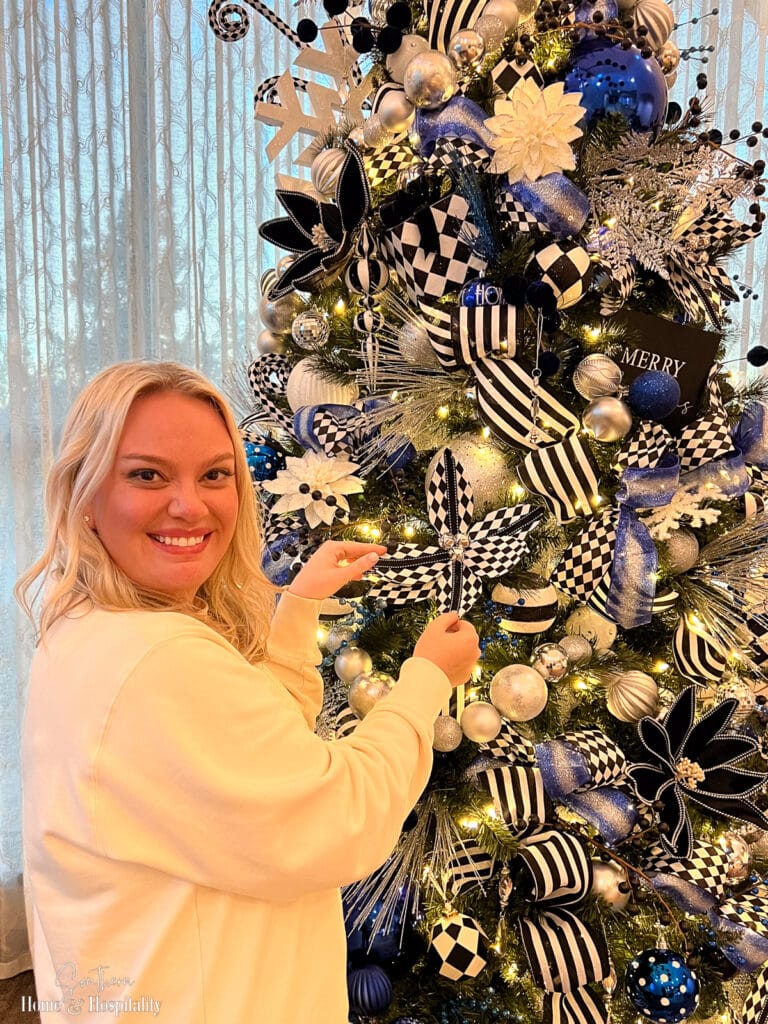
I’ve always wondered what goes into all those gorgeous Christmas trees that I see in stores. You know the ones. Loaded down from their trunk to their tips with a bazillion ornaments.
I thought to get the same look I’d have to: 1) have a bazillion ornaments, 2) pay for a bazillion ornaments, 3) store a bazillion ornaments, and 4) hire a professional designer to make them all look that way.
But I had the privilege of watching a tree decorating professional make the magic happen from start to finish. She transformed a basic green tree that was nothing special into a stunning designer tree right before my eyes. All from only four bins of decor.
Not only did she show me the exact steps she uses, but she taught me all kinds of other secrets and tips. I hit the jackpot—she was so willing to share all of her knowledge with us so we can achieve that same designer Christmas tree look ourselves!
Meet the designer.
In addition to being a wedding planner with her business McKenzie Grace Weddings, Events, and Designs, Christina Lane has been decorating beautiful trees for five years around Dallas/Fort Worth and has been featured in Business Insider. I only had the expectation of quietly watching her decorate, hoping to pick up on a few tricks. But with Christina’s fun personality, it turned into not only a fascinating and complete decorating tutorial but bonus—a thoroughly enjoyable afternoon with lots of stories and laughs with her and her sister, Caitlin. (I feel like all we were missing were some mistletoe mimosas.🥂)
Just in case you live in the area and want to hire her, book early ahead of the holiday season! You can contact her through her Facebook , Tiktok, and Instagram,
Here’s just a sample of some of her past trees, wreaths, and garlands for a little inspiration:
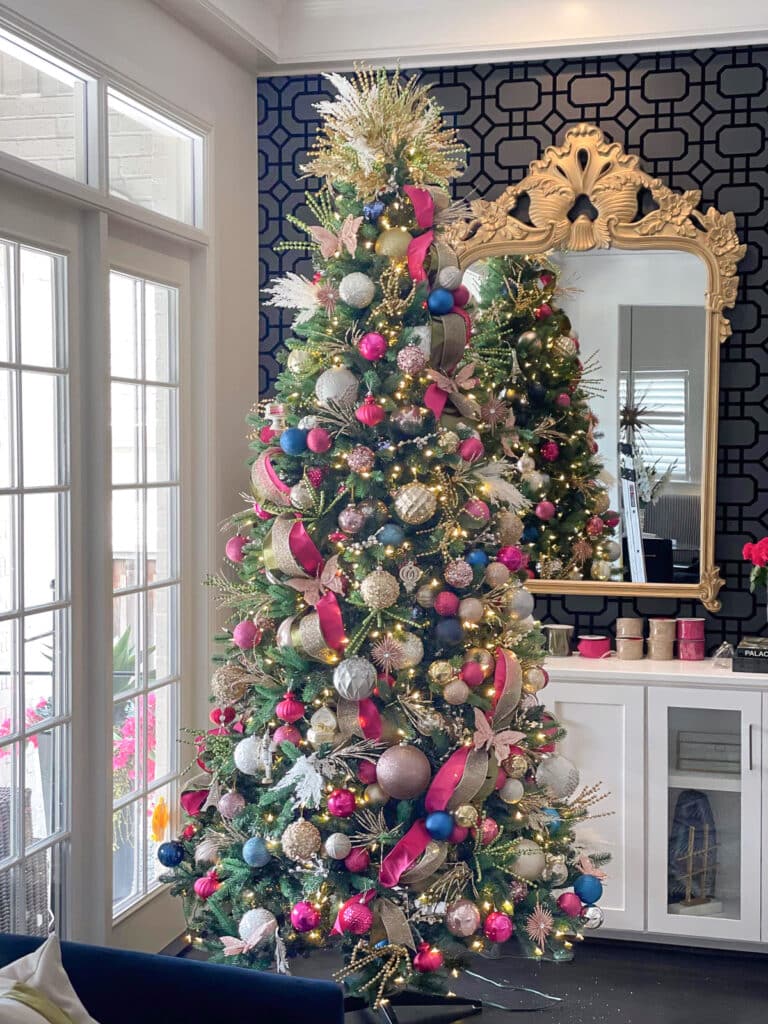
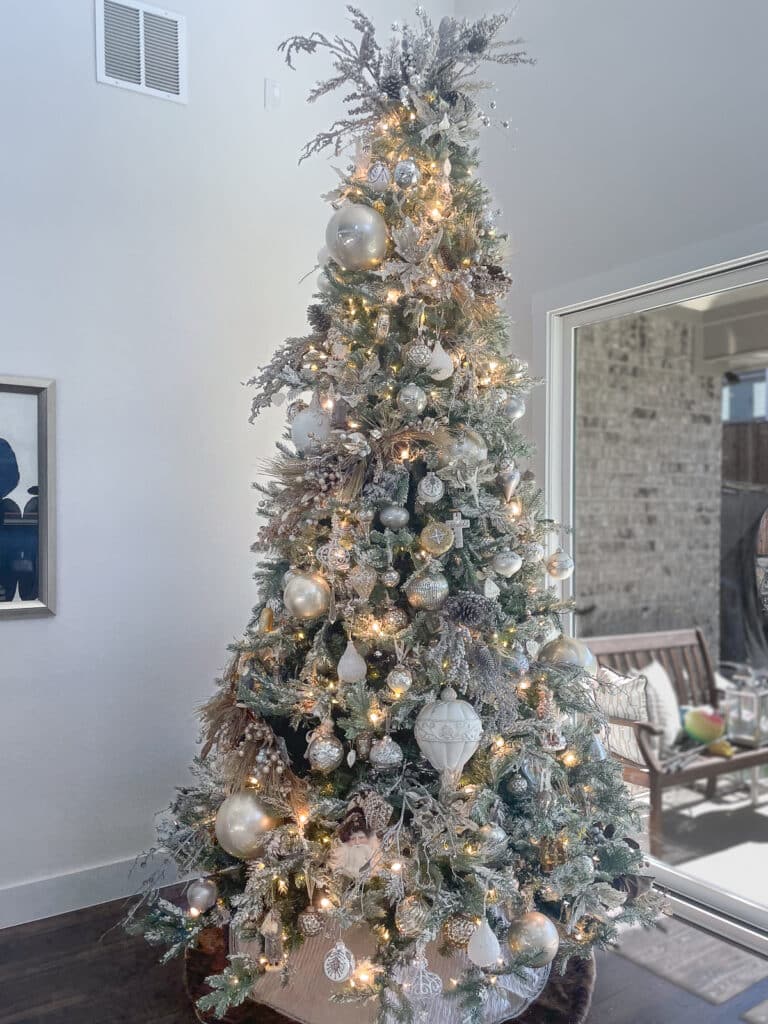
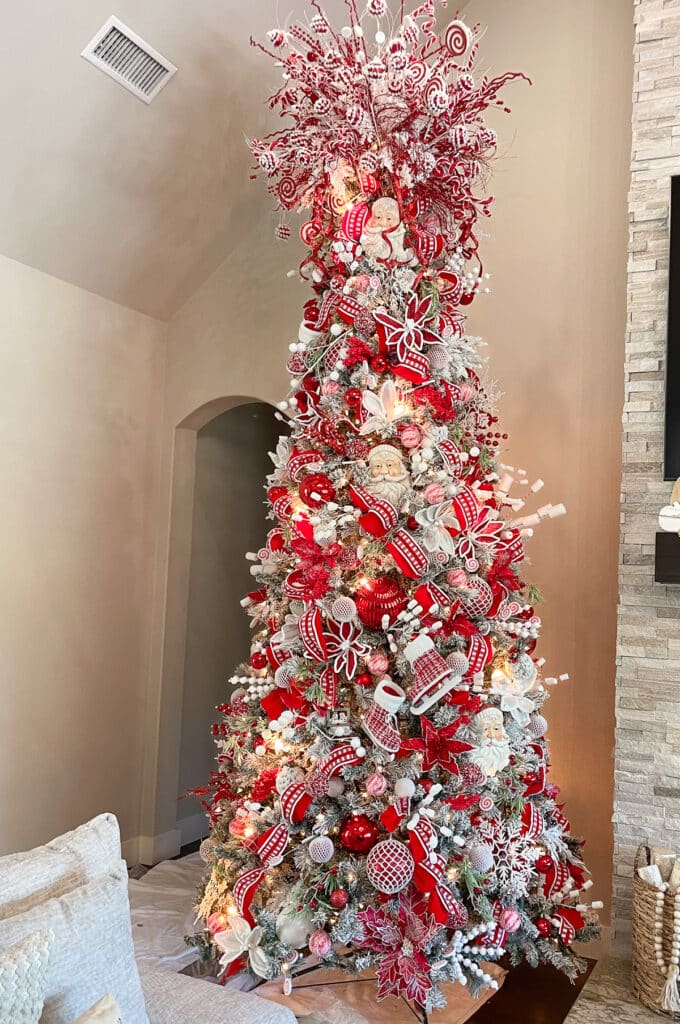
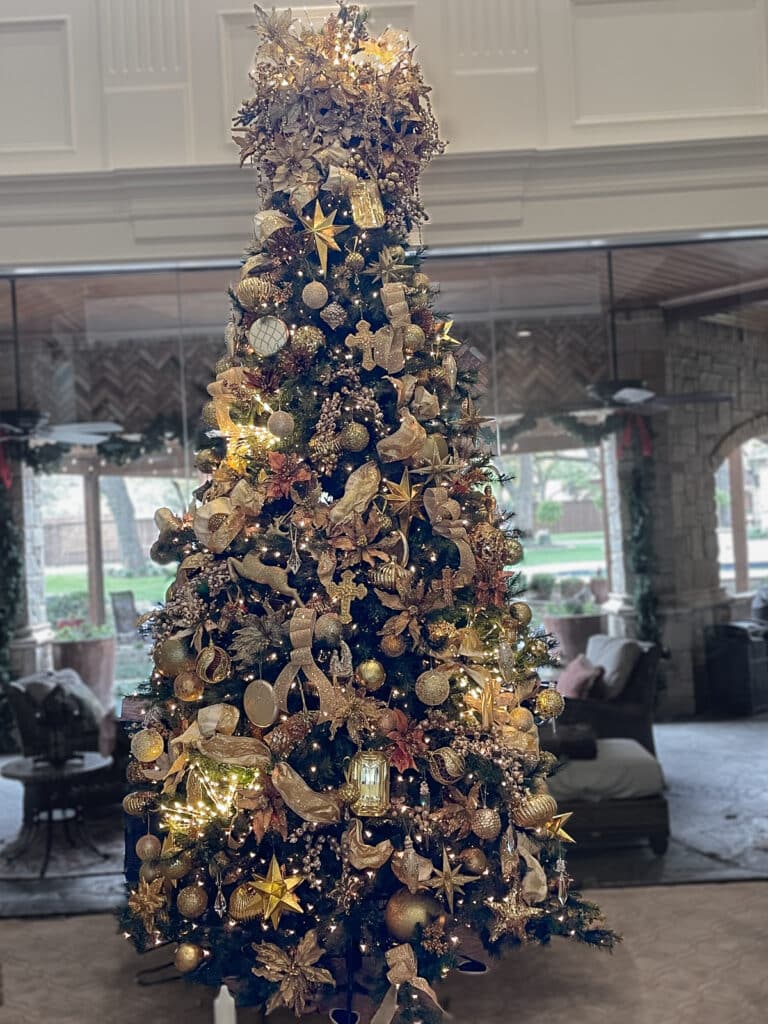
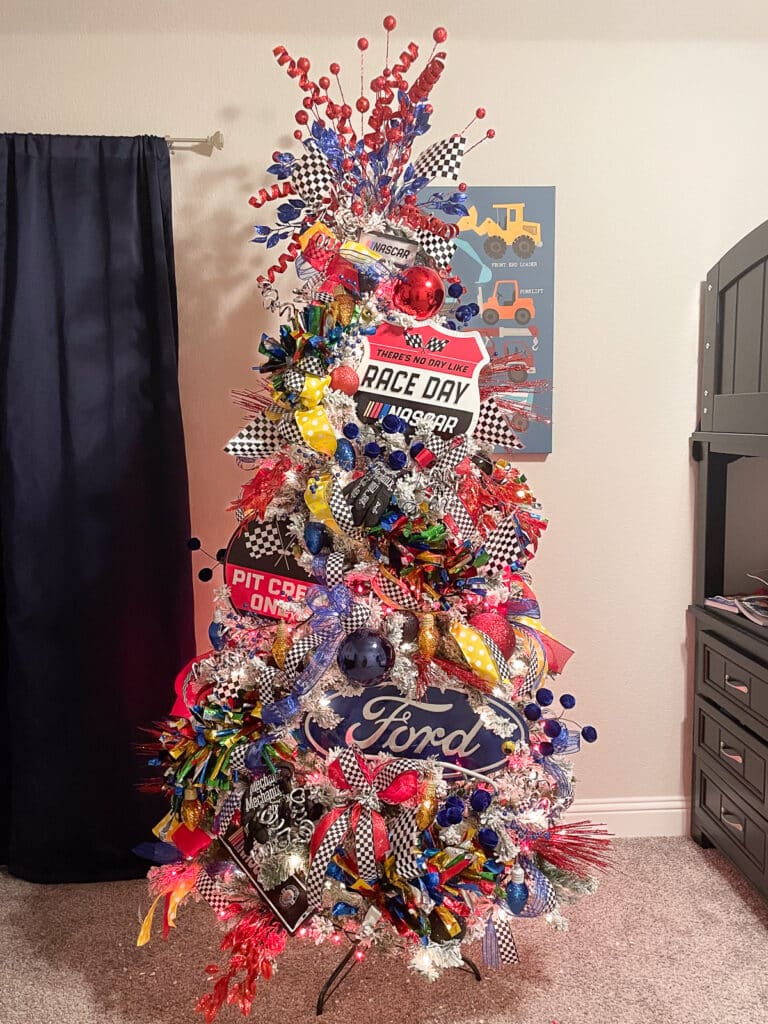
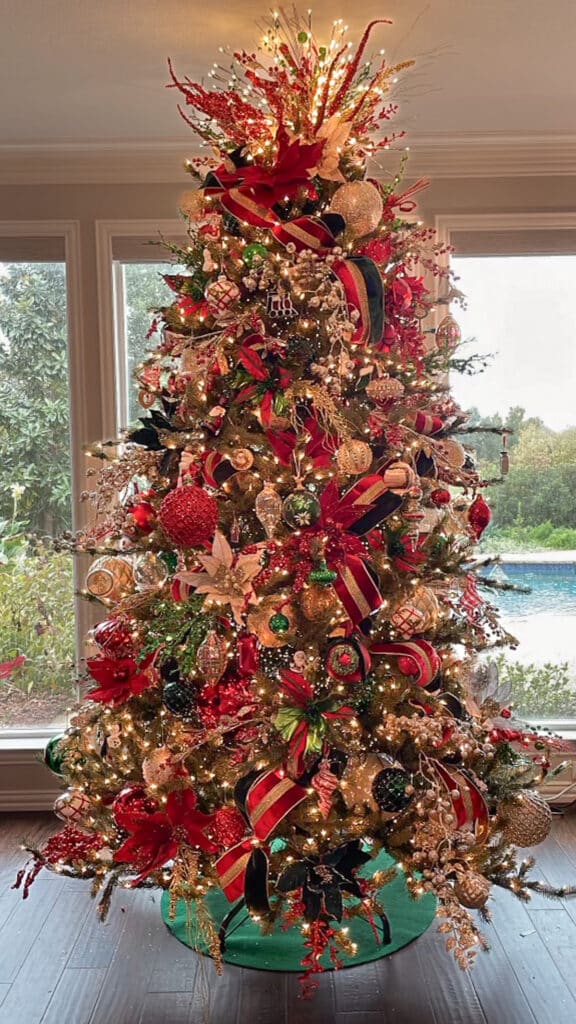
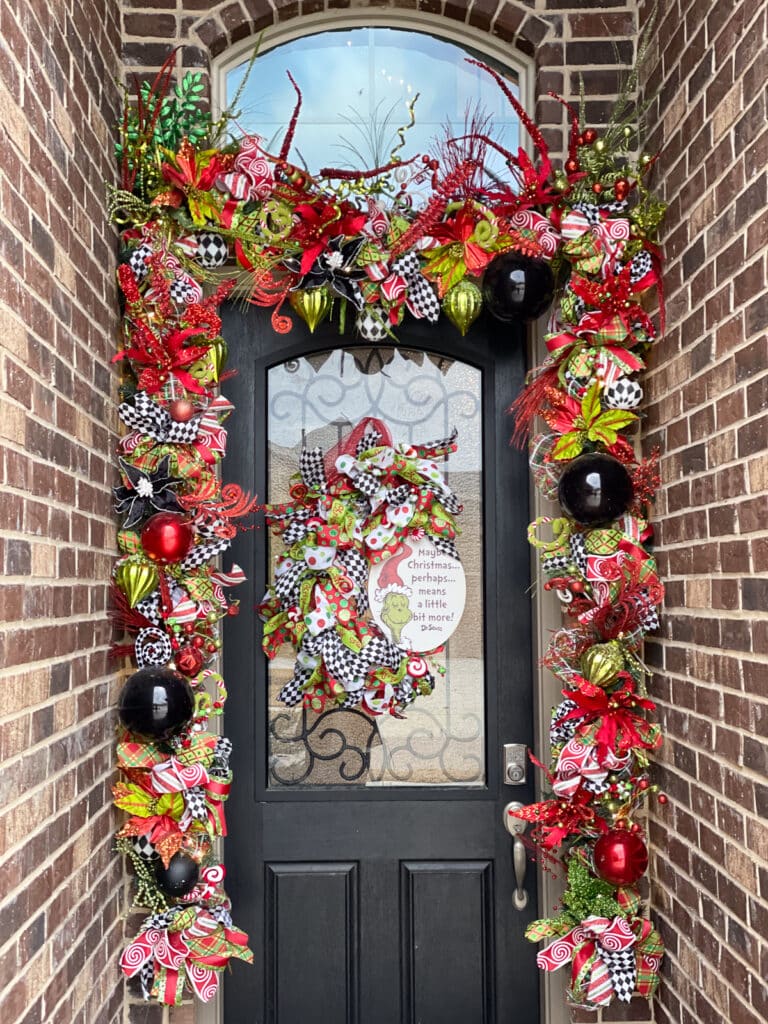
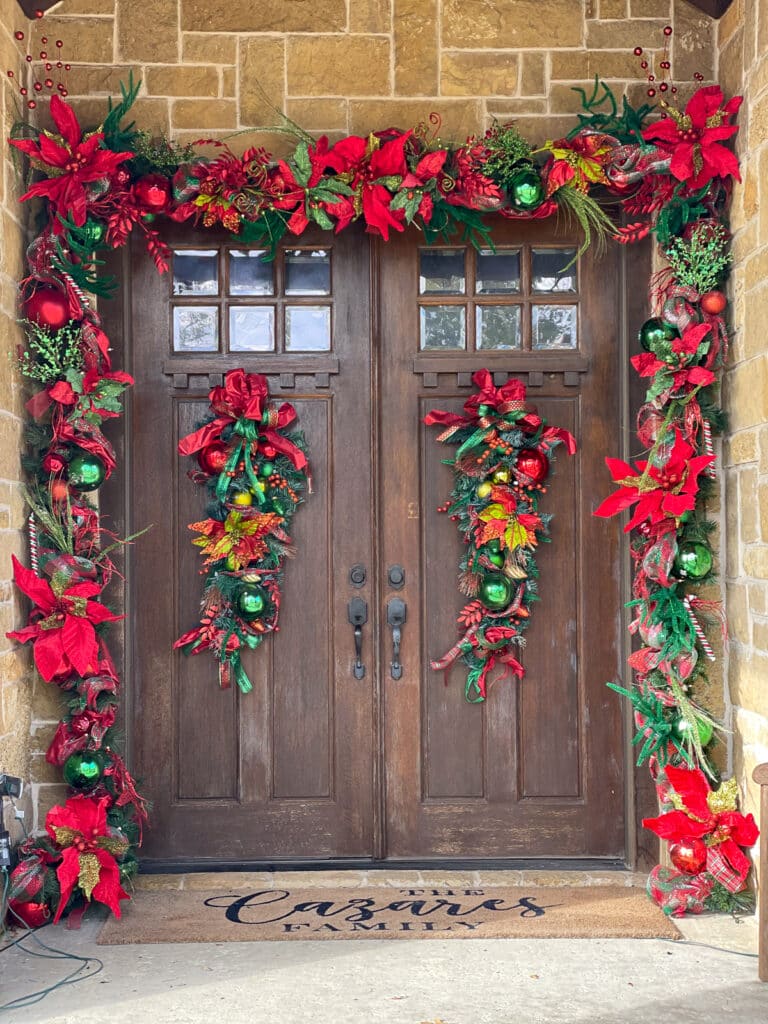
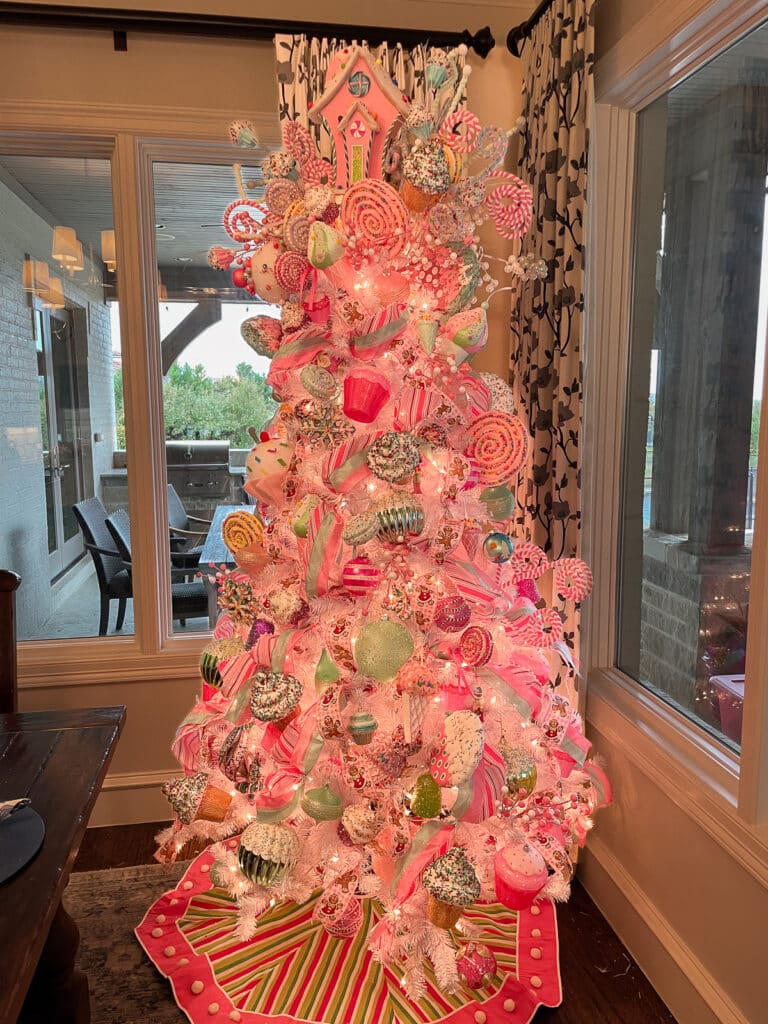
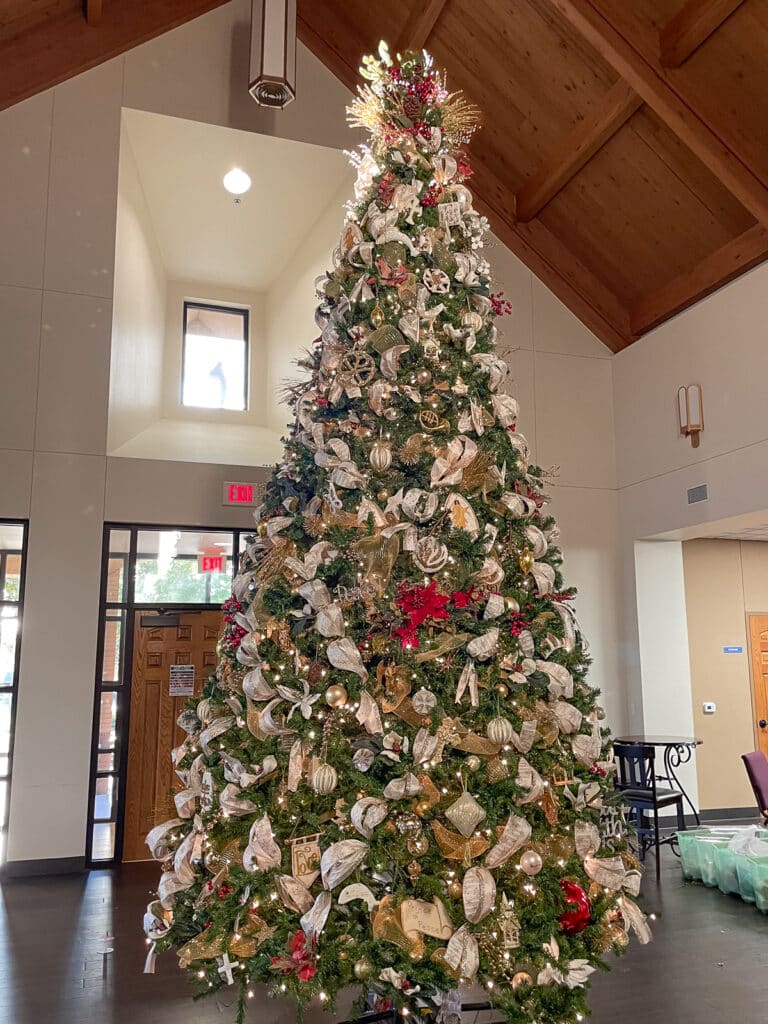
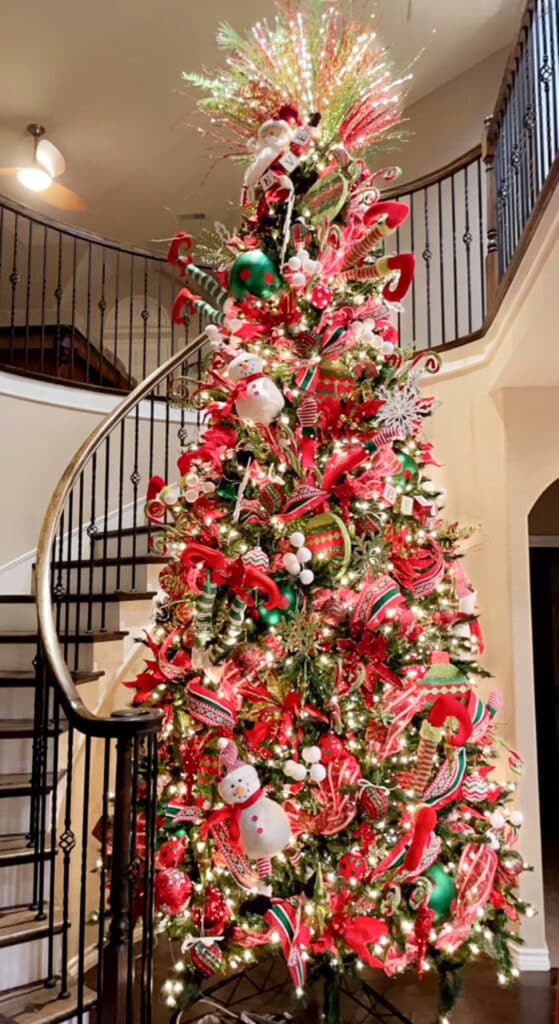
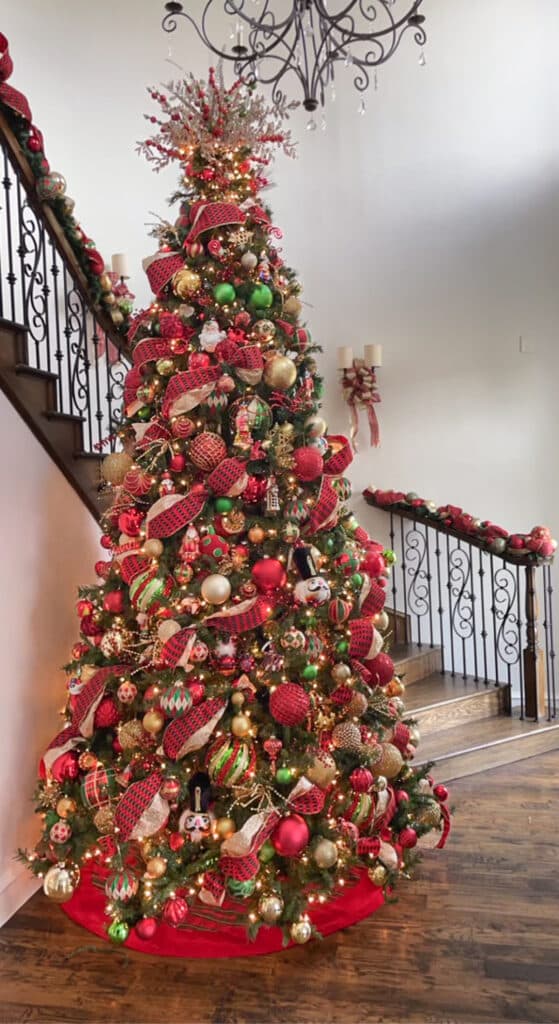
The job that I tagged along for was for Texas State Optical. She had totally revamped their Christmas tree decorations last year to match the blue in the company’s colors, and was reusing those again this year.
You’ll want to pin this post to save, because she shares all the simple steps of her decorating process, plus tons of tips and tricks. I have lots of photos and details, so let’s get started Christmas tree decorating!
This post contains Amazon and other affiliate links for your convenience. As an Amazon Associate I earn from qualifying purchases. If you purchase something through any link, I may receive a small commission, at no extra charge to you. I only recommend products that I love or would purchase for myself. See my full disclosure here.
Step 1: Prep the tree.
Of course, everyone has to start with the not-as-fun (but important) first step—putting up the tree, fluffing the branches, and checking the lights.
Christina’s first secret stood out immediately:
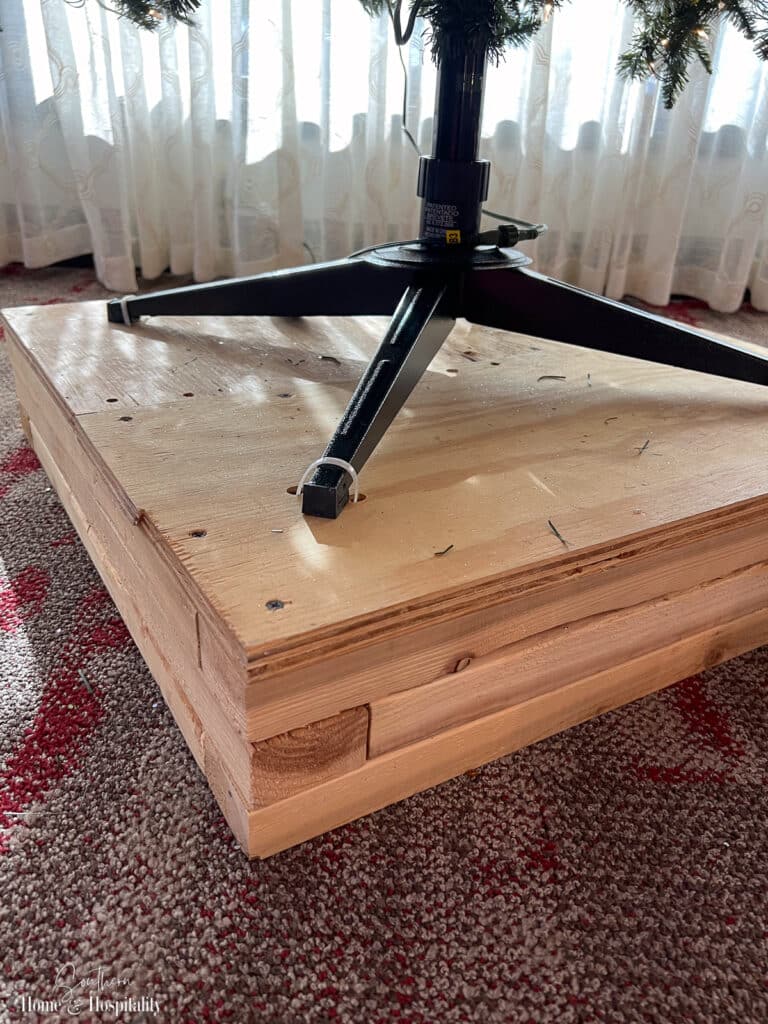
The office wanted the Christmas tree to come to the top of the large curved window it sits in front of. This tree was a little too short, and the next size up was too tall. So they built this wood base to raise the tree by one foot. The weight of the wood makes a heavy good base where the tree won’t tip over. And the stand stays connected to it when they take the tree down every year.
Step 2: Add extra lights.
There’s a special touch that Christina usually adds to her trees. In addition to the white pre-lit tree lights, she adds in a few strands of extra lights in a color that goes with the tree theme color scheme.
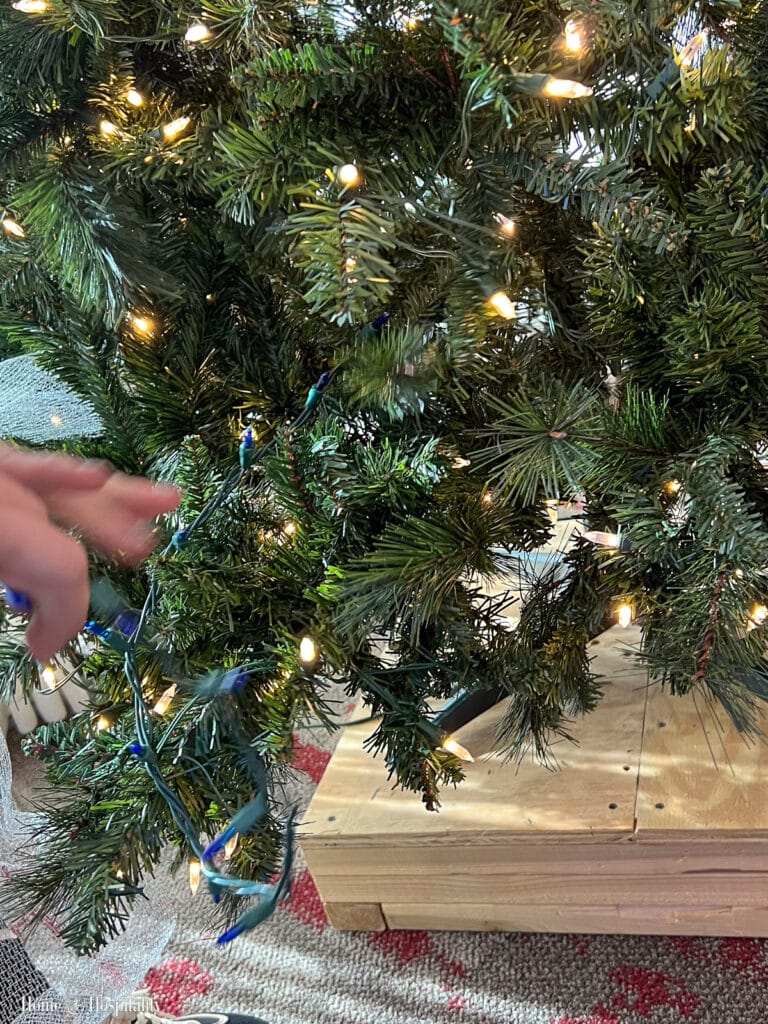
Pro Tip for Adding Lights to a Tree: Never string the lights in a line around the outside of the tree. To add depth, start at the inside of the tree, come out to the tips of the branches, and then go back in, repeating this zig zag around the tree.
This blue, silver, and white tree theme last year had blue lights woven in. She planned to do that again this year, but the light strands were half out when she tested them, so they were scrapped. (It’s nice to know the pros have problems just like we do.)
Do you know about the hottest tree right now that went viral on social media? I didn’t, but Christina told me it’s this 9 foot Grand Duchess Balsam Fir from Home Depot that has the most magical twinkle lights!
Step 3: Wind gauzy mesh inside the tree.
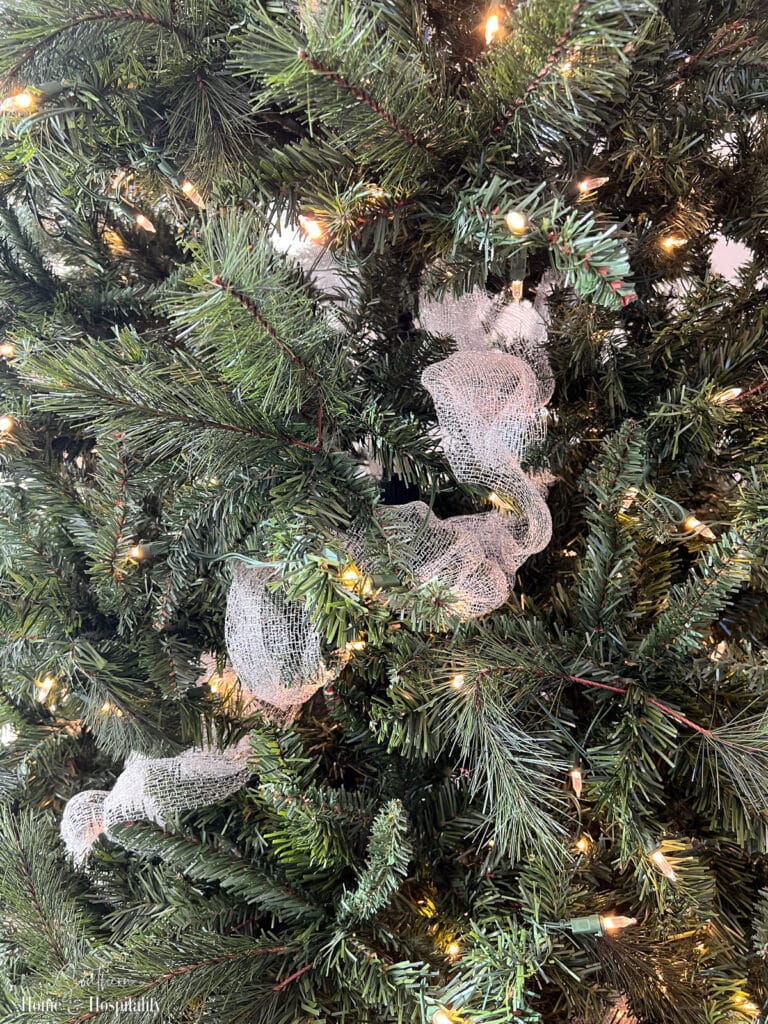
As the next step, Christina weaves a gauzy mesh up into the tree. You really don’t see it after the tree is decorated, but it adds more depth and dimension. She uses the gauze mesh (found at Hobby Lobby) rather than plastic deco mesh because it’s much easier to work with for this purpose.
Step 4: Put on the volcano tree topper.
If you’re using a traditional star or angel on the top, then it goes on at the end.
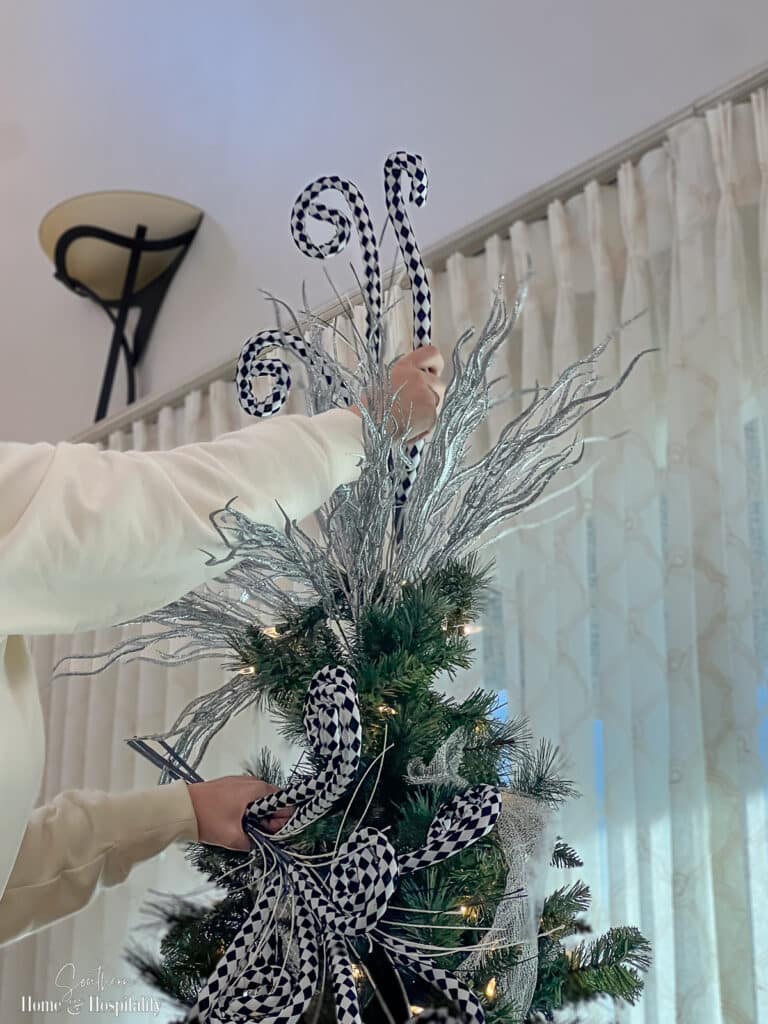
But if you plan to do a “volcano” type tree topper with picks like this tree, this step comes next so that the other decor covers the ends of the picks.
Pro Tree Topper Tips:
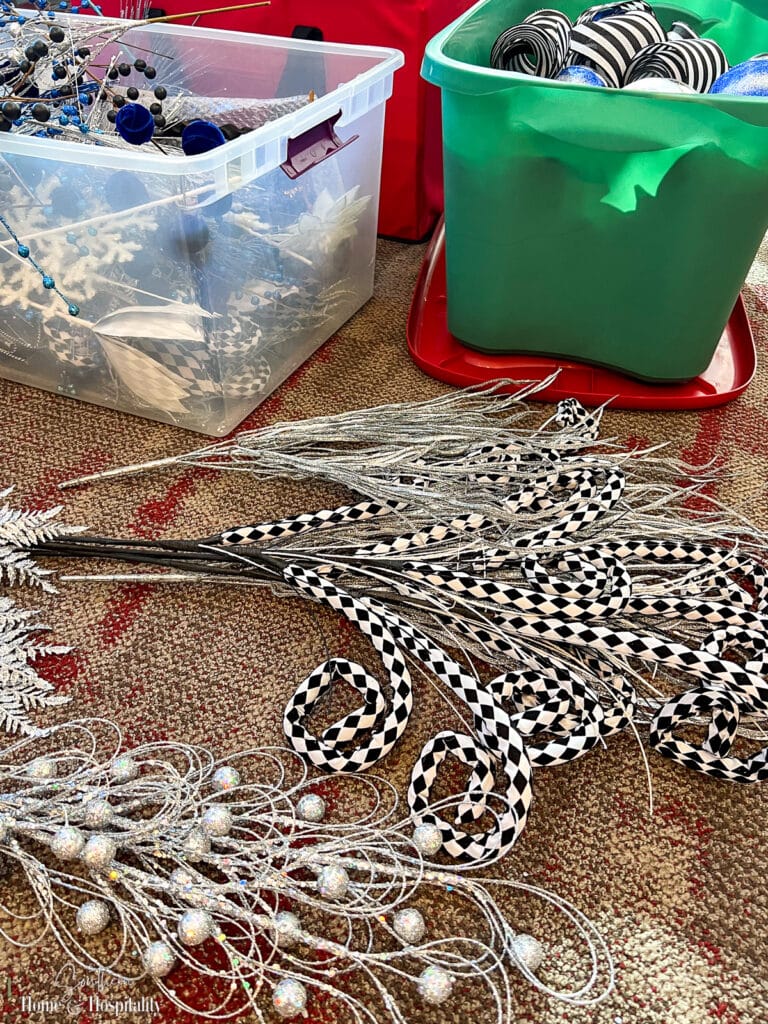
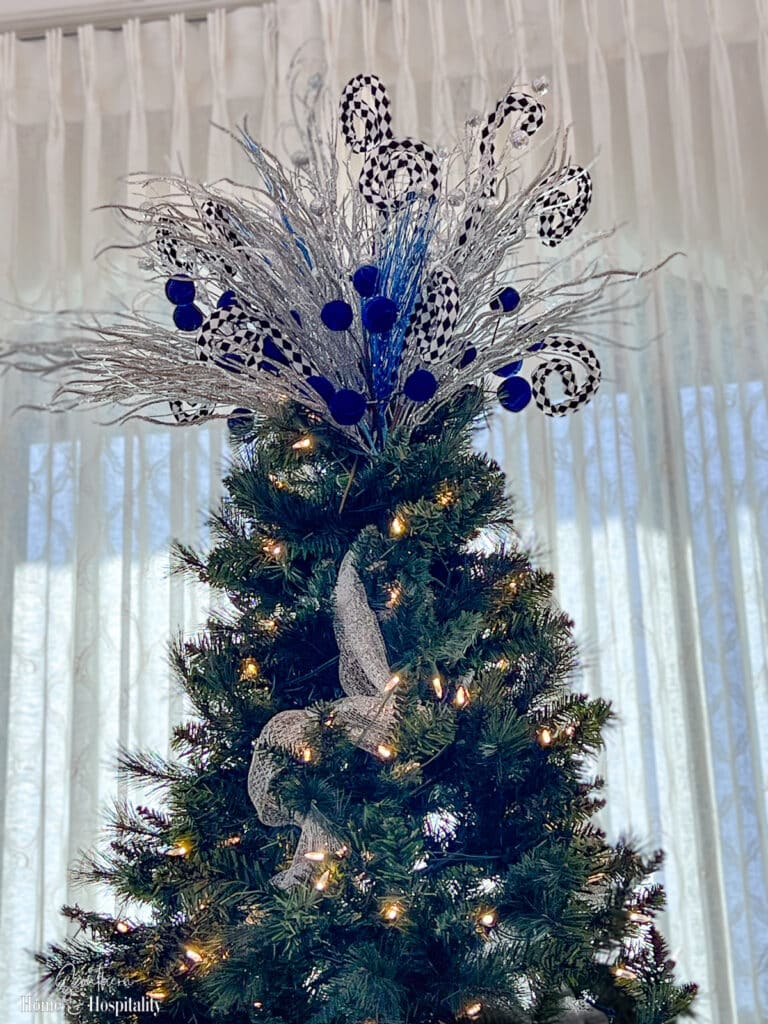
- Choose a mixture of three to five different types and textures of picks. Here Christina uses a mix of glittery branch sprays, silver ball spiky sprays, blue sprays, blue pompom balls, and bold, funky harlequin spiral picks.
- Start with the picks that have the most volume so that you know how much area you’re using. In this case, it was the wavy silver sprays.
- Stick the picks straight down into the top of the tree and they should hold there on their own. No need to secure anything!
- If a pick doesn’t want to go in where you’re trying to put it, don’t force it, just start over.
Pro Floral Pick Shopping Tips:
- Those cool harlequin spirals (and many of her unique ornaments) are from craftoutlet.com. She says they carry some of the very same picks and ornaments you might find at more expensive Christmas stores.
- The wavy silver sprays used here are one of her go-to bases and can be found at Hobby Lobby.
- When buying Christmas picks at Hobby Lobby, make sure to go to the floral department, not the Christmas aisles. The picks are larger and have better prices.
Step 5: Put on the big ornaments and decor.
Next come the large ornament balls and decor like signs and snowflakes.
Pro Tips for Adding the Large and Oversize Ornaments:
- Don’t hang the large ornaments. The best way is to place them into the tree always at least a little bit tucked in, with no hanger or topper showing:
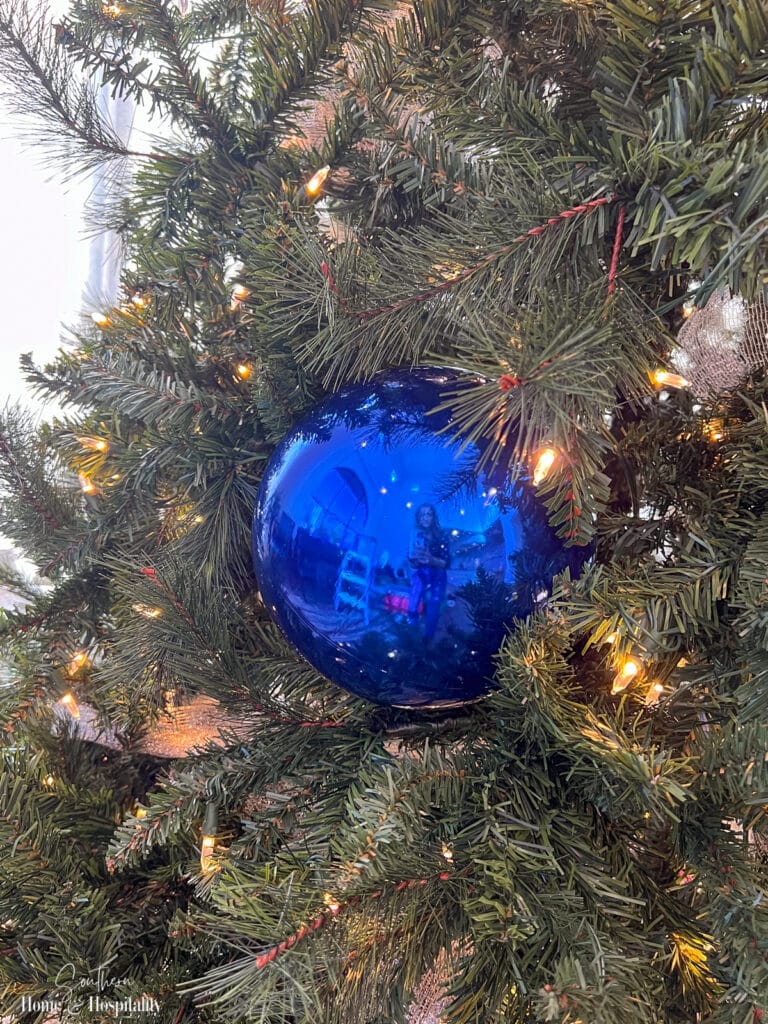
- Make a triangle of same or similar large ornaments that are spaced out over the tree.
- If you have lots of ornaments and ribbon, shove some of the larger ornaments back into the tree for more depth.
- You can find large shatterproof ball ornaments at Michaels, Walmart, and Hobby Lobby, but you have to snag them very early in the season.
Pro Tip: A great way to hang a large ball ornament at the top of the tree? Pop off the topper and stick the branch into the hole.
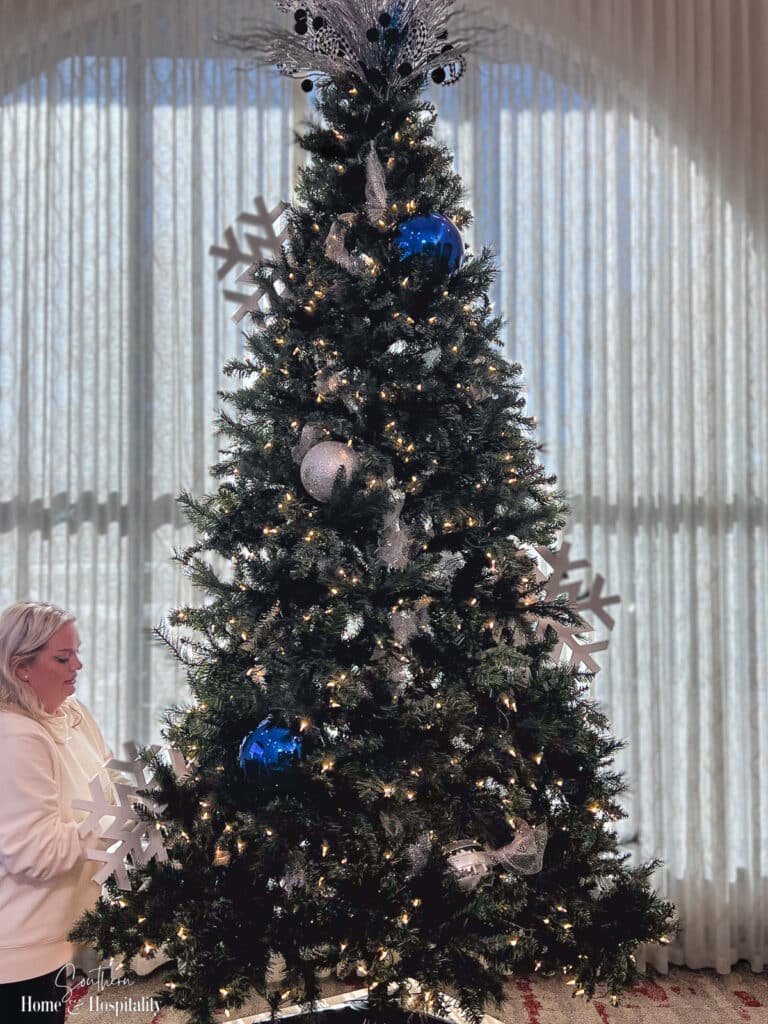
- Christmas decorations and large objects make perfect tree decor, like these large wood snowflakes:
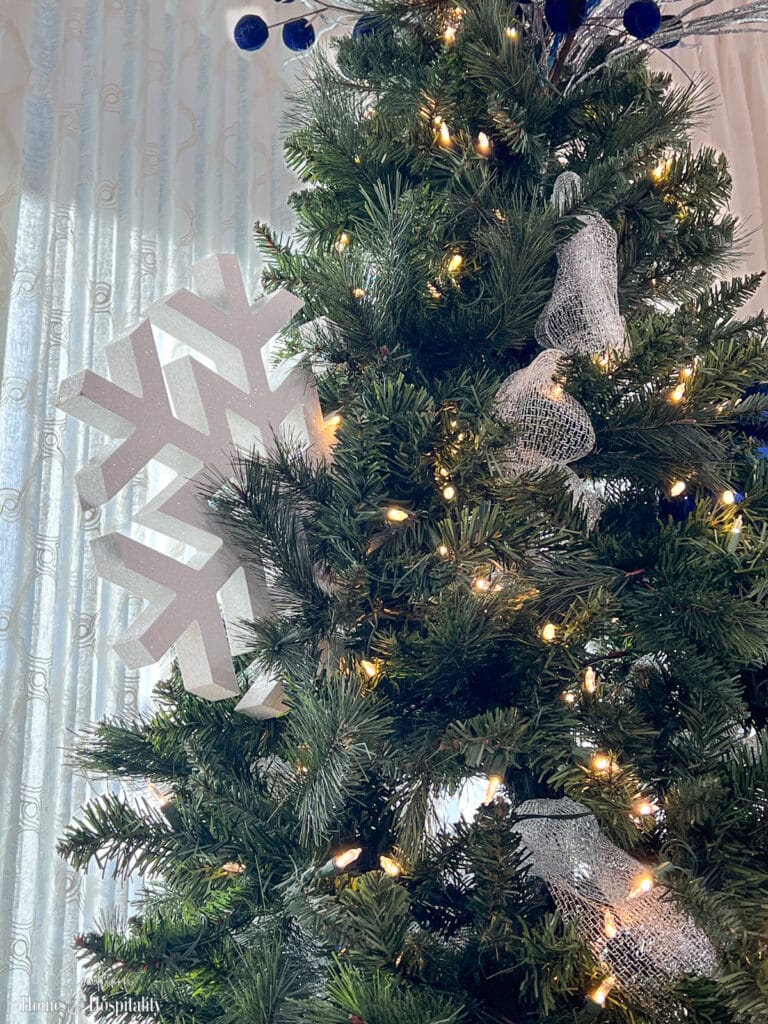
She positioned them so that they would stick out of the tree, rather than hanging flat on the outside. They instantly added fullness and dimension.
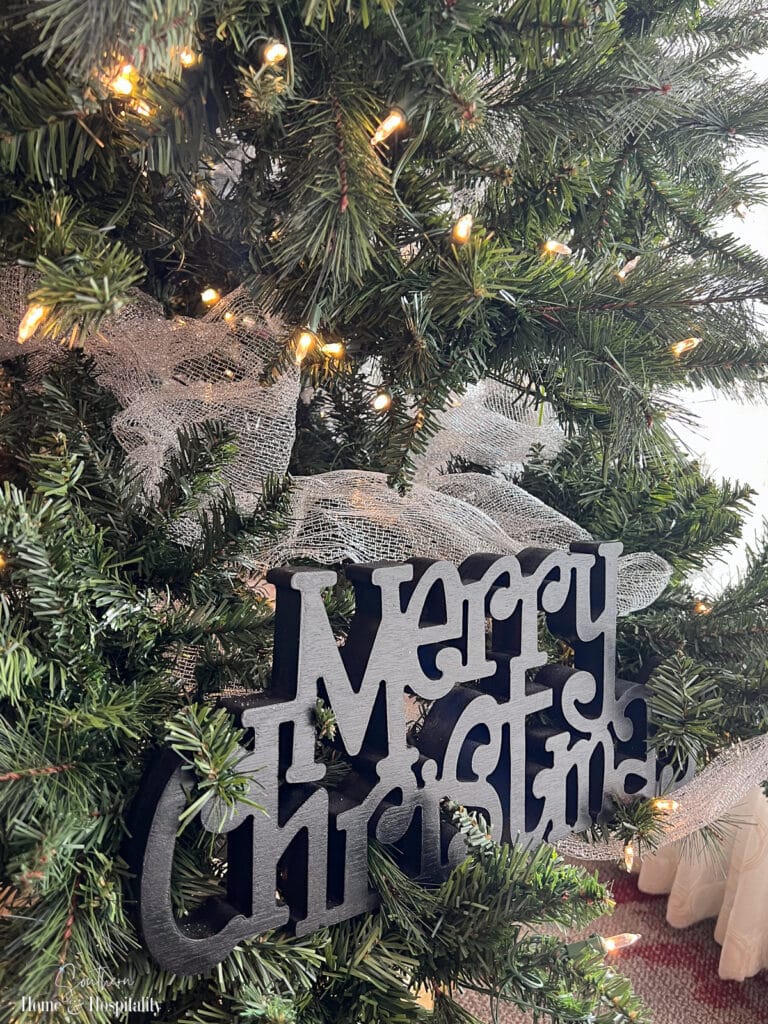
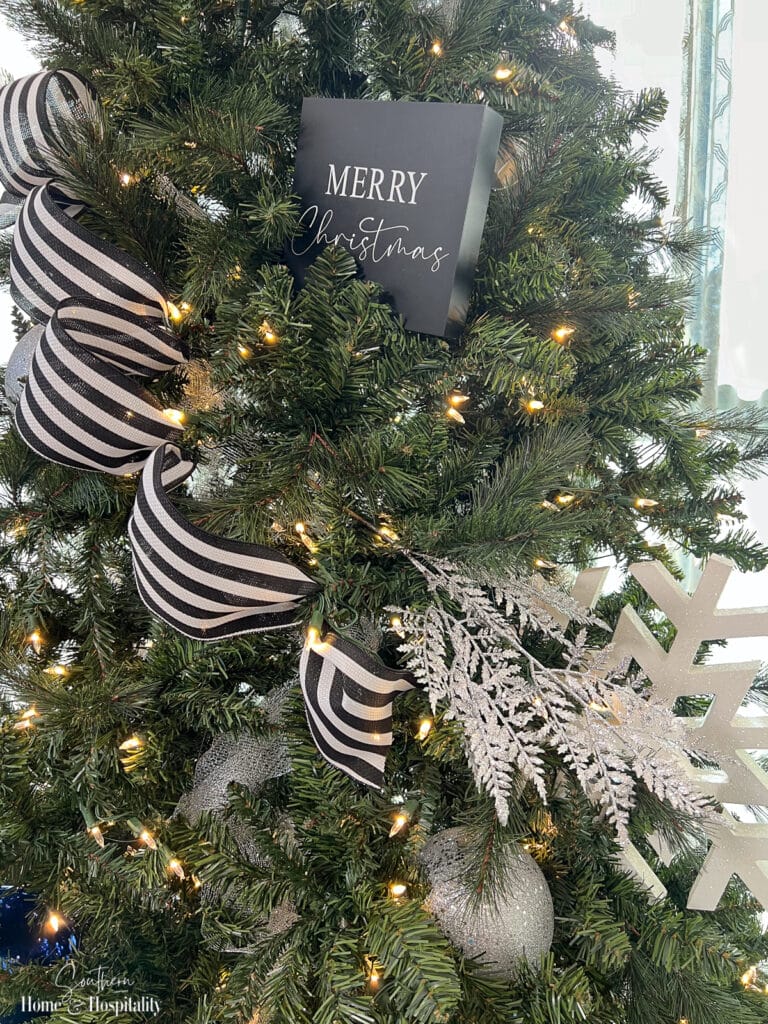
- Use signs as big tree decor for good filler and texture. A $5 sign is cheaper than that $12 ornament that won’t show up as well!
Step 6: Put on the ribbon.
Christina showed me her exact method of putting on Christmas tree ribbon, and I can’t wait to try this on my living room tree next time! She already had the ribbon cut and stored from last year, so I’m sure it went faster this time.
First, she says the ribbon must be wired. Here she used a wide patterned ribbon and then two coordinating narrow ribbons looped together.
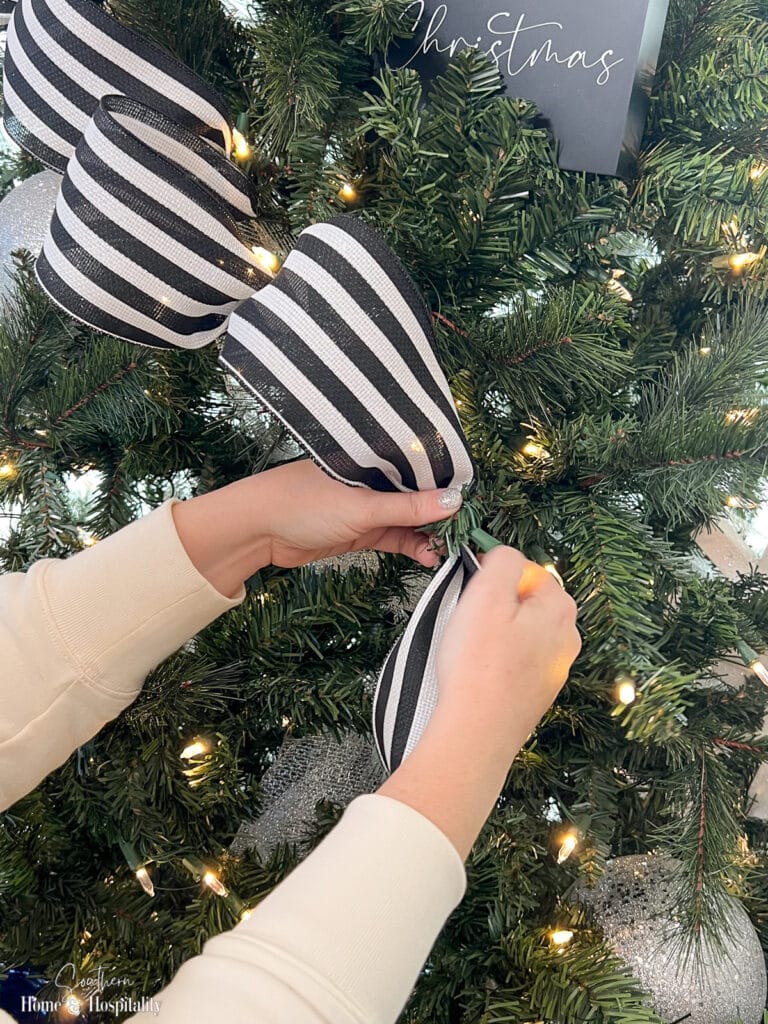
Her basic method for putting ribbon on is: pinch, three loops, and a cut.
- Start with the widest ribbon at the top of the tree. Pinch a 2-3″ tail and wrap a branch at the pinch. You can fold this tail under to look like a loop or leave it out (she prefers them tucked).
- Then make three more poufs or loops, securing with a branch in between each. Finish by cutting the ribbon and dovetailing the ends.
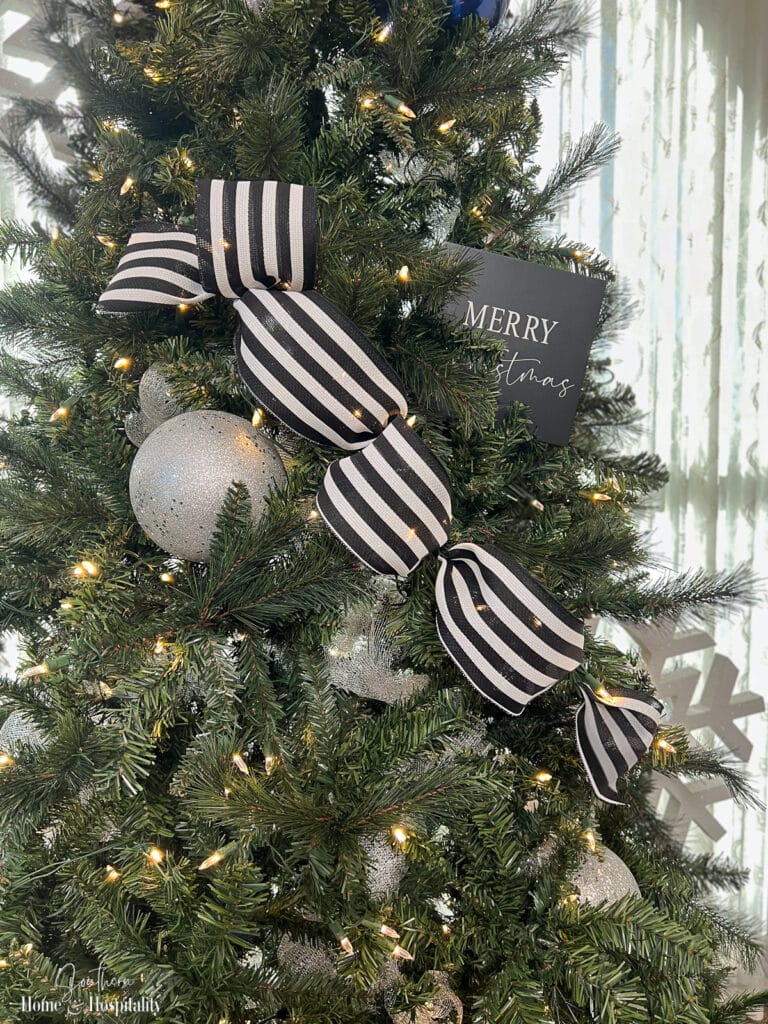
There are lots of different techniques that pros use to put on ribbon. For this tree she used a slightly different method from her basic, which is currently a popular trend. As you can see above, after pinching the tail, she made one circle loop at the top going one way, and then the following loops go another direction.
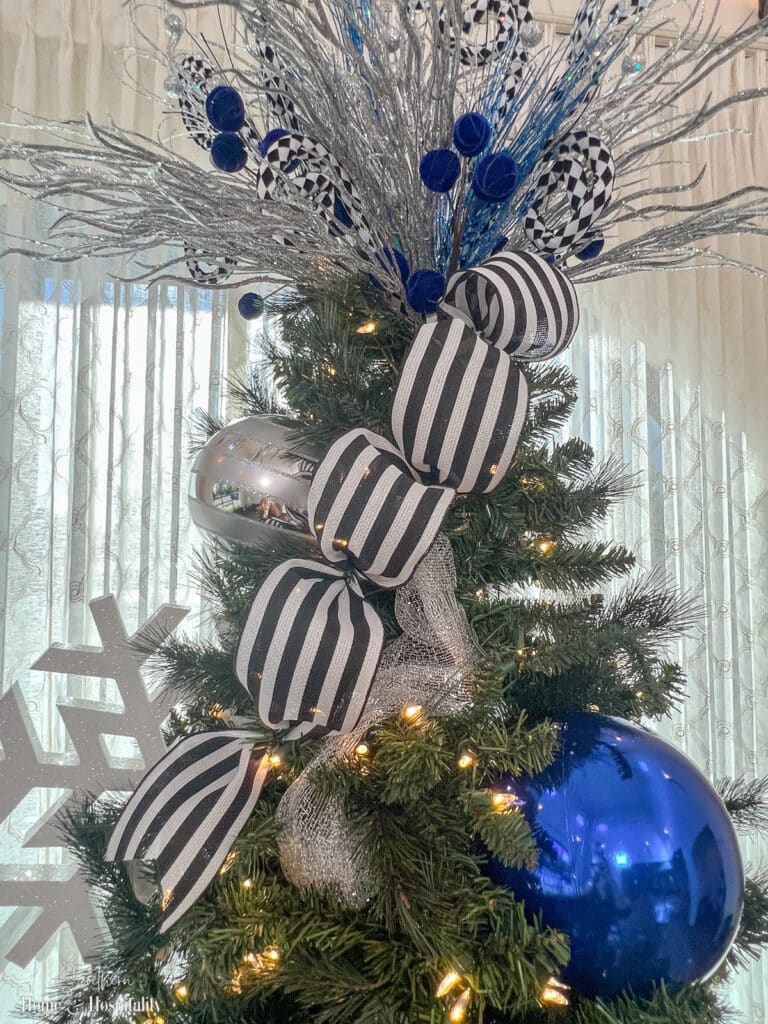
She spaced out the first kind of ribbon cascading diagonally down all over the tree.
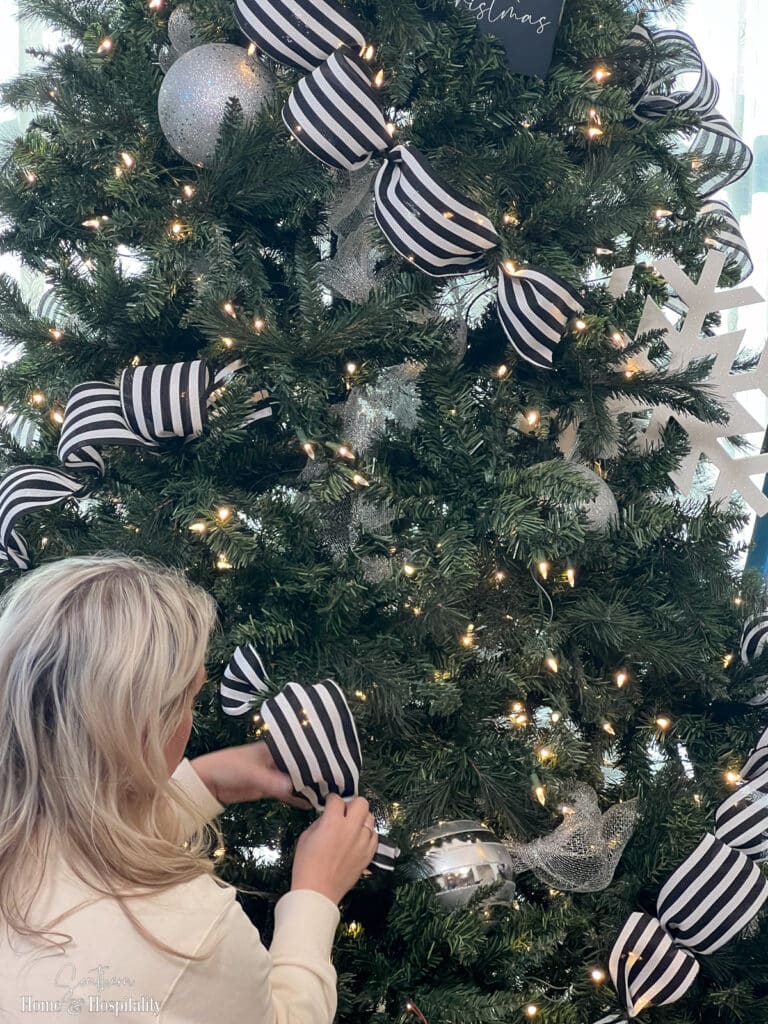
After the wide ribbon was on, she used two thinner ribbons (she usually chooses a print and a solid glitter ribbon).
For this tree with the blue, silver, and black harlequin decor, she chose a black and white diamond ribbon and a blue and silver glitter ribbon.
She stacked one ribbon on top of the other and put them on the tree the same way with a tail, a circle loop, and three poufs. But for this double ribbon, she fanned them apart after they were attached to the tree:
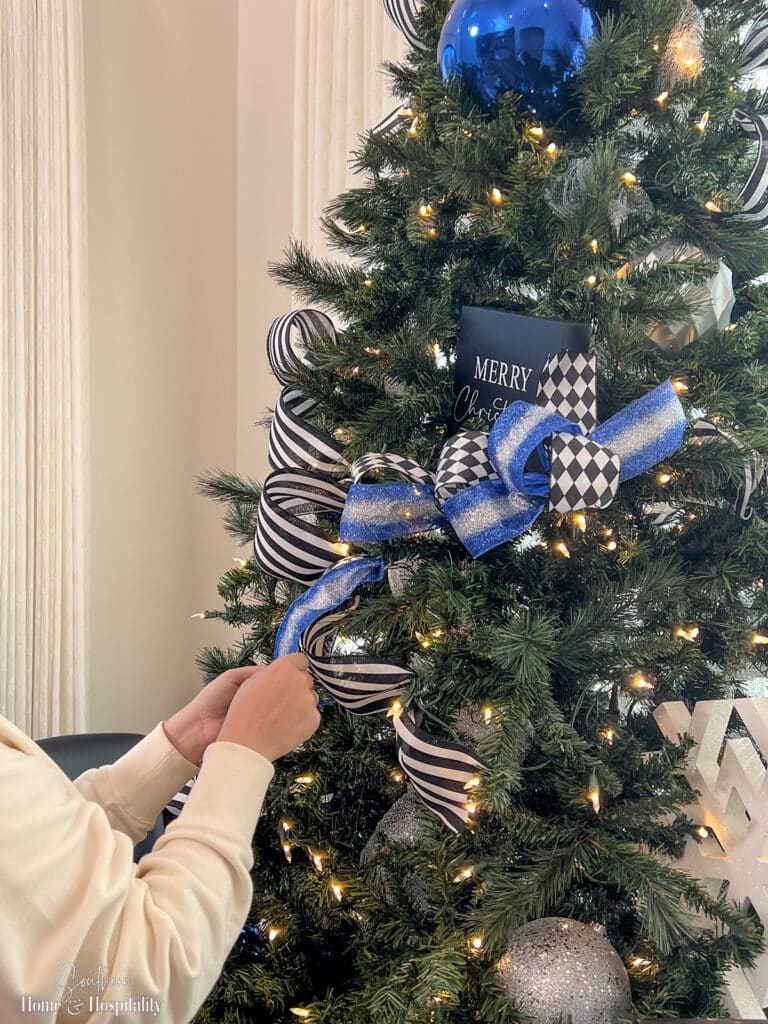
Just look at all those loops the double ribbon makes! Here’s a look at the tree right after the ribbon stage was finished:

Ribbon gives the tree so much movement and interest!
If you’re a novice at putting ribbon on a Christmas tree, you might find this post helpful: “How to Put Ribbon on a Christmas Tree the Easy Way!“
Pro tips for adding ribbon to the tree:
- When loops are broader and you can see the branch holding them, cover the ribbon tucks with an ornament. She says a flower and pick together can look pretty over these areas.
- Make the loops of ribbon bigger at the bottom of the tree to cover more area.
- When using a solid color ribbon, she sometimes goes up and down the tree with it, and then diagonally with the prints.
Step 7: Put on the medium-sized ornaments.
- Add the medium sized ornaments next to fill the holes that are left after the large ornaments and ribbon are put on.
These include garland pieces like the popular ball garlands and snowball garlands. And her secret to fill space in really large trees? Premade Christmas swags!
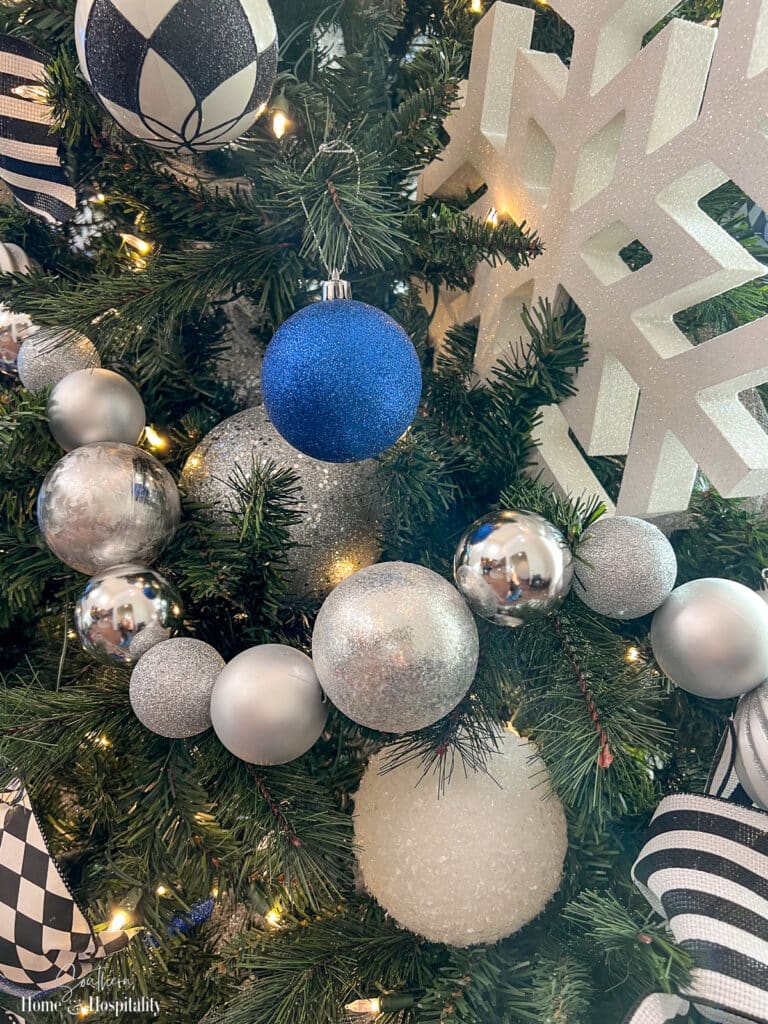
In this tree, she tucked in a few silver ball garlands, taking care not to line them evenly across.
Then she put in smaller snowflakes and medium sized ball ornaments.
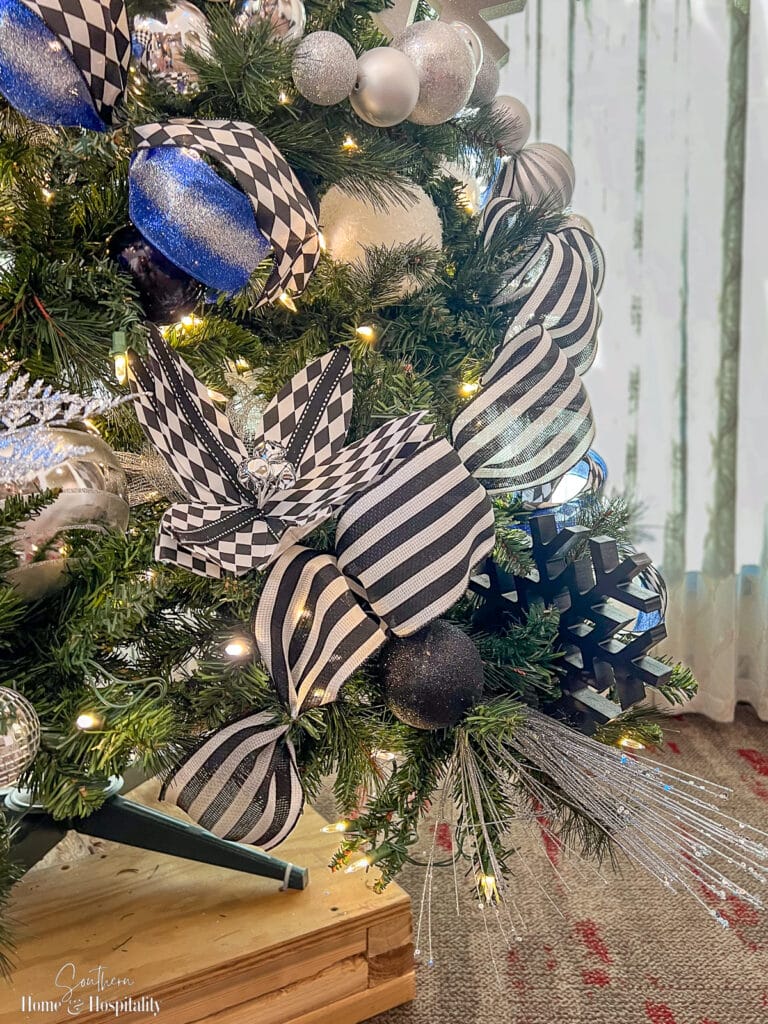
- Add bold pattern florals or poinsettias. Christina often uses flowers or poinsettias on her trees. If they’re in solid colors, she adds them at the end with the picks. But these harlequin poinsettias had a bold pattern that had to play well with the patterned ribbon and be spaced out correctly. So they went on in this step.
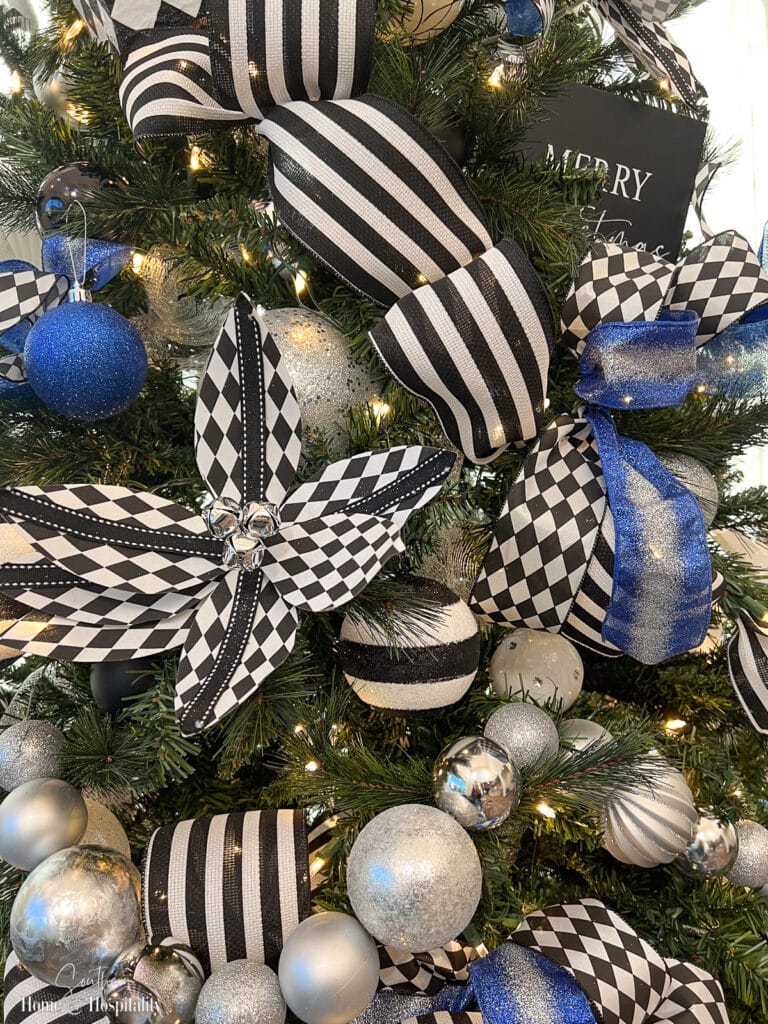
Pro Tip: Save a medium/large ornament till the end to fill a hole.
Step 8: Put on the rest of the smaller ornaments.
After the medium ornaments fill the holes, it’s time for the rest of the ornaments to go on.
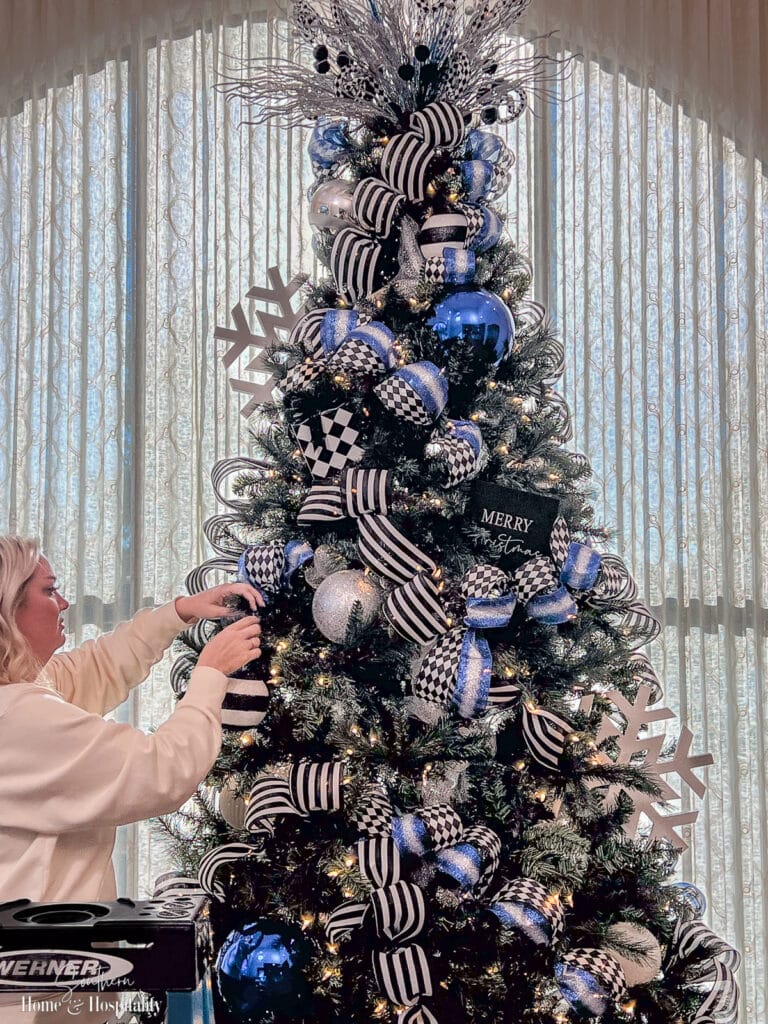
Pro Tip for Choosing Ornaments: Use a range of different textures, shapes, colors, and sizes to create dimension and interest.
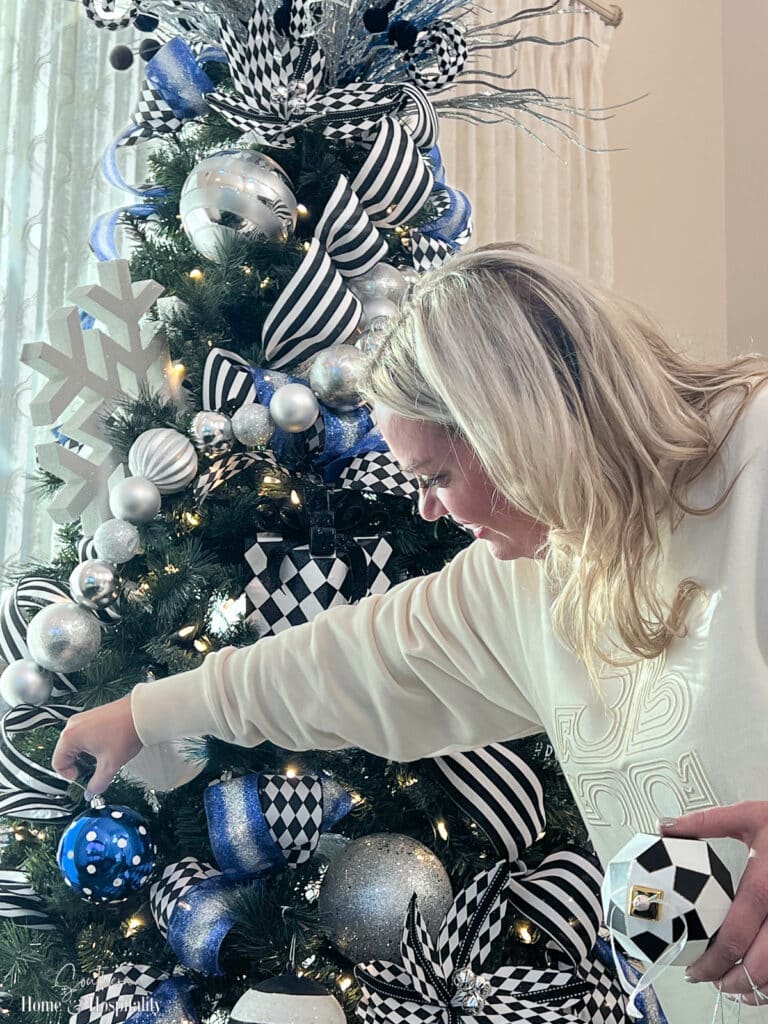
Christina had tons of interesting patterns and textures with various sizes and shapes to add to this tree. More blue and more pattern with stripes and Mackenzie-Childs style harlequin,
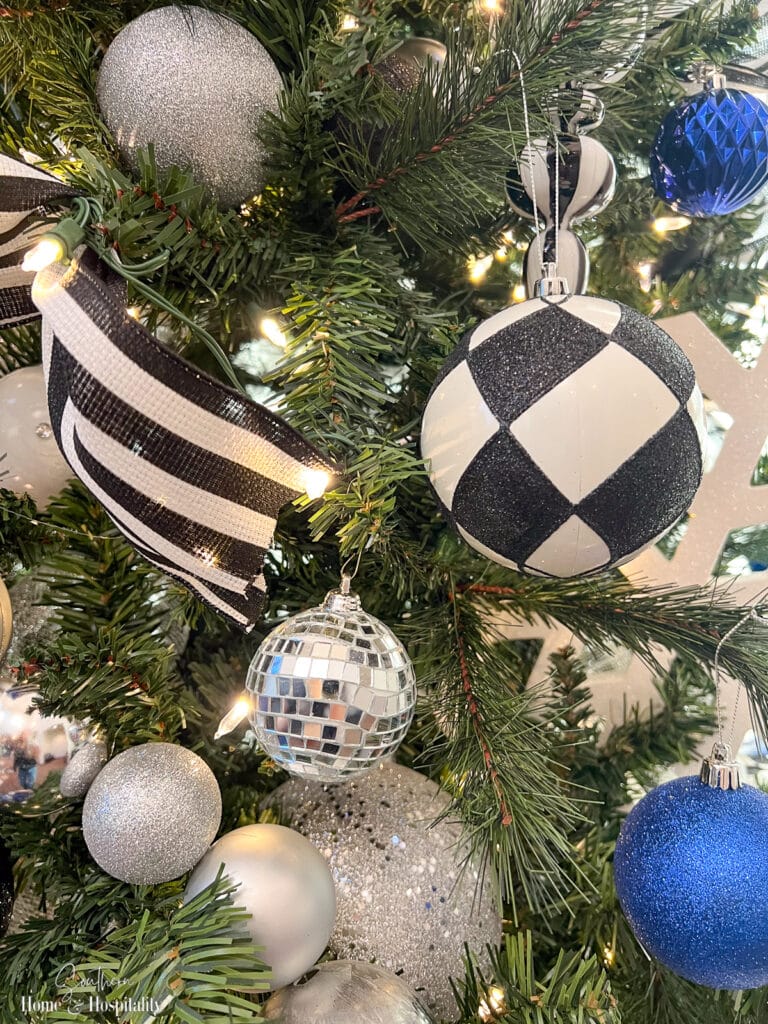
There were shiny jingle bells, sparkly disco balls, and balls with polka dots and “hope” messages.
And the only breakable ornaments on the whole tree were these beautiful black and white finials:
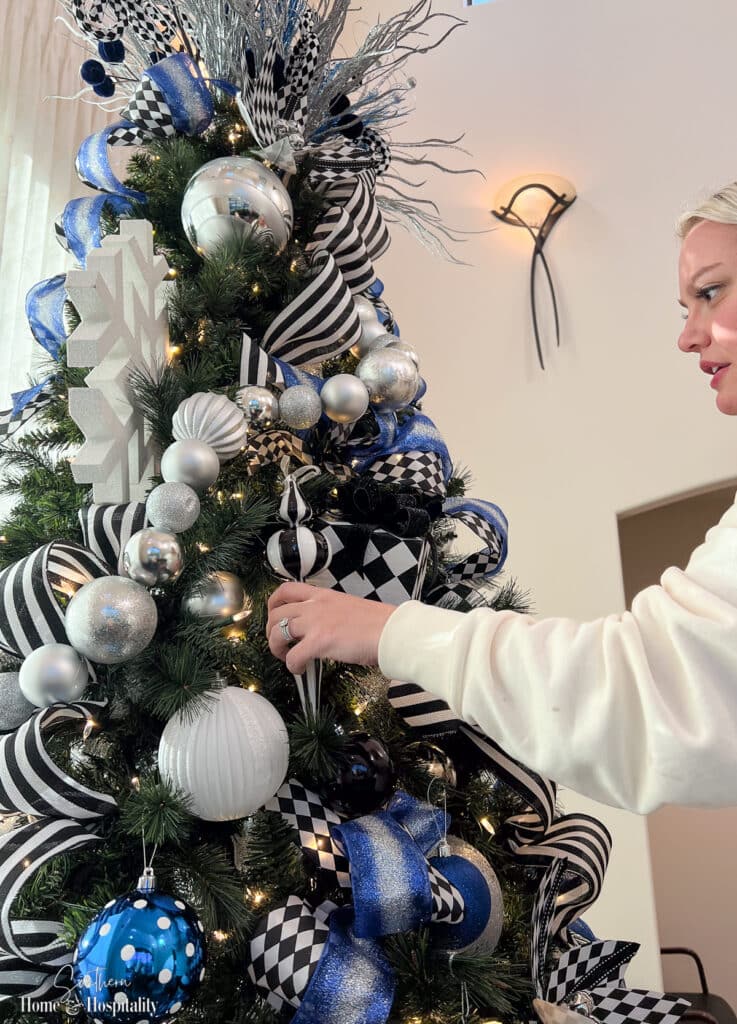
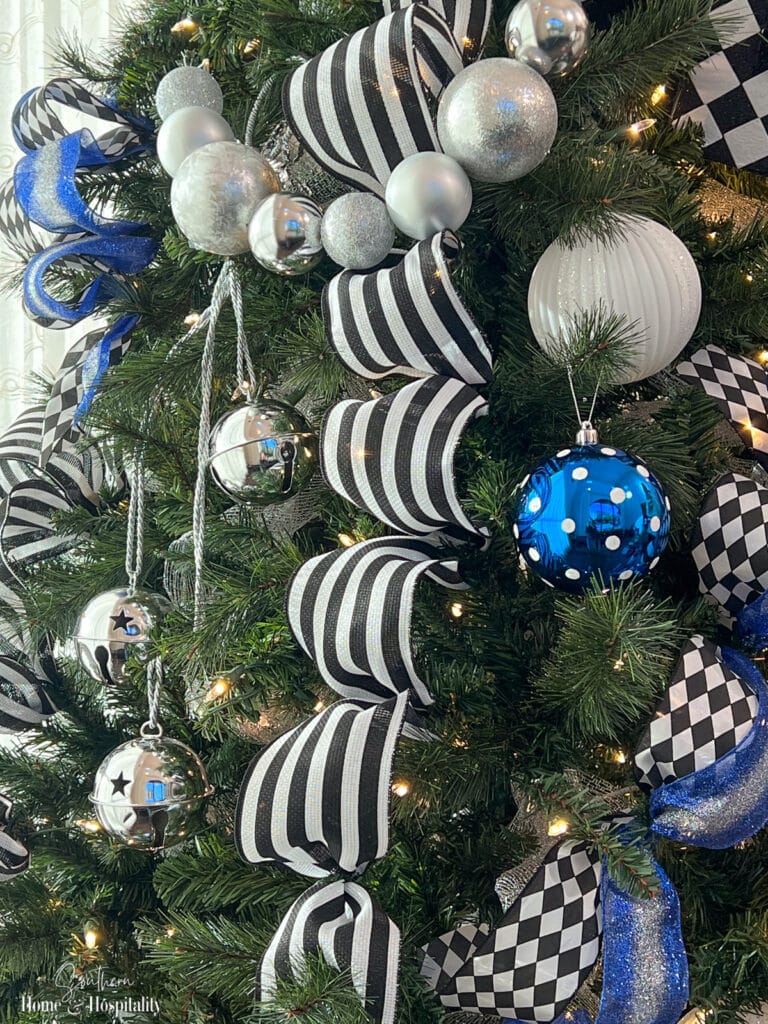
Notice how the ornaments are placed at all different depths in the tree for dimension. You can even see that gauzy mesh in the background:
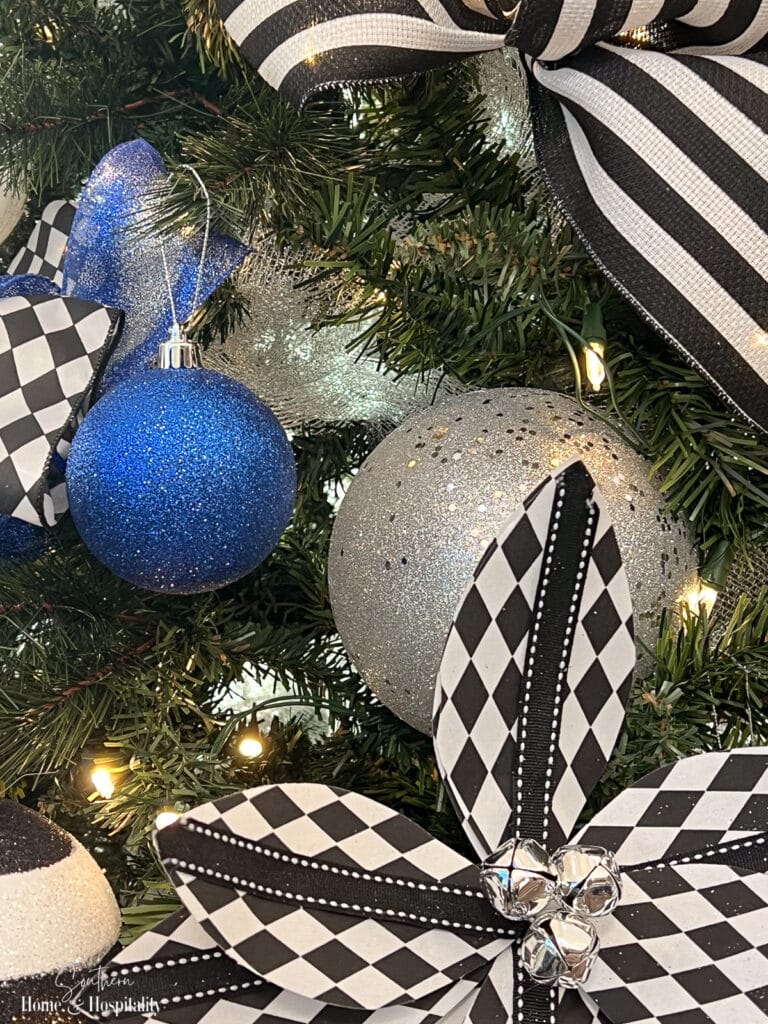
And here are a few of her secrets for hanging ornaments:
Pro Tip: Use a tree branch as a hanger or wrap the long string on the ornament around to bring it up to the branch.
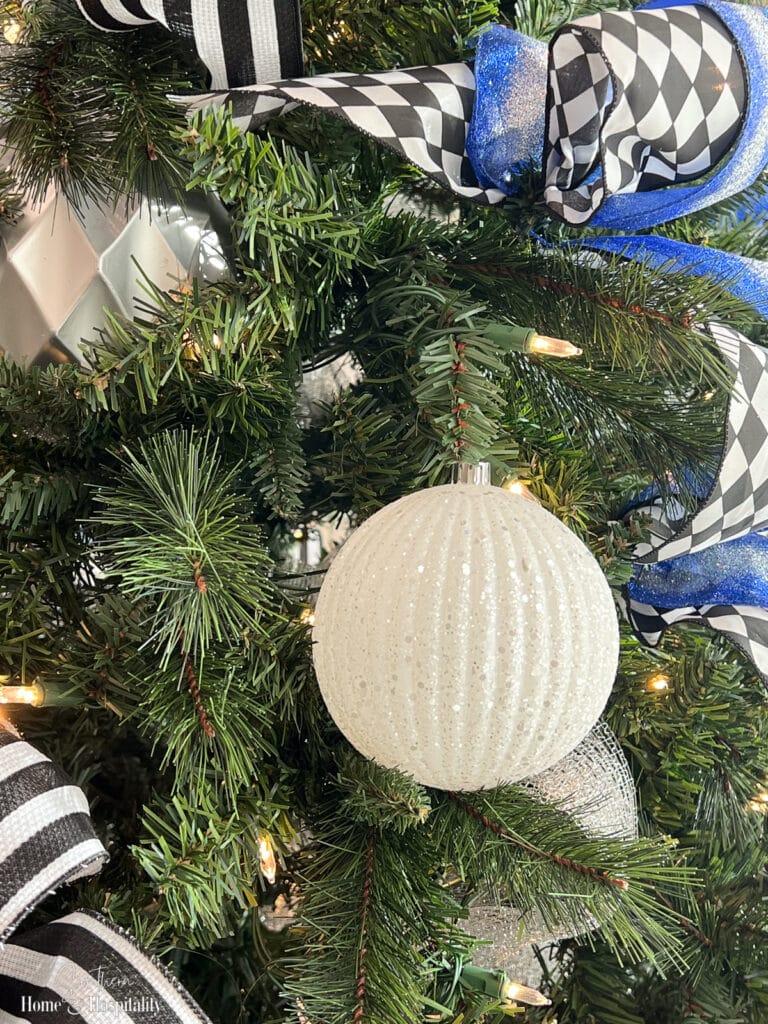
Pro Tip: Hang a glitter ornament right under a light.
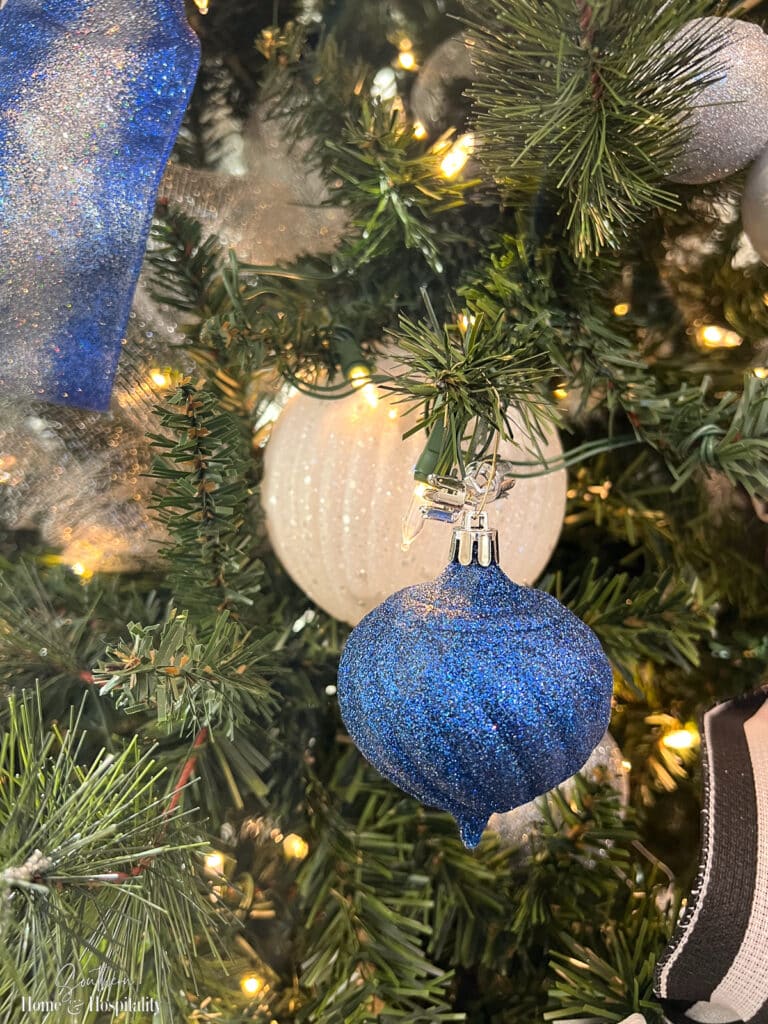
Pro Tip: Cluster together smaller Christmas ornaments with some floral wire to act as one medium/large ornament.
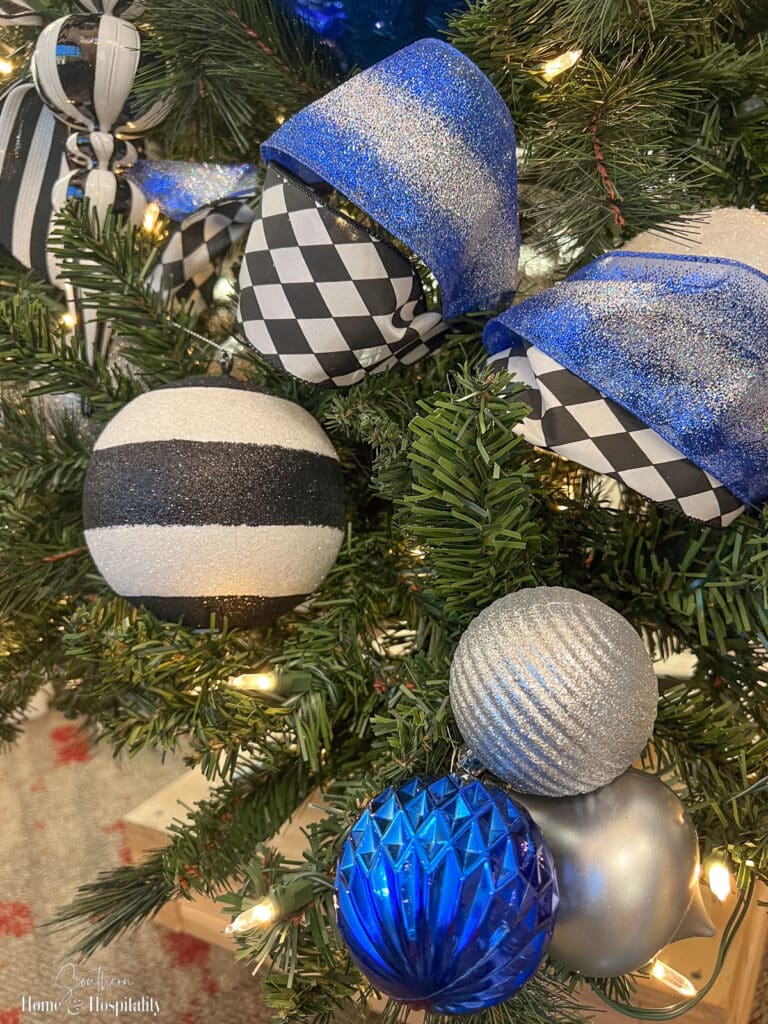
Step 8: Put on the Picks.
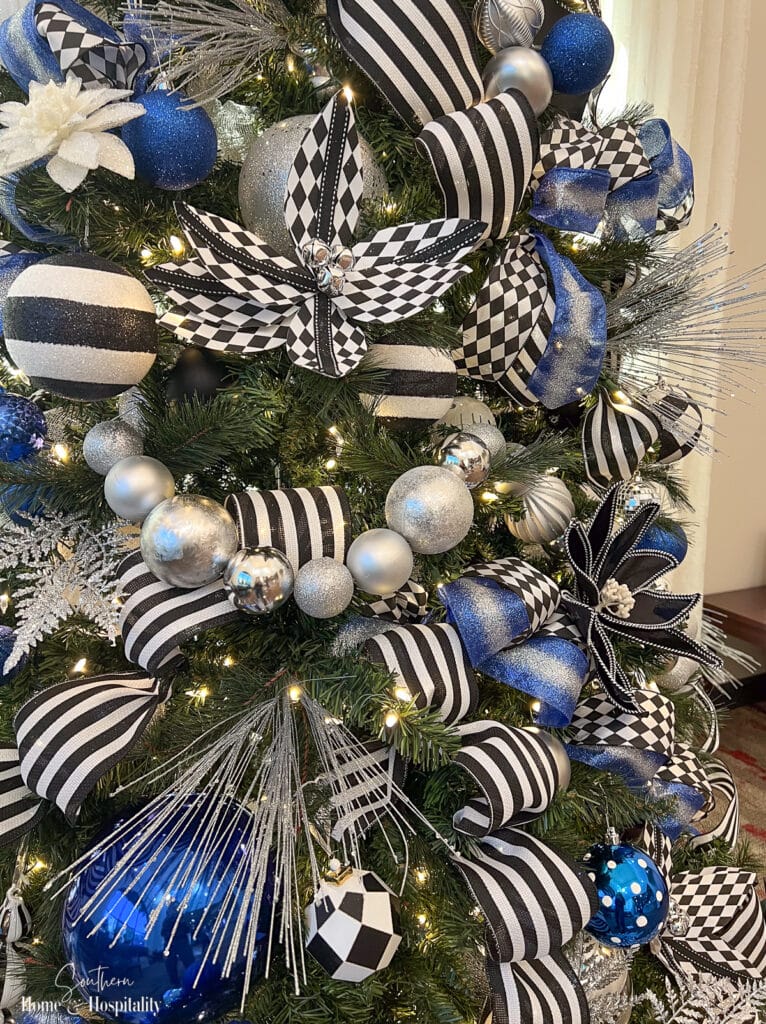
The final step is to add the picks. This is where Christina says the tree really comes to life. In fact, she says if you’re decorating on a budget, do a pick-only tree!
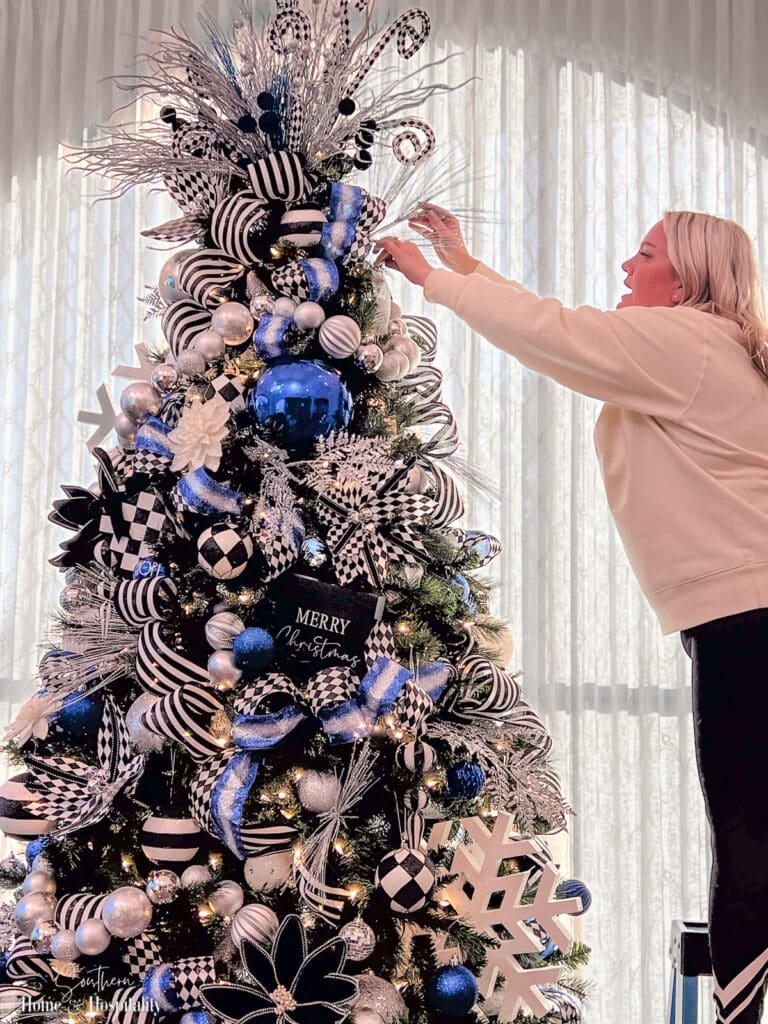
She added the same picks from the tree topper throughout the tree. Then these silver sprays:
Plus berry sprays in blue:
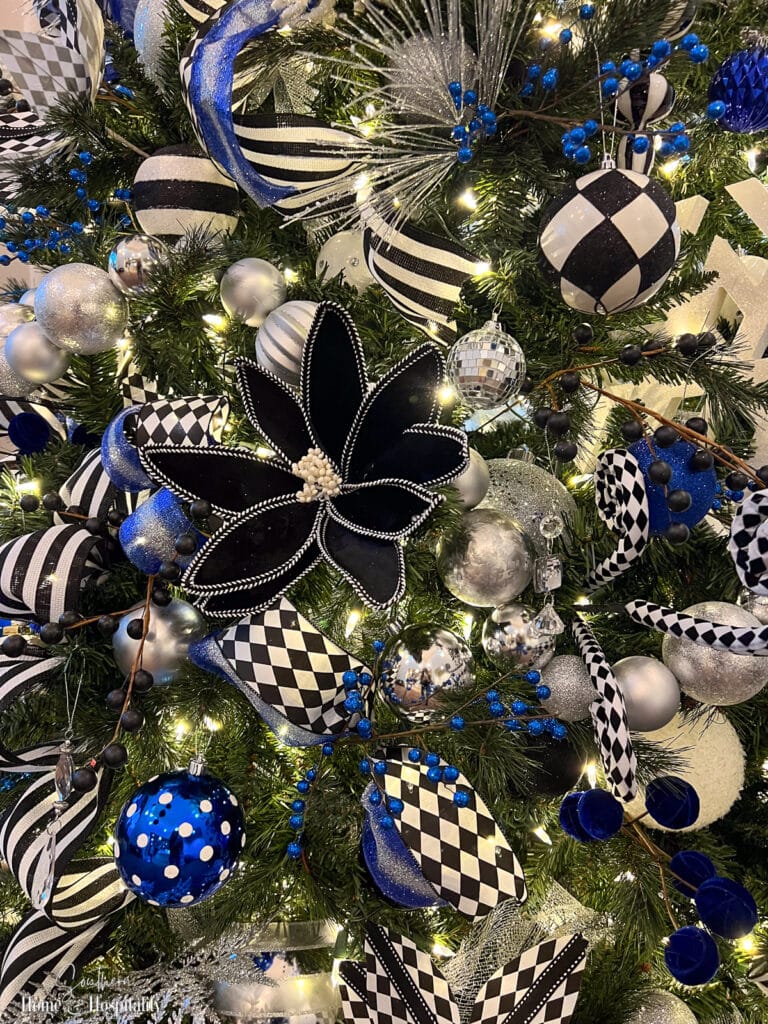
Pro Tips for Using Berry Sprays:
- Never leave a berry spray flat—fan it out in different directions.
- Always place them so that they point out or down, never up.
- Because they’re thin, they can be manipulated however you want to fill space and can hang over other decor.
Then came the solid color poinsettias and flowers. Black poinsettias might sound strange but these look so designer and luxe, and really show up with the white trim:
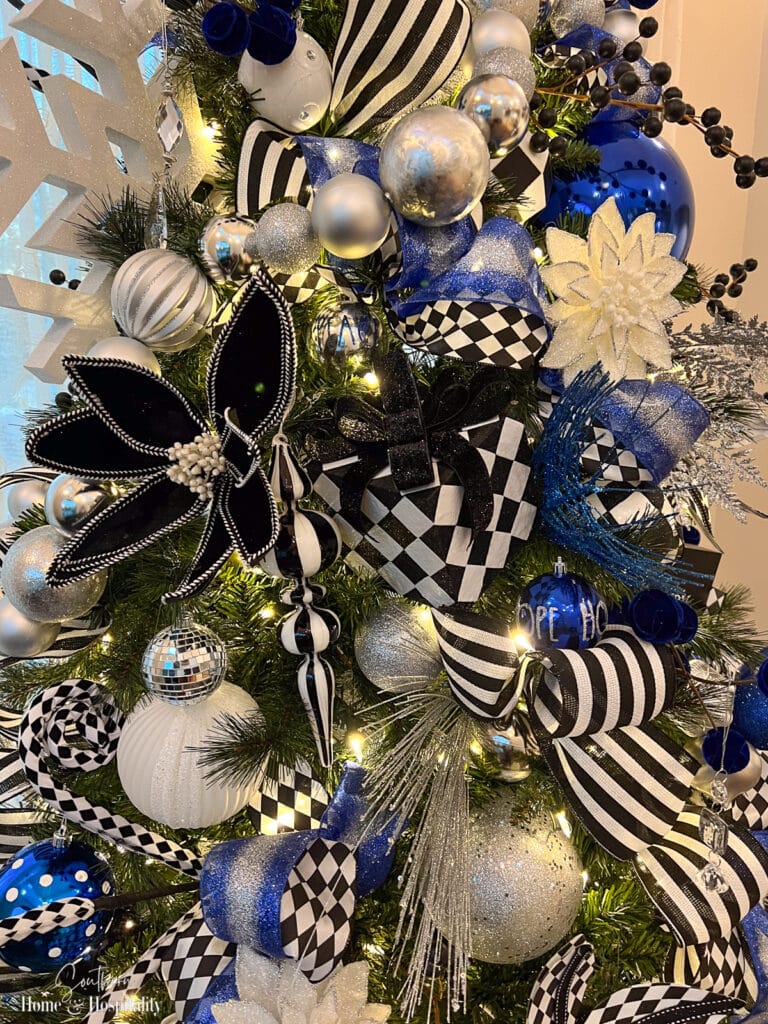
She also added silver leaf picks throughout that really stand out well:
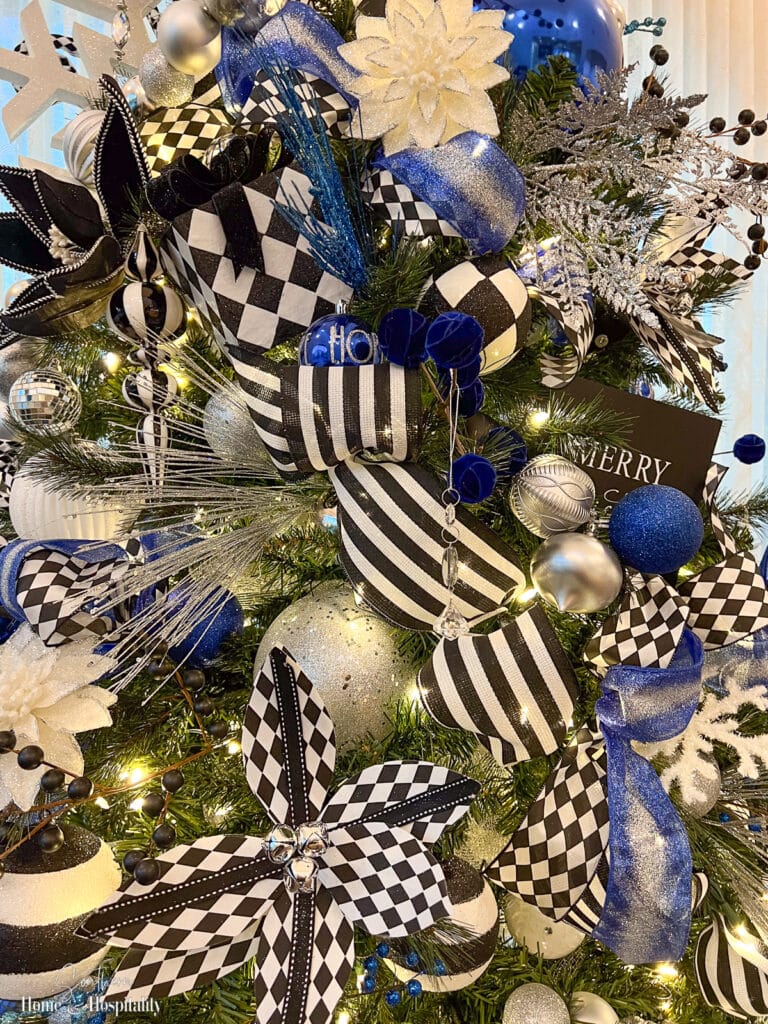
Pro Tip for Using Leaf Picks: Picks of leaves should always be pointed down. They look better and cover the area better.
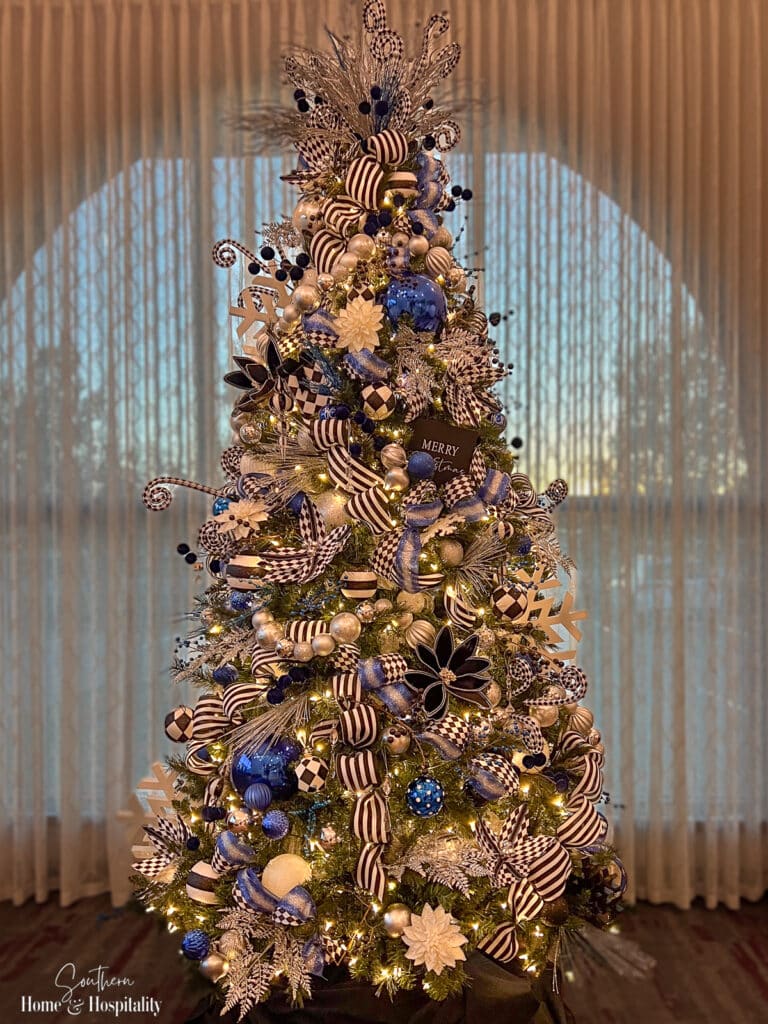
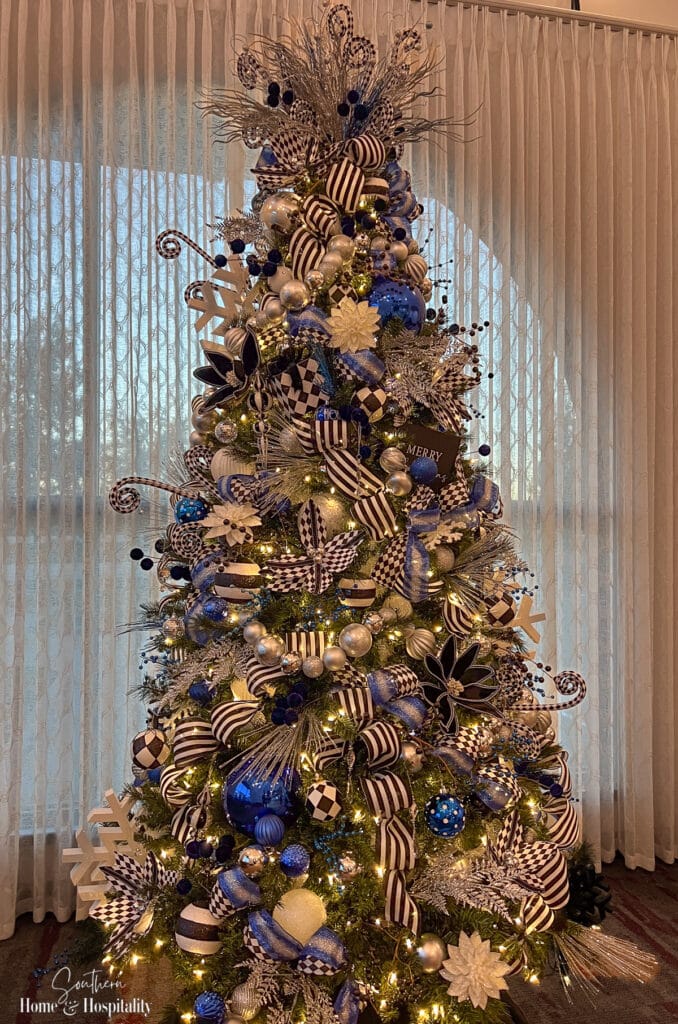
The tree transformation reveal.
It was amazing for me to watch this plain, bare artificial Christmas tree become this lush beauty from start to finish.
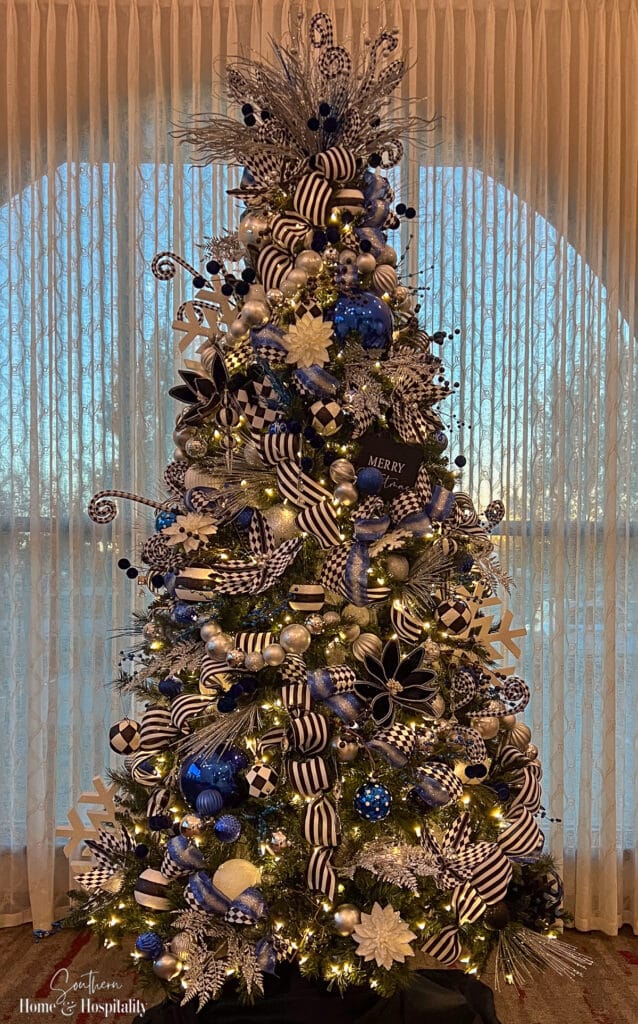
So gorgeously full of depth, dimension, and interest.
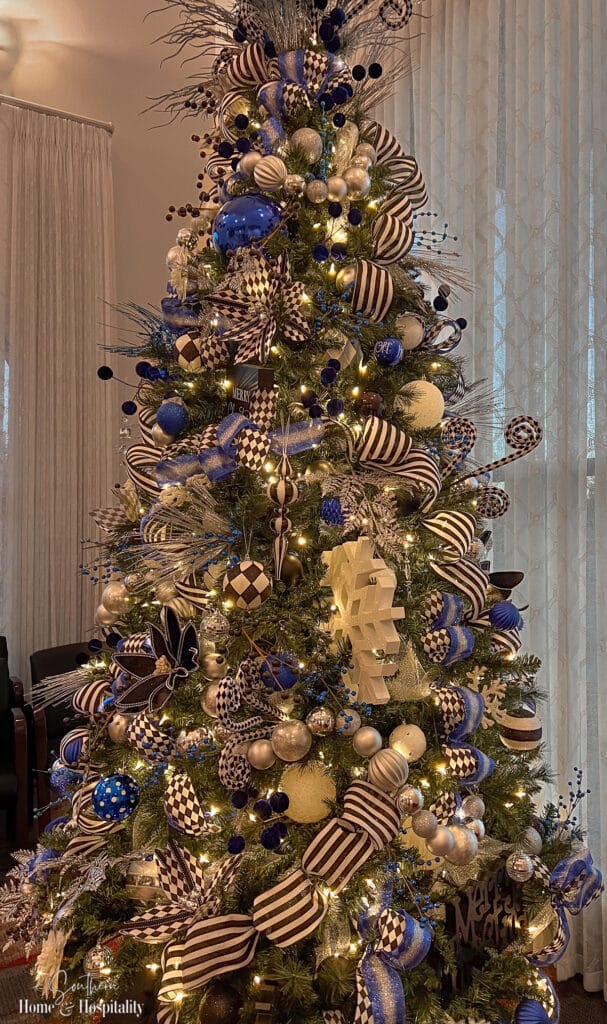
Totally transformed into one of those fancy specialty Christmas store or department store trees that I stare at in wonder!
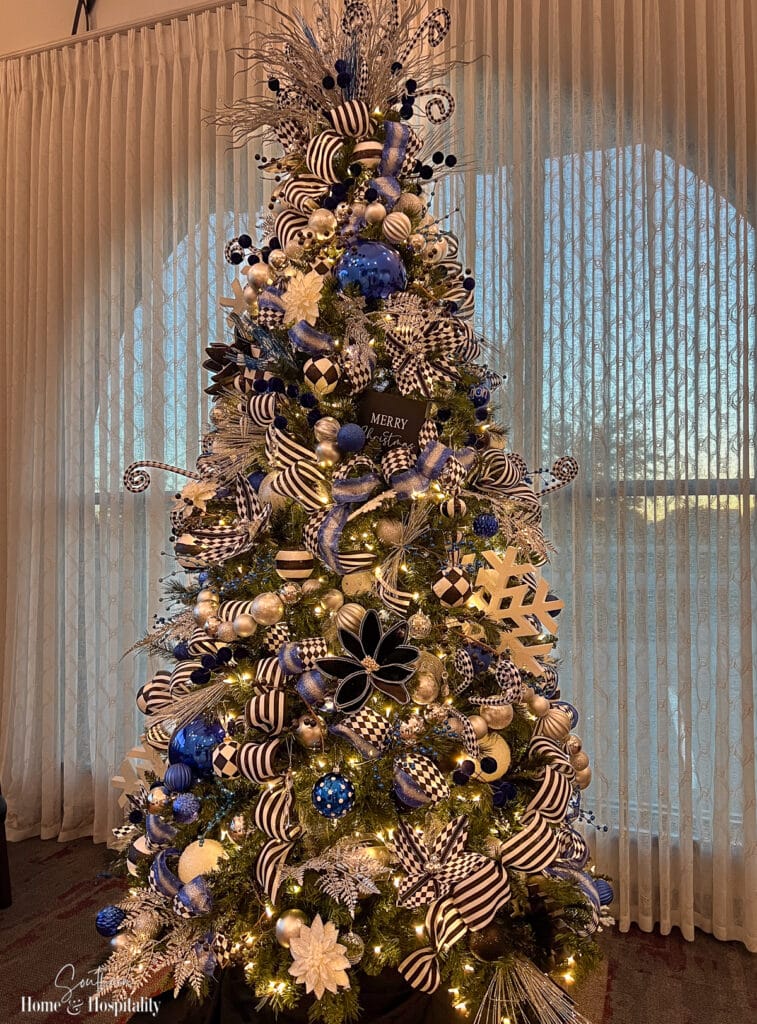
And now we know exactly how it’s done to get the professional look for our own tree. People may even ask if we had interior designers.😉
Pro Tip: The Christmas tree is usually the focal point and backdrop for family pictures and present opening photos, so make sure the middle to bottom branches look really full according to how tall your people will be standing or sitting in front of it.
I noticed a couple of other time-saving takeaways that were lightbulb moments for me:
- Christina rarely uses ornament hooks. She attaches everything from the ornaments to the snowflakes to the signs using the bendable branches. And when she does use a hook, it’s the floral wire type that can be wound around the branch—it saves time over cutting actual floral wire.
- She almost exclusively uses shatterproof, nonbreakable ornaments for easy, lightweight decorating that doesn’t require a lot of hooks or hanging.
- She didn’t waste time and effort putting many ornaments on the back of the tree, but it ended up looking decorated because she brought the ribbon, dramatic picks, and snowflakes almost all the way around.
I hope you found this tree decorating tutorial as informative as I did. I can’t wait to use some of these tips next year!!

Before you go:
As always, I appreciate your visit, comments, and shares here on the blog! I’d love it if you also follow along with me on Pinterest, Instagram, Facebook, TikTok, and YouTube so you won’t miss any of my inspiration and ideas.
Don’t forget to sign up for updates to keep in touch.
If you’re not already a member of the SH&H family, I’d love to have you join me! You’ll not only get email updates, but you’ll have exclusive access to all the bonus materials in my free subscriber-only library, like this:
Pin it to remember it!
If you’ve enjoyed this post, please pin and share this on Pinterest:



Your recent how-to post had already convinced me to add ribbon to this year’s tree (vs. the festooned gold bead strings that weigh the branches down and have to be adjusted every day). Now I may also add some picks throughout the tree. Today’s post was beautiful, inspiring AND practical — a great combo.
I’m so glad you found it helpful and inspiring Cyndel!!
Wow! She did a great job, and the information was so helpful.
Thank you for watching her and sharing with us since most of us would not have this opportunity. Your posts are always so creative, useful, and doable.
Thanks Nancy. It was so enlightening for me!
Kate, your post is fabulous. It makes me want to take everything off my tree and start all over. I’m tempted, but I think I’ll just add a few things that I normally wouldn’t think to do. Please share this next year.
,
I know Nancy. I can’t wait to try some of the things I learned next year!
Wonderful tips I would have never thought about!
Thanks Susan. I knew some of them but definitely learned a lot!