How To Clean Your Oven Without Harsh Oven Cleaner
Inside: A simple step-by-step guide to cleaning the entire oven without using toxic and harsh chemicals that’s better for you and your oven!
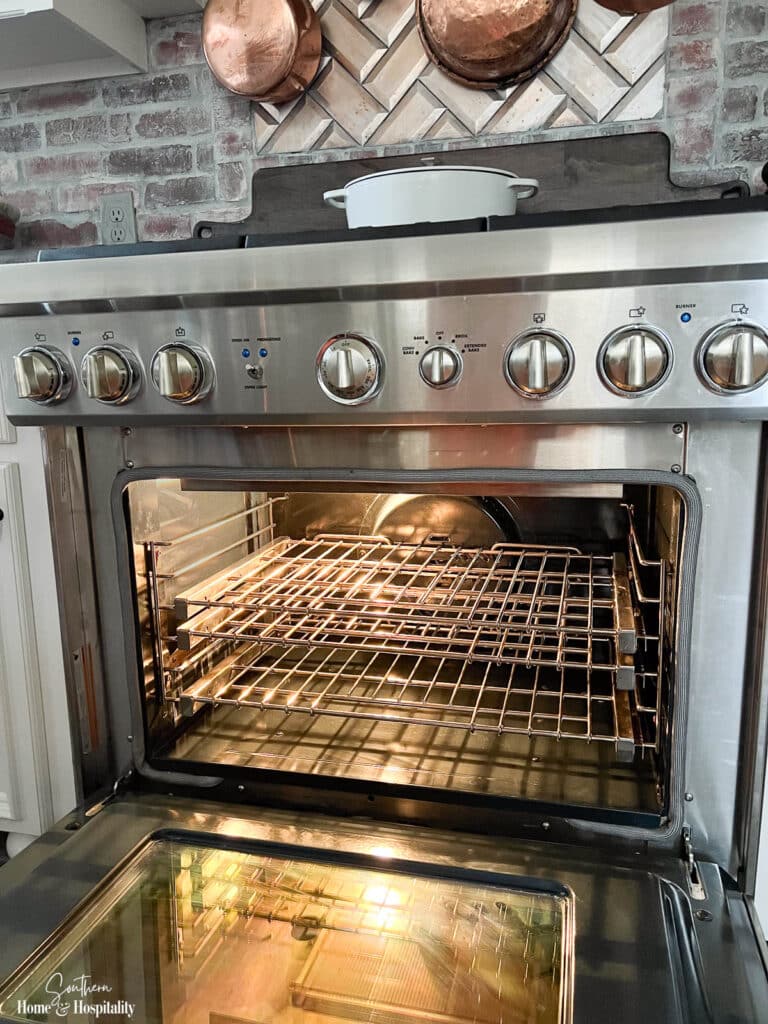
This post contains Amazon and other affiliate links for your convenience. As an Amazon Associate I earn from qualifying purchases. If you purchase something through any link, I may receive a small commission, at no extra charge to you. I only recommend products that I love or would purchase for myself. See my full disclosure here.
It’s so easy to shut the door on the messy aftermath of a thousand meals baked onto the inside of our ovens. You know—the cheese that dripped from the pizza is now a black stain that’s become one with the oven floor. The popping bacon grease has become a sticky brown film on every wall. And the cooking crime scene spatter from that juicy Thanksgiving turkey is a job even Cinderella would act like she doesn’t see.
Why do we need to spend time cleaning the oven?
We have so many more important or enjoyable things we could be doing instead of cleaning the oven (although wiping away the grime can be pretty gratifying). But if ignored for long enough, the built-up gunk can cause issues beyond just looking dirty.
- The baked on food and grease burns every time you cook, creating carbon-based fumes that can affect the taste of your food, especially baked items.
- Your oven has to work harder to heat up and maintain temperature, decreasing its lifespan.
- In extreme situations, the grease and dirt can even catch fire.
So now that we know this chore is a must, we want it to be as painless as possible. That’s why oven cleaners and self-cleaning ovens were invented. But if you want to be more careful about your health and the health of your oven, you might want to skip the commercial oven cleaners and even the self-clean cycle.
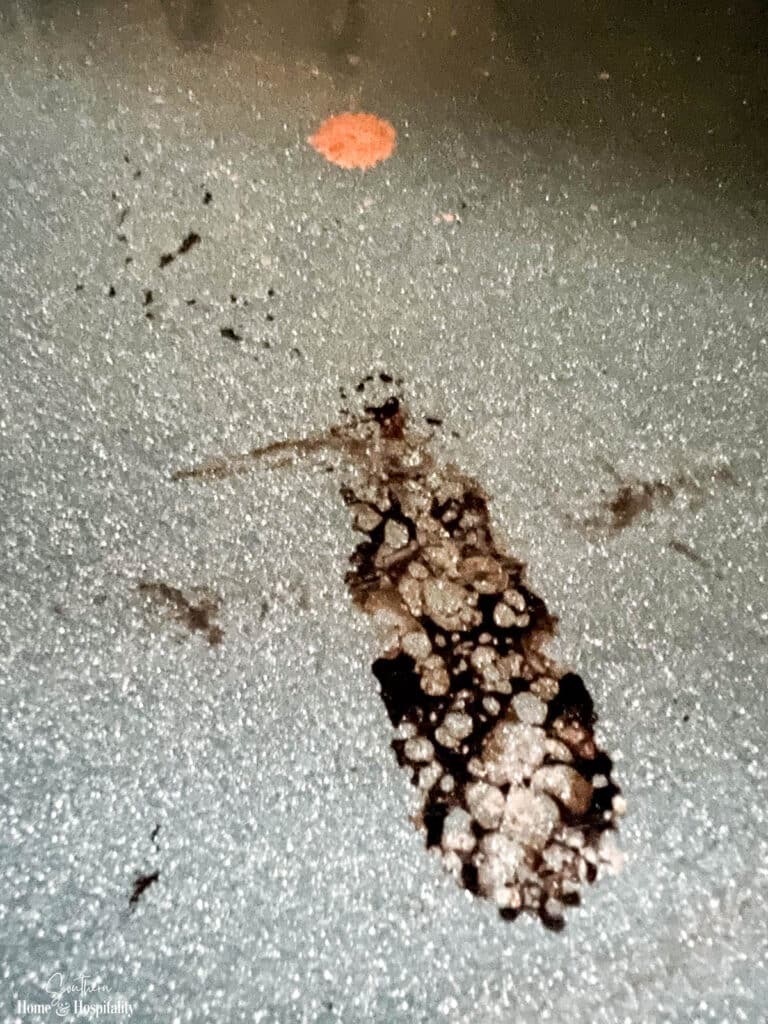
Why Oven Cleaning Products Are a No-Go.
There’s no denying that traditional oven cleaning products get the job done. But many contain toxic ingredients that are harmful to inhale, touch, and if not removed completely, traces can find their way into your food. The environmental impact is another concern, as the production and disposal of these chemical oven cleaners contribute to pollution and harm ecosystems
The Downside of Self-Cleaning Oven Features.
While the self-cleaning feature is a convenient solution, it comes with its own set of drawbacks that might make you think twice before pressing that button. The extreme heat can potentially damage sensitive oven components and shorten the lifespan of your oven, and the burning of food residue into a carbon crisp can emit unpleasant fumes.
Gentler Methods To Clean the Oven Interior, Racks, and Glass Door.
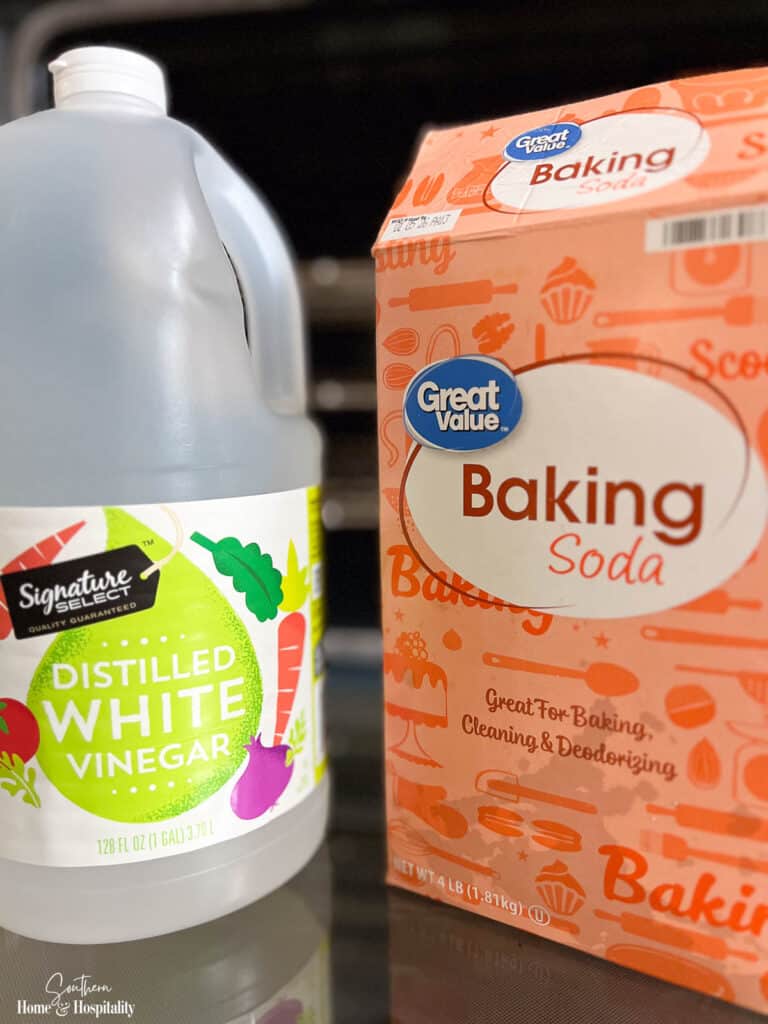
How To Clean The Inside of the Oven With Baking Soda and Vinegar.
A much safer solution is to make your own simple DIY natural oven cleaner with three things from the kitchen—baking soda, vinegar, and water!
Follow these easy steps for a clean oven the more natural way:
Step 1: Gather Your Supplies.
- Baking soda (sodium bicarbonate)
- Water
- White vinegar
- Spray bottle
- Small bowl
- Clean paint brush
- Clean rags
- Vacuum cleaner with wand attachment
- Non-scratching scraping tool (like the Lil Chizler)
- Toothbrush or other non scratching scrubbing tool
- Optional: Plastic garbage bags to catch dripping baking soda solution
(I’m not trying to insult anyone’s intelligence here, but after reading warnings on products like “never use a hair dryer while sleeping”, I feel the need to say make sure the oven is completely cool before cleaning it.)
Step 2: Remove The Racks And Vacuum.
Take out the racks. Put them in the bathtub to soak according to the instructions in the section later in the post about cleaning the oven racks.
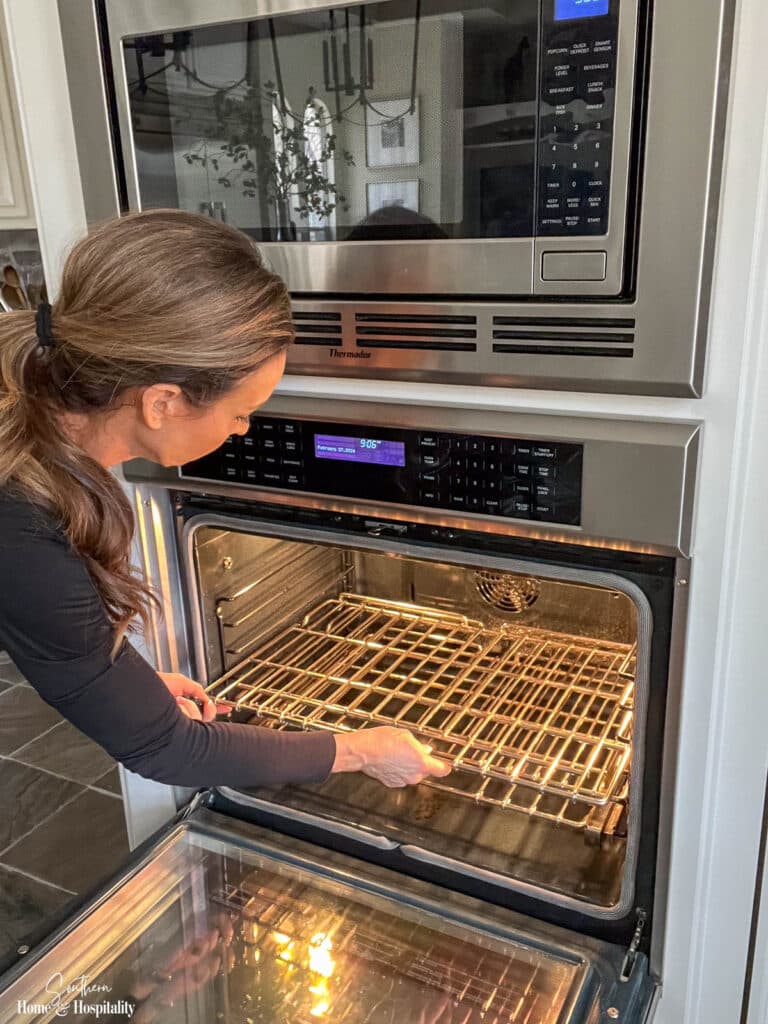
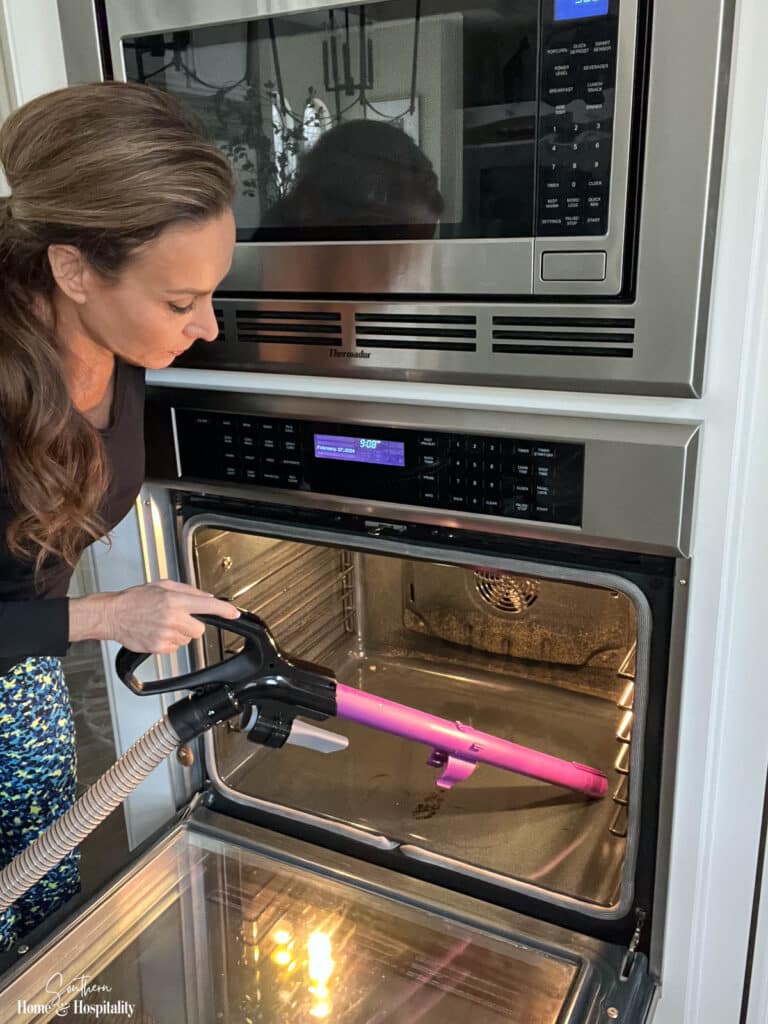
Vacuum any loose food and burned particles from the bottom of the oven. Use the crevice tool to get the crumbs in the trench between the oven and the door.
Step 3: Apply A Baking Soda Paste.
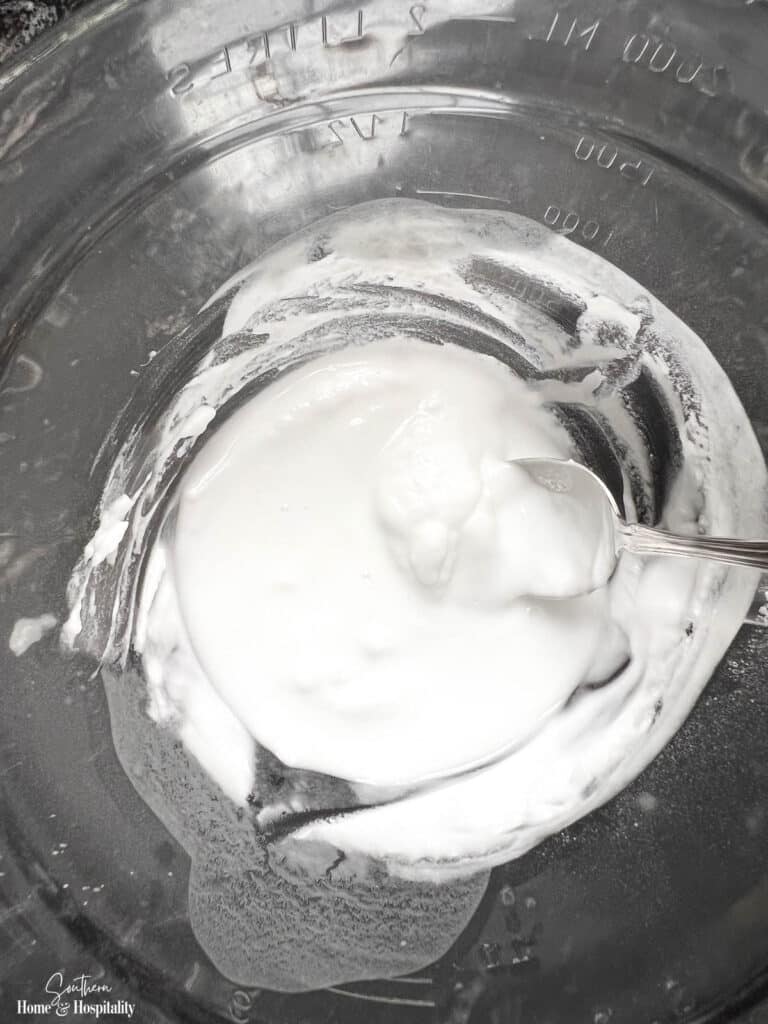
Mix 1/2 cup of baking soda with 1/3 cup of water in a small bowl to make the first part of the natural oven cleaner. Adjust the ratios until you have a spreadable paste.
At this point, you can protect the floor from drips if you want by laying a couple of cut-open garbage bags underneath the oven door.
Use a paintbrush to apply the paste in a thick layer to the inside of your oven, avoiding the heating elements, vents, and holes.
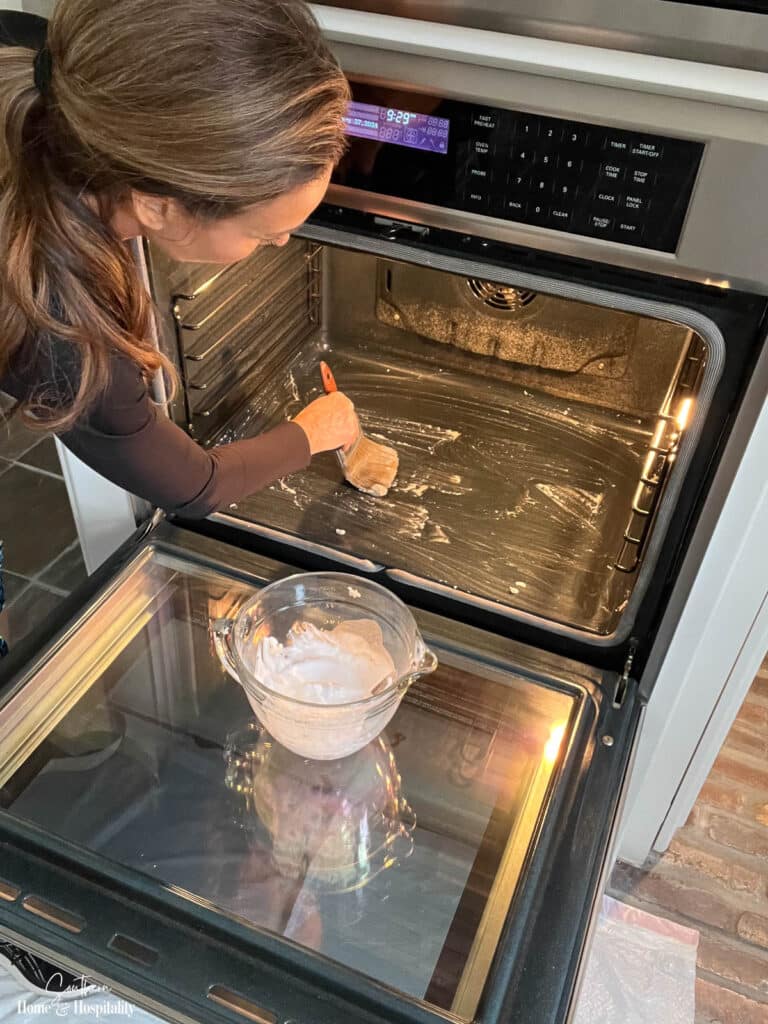
Let it sit for at least 2 hours for the paste to work its magic on grease and grime. If your oven has more build up, leave it on longer or even overnight.
Step 4: Spray On a Vinegar Solution And Wipe.
Once the paste has done its job, fill a spray bottle with equal parts white vinegar and warm water. Spray this solution onto the dried paste. It’ll fizz and foam a little bit as it reacts with the baking soda. Wait for 30 minutes, then wipe down the surfaces with a warm, damp rag. Periodically rinse the brown residue out of the rag or change rags.
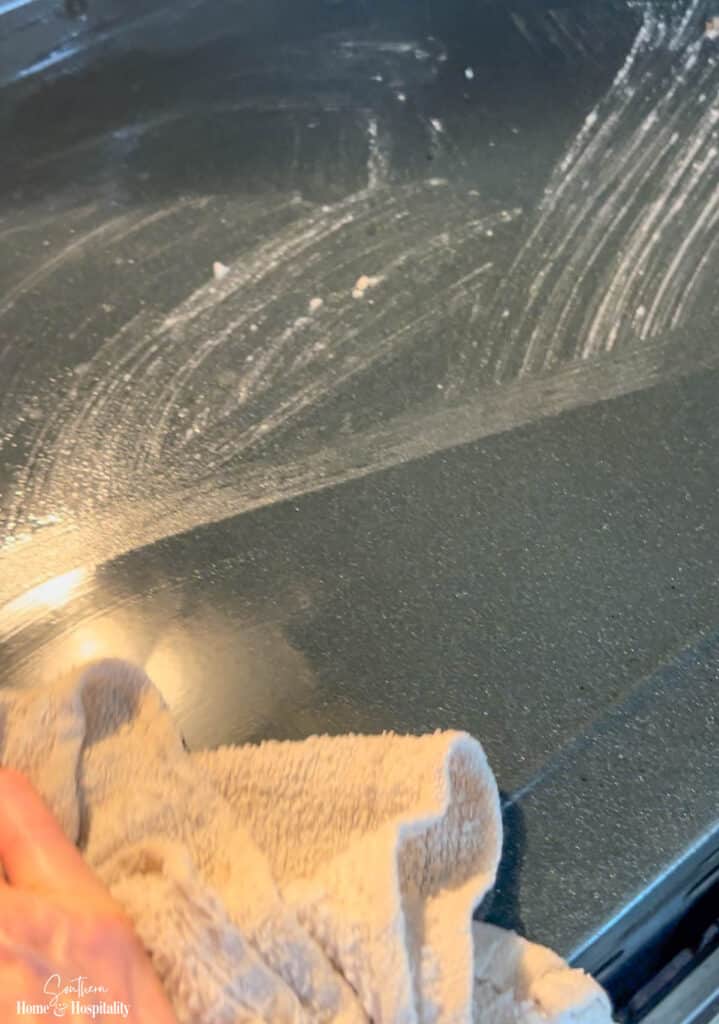
I’ve been fairly good at keeping up with the overall oven grime buildup, so I wish the photos were a little more dramatic. The brown stains I can see in person don’t show well in these photos, but the method is still the same for a much dirtier oven.
SH&H Tip: Try this oven cleaning hack for fresh spills: Cover the fresh drip with table salt (taking care not to burn yourself). After the oven cools completely, wipe the spill away. The salt absorbs the liquid and won’t allow the spill to stick.
Step 5: How To Remove Stubborn Spots.
After the baking soda/vinegar cleaning, you’ll likely have a few spots remaining that will need special attention, like this one in the bottom of my oven:

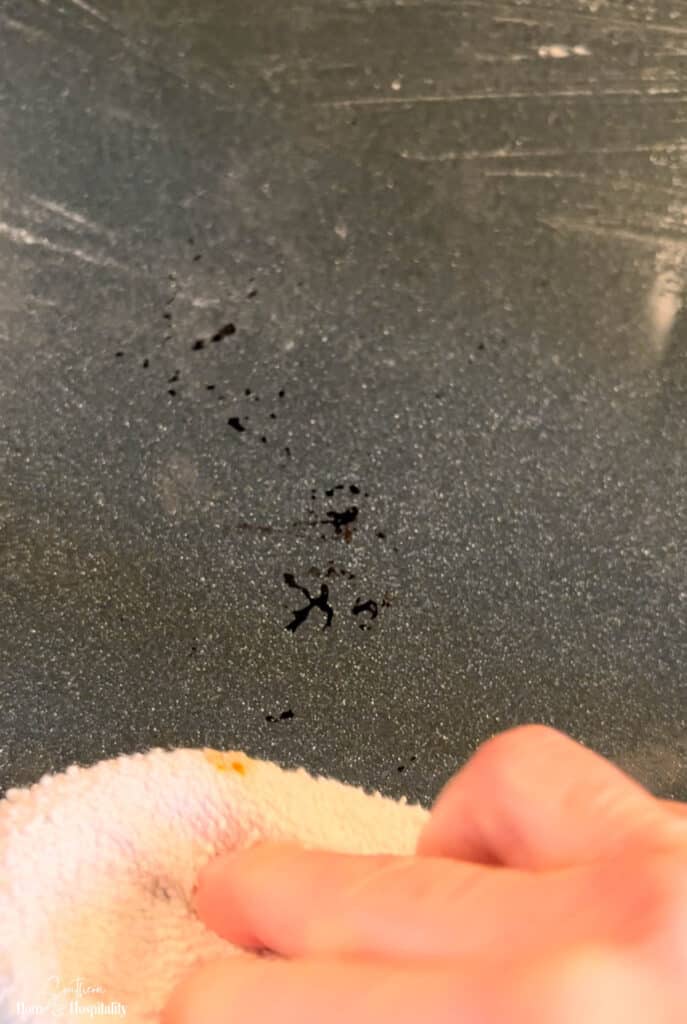
The baking soda and vinegar treatment should have removed a lot of the gunk, but you’ll have to get the remainder of the baked-on grease off with a little elbow grease.
If there’s quite a bit of material left, first sprinkle more baking soda over the stain and then spray with the white vinegar solution. Allow it to sit for 15-20 more minutes to further soften the burned residue.
Then scrape or scrub the remaining stain off with a non-damaging scrub pad, toothbrush, or scraper. Mine came off pretty easily with a Lil Chizler scraper. I like this plastic scraping tool because I don’t have to worry about scratching or cutting the surface like with a razor blade or glass scraper. I also like to use this battery-powered scrubber to do some of the scrubbing work.
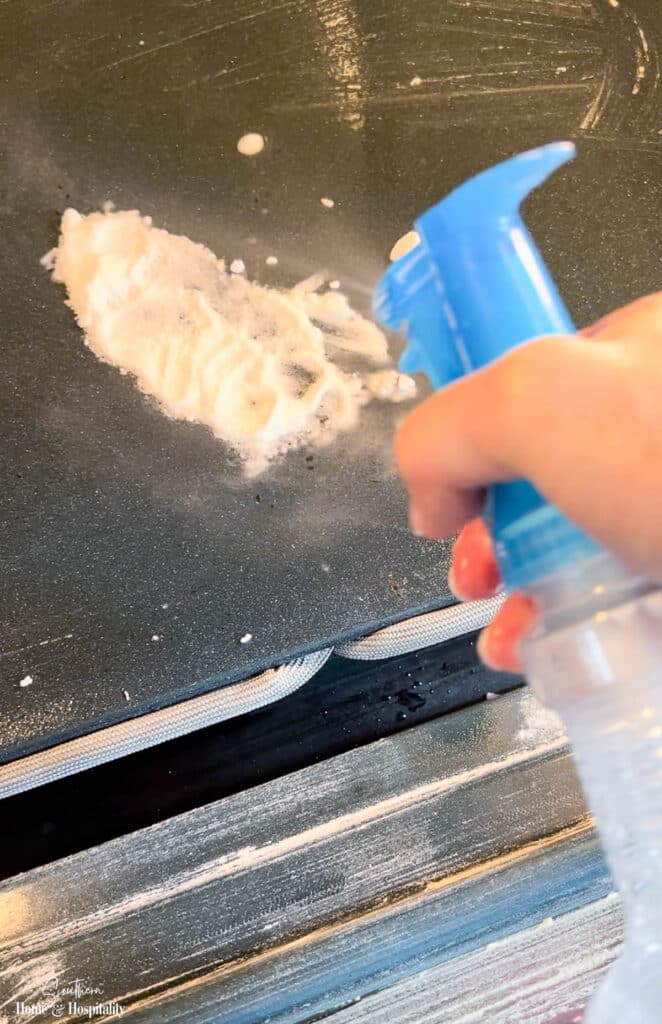
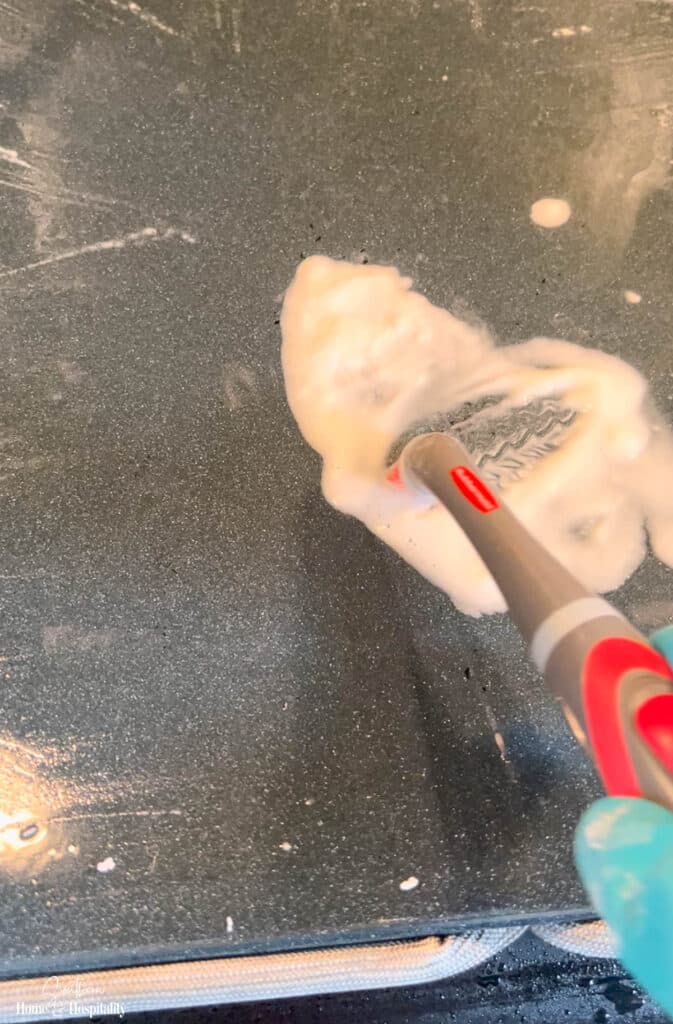
SH&H Tip: To remove melted plastic from the bottom of an oven, first freeze it with an ice cube or bag of ice, then chip it off with a plastic scraper.
Step 6: Let Dry and Do a Second Finishing Detail.
For me, the most tedious part of cleaning the oven is removing all the cleaner, whether it be baking soda or oven cleaner spray. You think the oven is clean while it’s wet, but after it dries is when all the remaining cleaner shows up, especially around screws, lights, and behind the rack holders.
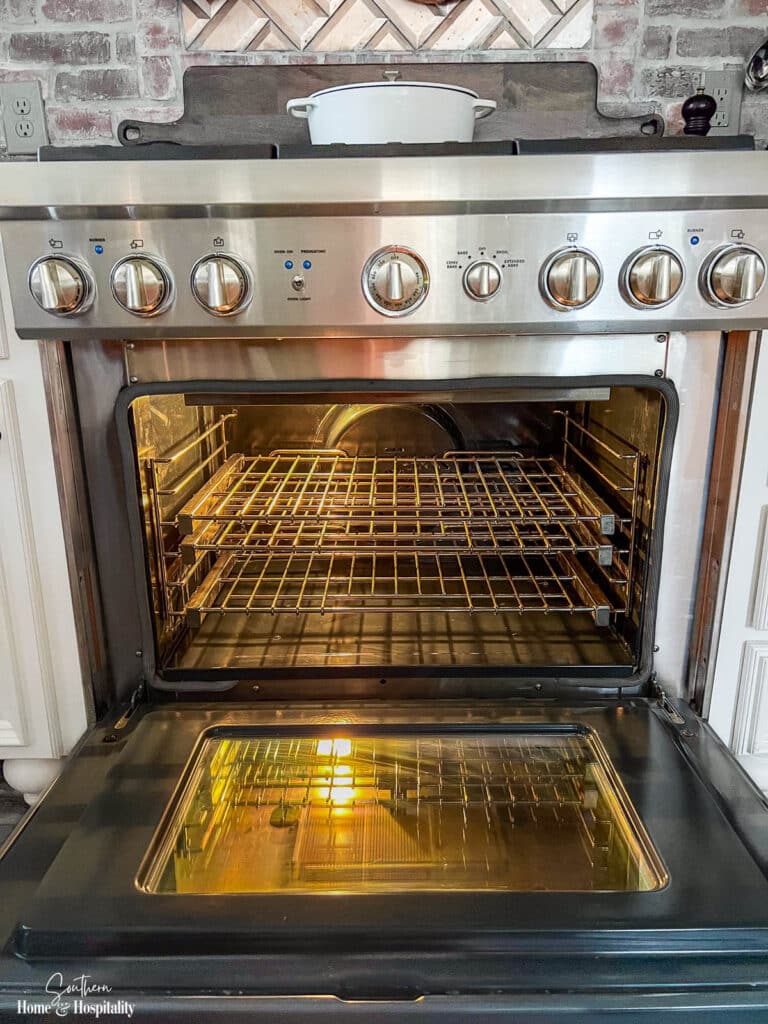
To truly get a sparkling clean oven that will make you give yourself a pat on the back when you open the door for a job well done, you’ll realistically have to follow up with two or even three final rounds of wiping.
Remove the cleaning residue with a clean wet rag and repeat until you no longer see the baking soda after it dries. Then finish with one more wipe down followed by a final drying with a microfiber cloth to polish.
SH&H Tip: If you don’t want to deal with the cleanup of baking soda residue, another natural solution is to use steam. Boil water on the stovetop then add an equal amount of vinegar. Place the steaming pot inside the oven on the rack, close the door, and let it sit for an hour. Then remove the bowl and wipe away the softened grime.
How To Clean Oven Glass Doors.
The oven door glass is what I notice is dirty first and bothers me the most! You can follow the same instructions as the interior to clean it with baking soda and vinegar, but I wanted to experiment with a few hacks I’d read about to clean oven glass doors.
(I shied away from trying another viral hack for cleaning dirty oven glass which is to use “The Pink Stuff”, after reading so many people say online that their glass shattered after using it for this purpose. I can’t imagine how this happens, but I wasn’t willing to risk it.)
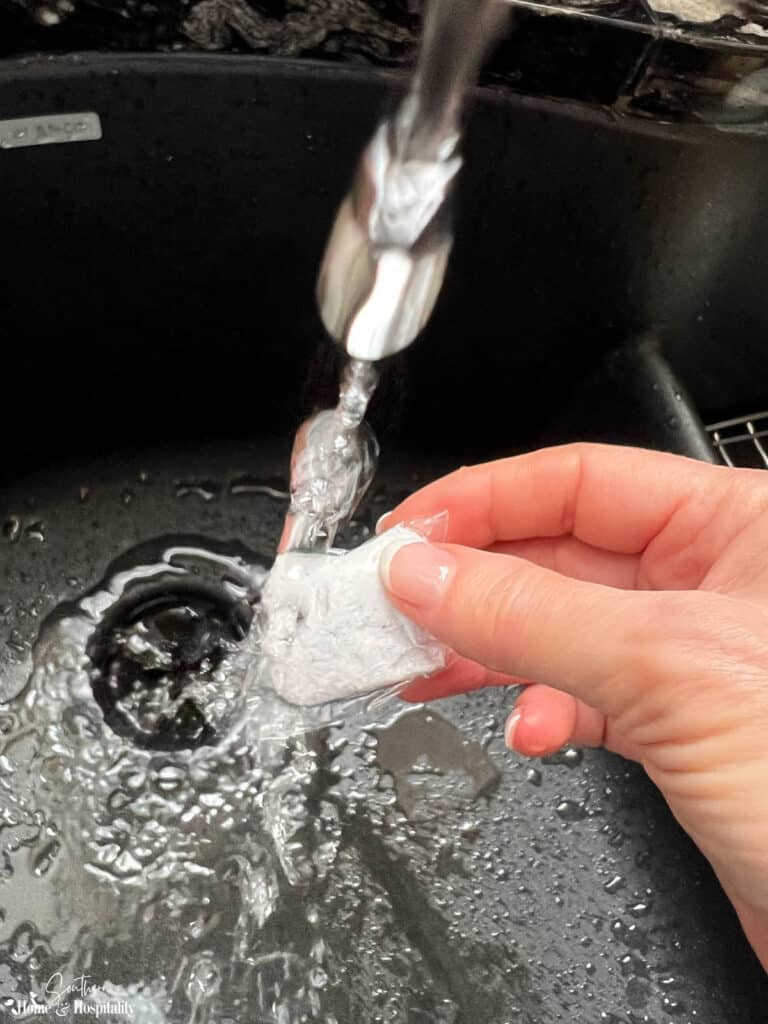
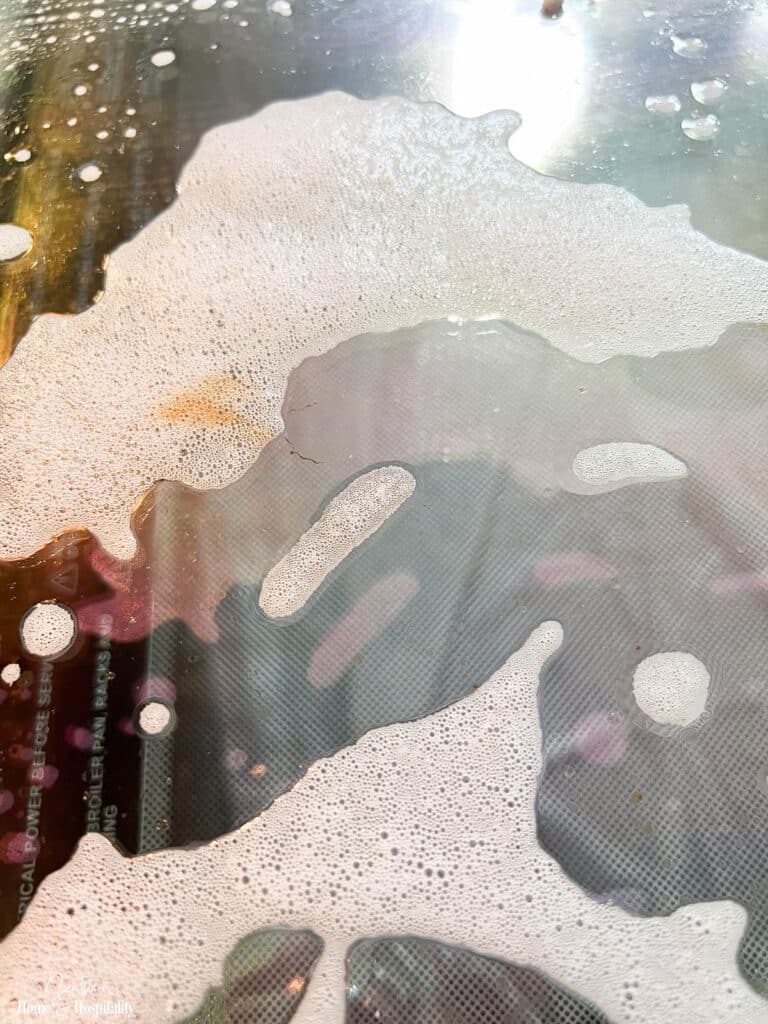
I had two oven doors to test the tricks on. On the right half of the electric oven door, I tried the dishwasher pod trick. You wet the end of the tablet slightly and rub it over the glass. Let it sit for five minutes and wipe it away with a warm, wet cloth.
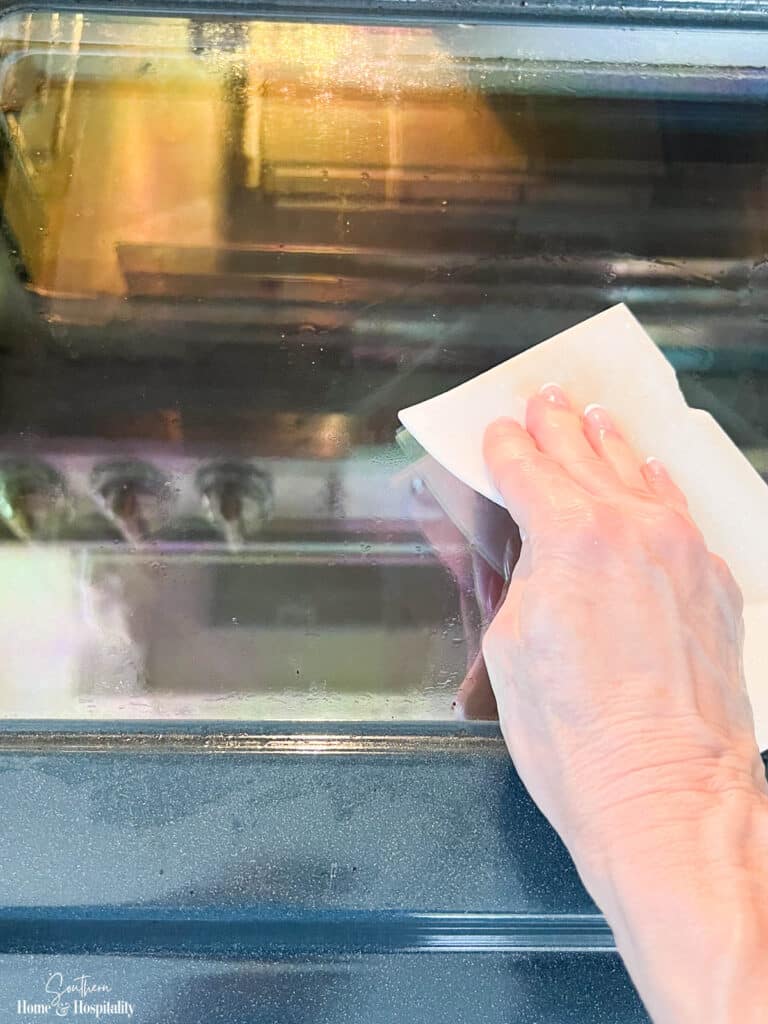
On the left side, I sprayed Dawn Dish Spray, let it also sit for five minutes, and then wiped it away with a warm wet rag. And finally, I used a Magic Eraser to scrub off the brown stains on the door to my gas oven,
The end results for all three products were all very close. Since the doors weren’t super bad off this time, I didn’t scrub a lot with the Magic Eraser. I found the dishwashing pod hack to be a little messy. And I kind of got a thrill at watching the Dawn Dish Spray melt the brown grease gunk while it sat, so it got my vote for the easiest way by a hair.
After all three methods, I had to follow up with a little scraping, again with the Lil Chizler that wouldn’t scratch the glass:
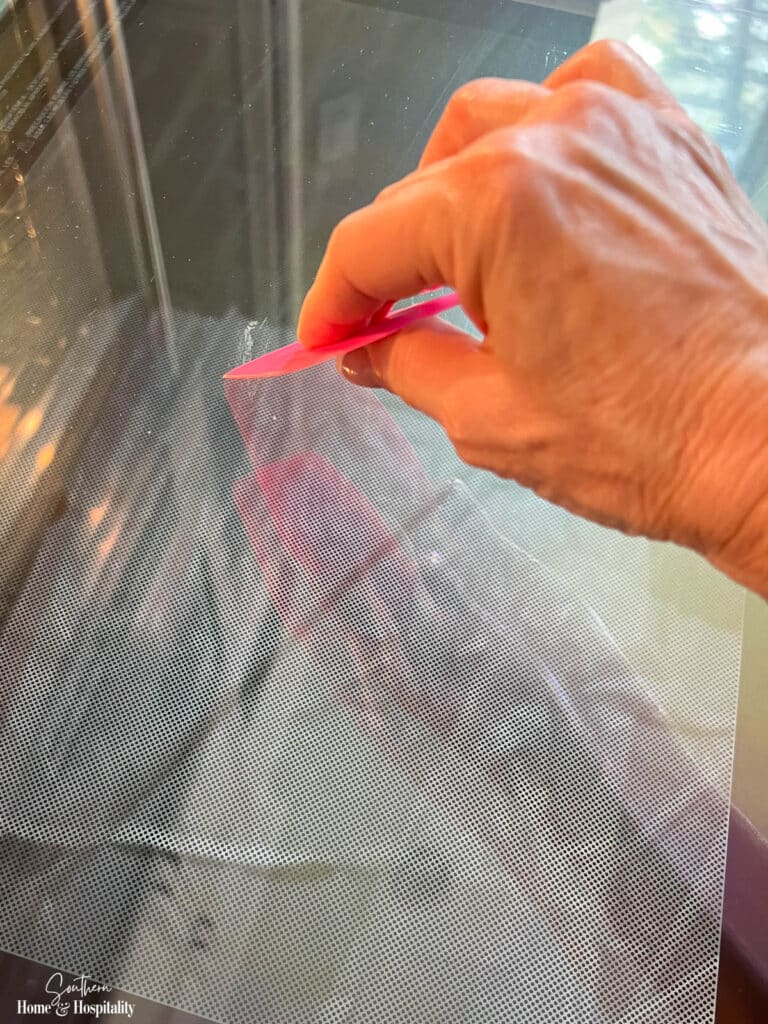
After all the stains were gone I washed off the cleaning solutions by wiping the glass well with a wet cloth, followed by a dry cloth to shine it up.
How To Clean Oven Racks.
After you remove the oven racks to begin cleaning the interior of the oven, start the racks soaking in a good bath in the bathtub while you work on the rest.
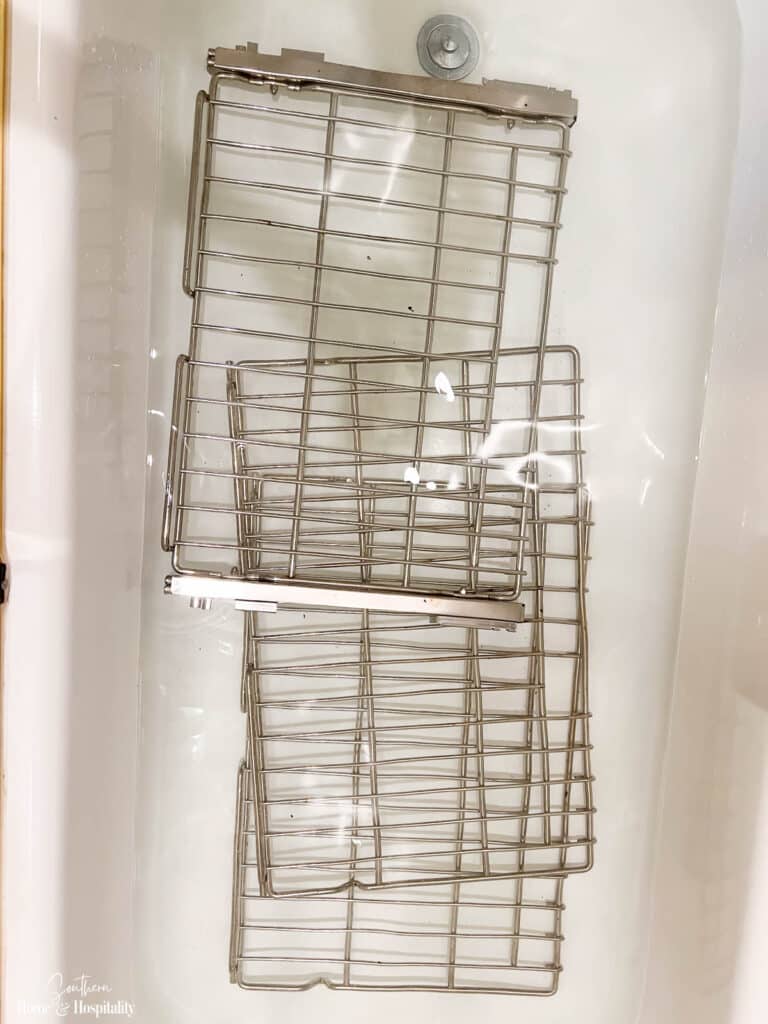
1. Line a bathtub with towels. Protect the tub from scratches with a couple of old towels. (This occurred to me after I put these into the tub—thank goodness I avoided any damage this time!)
2. Submerge the racks in a cleaning soak. Fill the tub with enough water to cover the racks. add two dishwasher tablets and swish them around with gloved hands or some other object.
(In place of dishwasher tablets, you can also use 1/4 cup of dish soap, but add it as you’re filling the tub to activate it.)
3. Let the racks soak for at least two hours, or overnight.
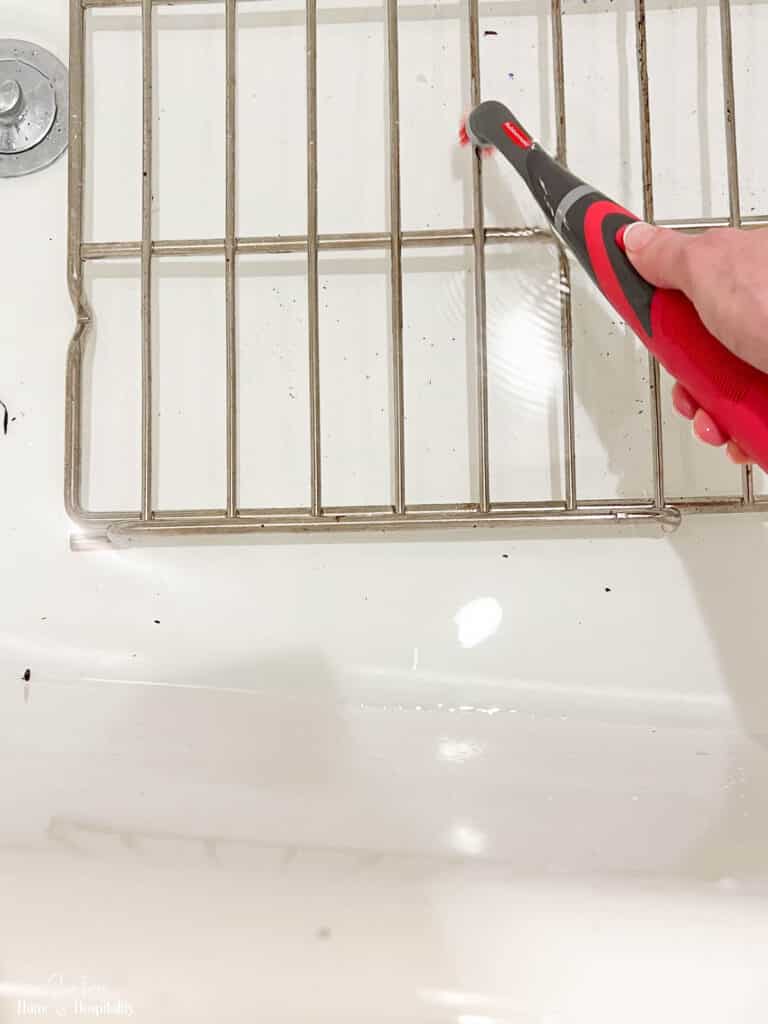
4. Scrub the spots. Some of the black burnt food pieces will already be floating in the water after the soak. Most of the remainder will scrub away easily with a toothbrush. For any stubborn stains, I used the Lil Chizler scraper and the power scrubber.
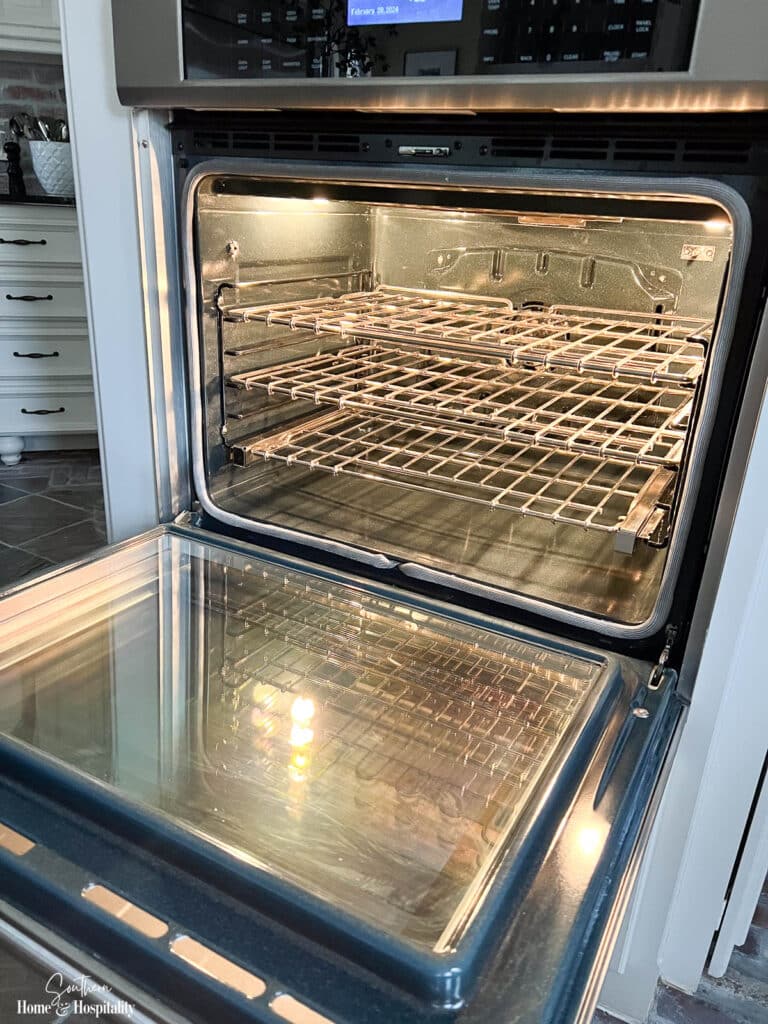
5. Rinse, Dry, and Replace. Wash the soap off, dry the water spots, and put the sparkling clean racks back into your shiny clean oven!
Oven Cleaning FAQs.
Is cleaning a gas oven the same as cleaning an electric oven?
Yes, you can follow this same oven cleaner-free method. Just avoid getting any cleaning mixtures on the heating elements or down in any holes or vents.
Should you line an oven with foil for easier cleaning?
Oven manufacturers do not recommend lining the bottom of the oven with foil. It can damage the surface and heating elements. Specialty oven liners are available, but make sure they are okay for your particular oven. For instance, you can’t place an oven liner on the bottom of gas ovens, or electric ovens with heating elements in the bottom, many of which are hidden under the surface.
Can I use steel wool to clean an oven?
Although steel wool has major scrubbing power, you should never use it on the oven surface or on the glass which can be damaged and scratched. You can use it to scrub the stainless steel racks.
How often should you clean your oven?
The industry and cleaning experts recommend every three months. In my world, this ain’t ever gonna happen just because it’s been three months. I honestly only get around to it when I know I’ve cooked something that has splattered everywhere, or I’ve had a major food leak that burns every time I heat the oven. For instance, I always know I’m going to have to give it a thorough cleaning after roasting a turkey, broiling meat, or cooking bacon.
Are there any tried and true tips or experiences that you want to share for cleaning your oven? Tell us about them in the comments!

Before you go:
As always, I appreciate your visit, comments, and shares here on the blog! I’d love it if you also follow along with me on Pinterest, Instagram, Facebook, TikTok, and YouTube so you won’t miss any of my inspiration and ideas.
Don’t forget to sign up for updates to keep in touch.
If you’re not already a member of the SH&H family, I’d love to have you join me! You’ll not only get email updates, but you’ll have exclusive access to all the bonus materials in my free subscriber-only library, like this:
Pin it to remember it!
If you’ve enjoyed this post, please pin and share this on Pinterest:



Kate, thanks so much for all your tips and design ideas. I just printed off your How to Clean Your Oven post so I can clean my oven without all the fumes from chemicals or using my self cleaning feature on my stove. You have some of the most practical and useful ideas. Thanks!
I’m so glad you find all of it helpful Mary Jo!!