

Cleaning Hacks I Learned From Watching Way Too Many Pro Cleaner Reels

Inside: These professional cleaning tips for home are smart, realistic cleaning hacks that actually work—inspired by way too many pro cleaner reels and tested in a real house.

This post contains Amazon and other affiliate links for your convenience. As an Amazon Associate I earn from qualifying purchases. If you purchase something through any link, I may receive a small commission, at no extra charge to you. I only recommend products that I love or would purchase for myself. See my full disclosure here.
There is something so utterly satisfying about a clean room. It can make me feel like my entire life is in order, even if it very much is not. And I am completely mesmerized by cleaning reels that appear in my feed on Tiktok and Instagram.
The magic of wiping away grime and guck. The effortless transformation of perfectly spot-free shiny shower glass. A rubber-gloved hand making a toilet seem so clean, I can almost see that cartoon sparkle and hear its little “ding.”
So I’ve compiled some favorites I’ve seen on social media—most I’ve tested personally, and a few I’m mentally bookmarking for a cleaning day when I’m feeling ambitious.
Things I Had No Idea Needed Cleaning (Or I Was Doing it Wrong).
The Dishwasher Filter.
I truly did not know there was a filter at the bottom of my dishwasher until I saw it in a cleaning reel. When I finally checked mine, I was not prepared. It definitely needed cleaning after the large family that lived here before. (I even found a piece of plastic and a big shard of broken dish down in the bottom that I’m pretty sure predated me.)
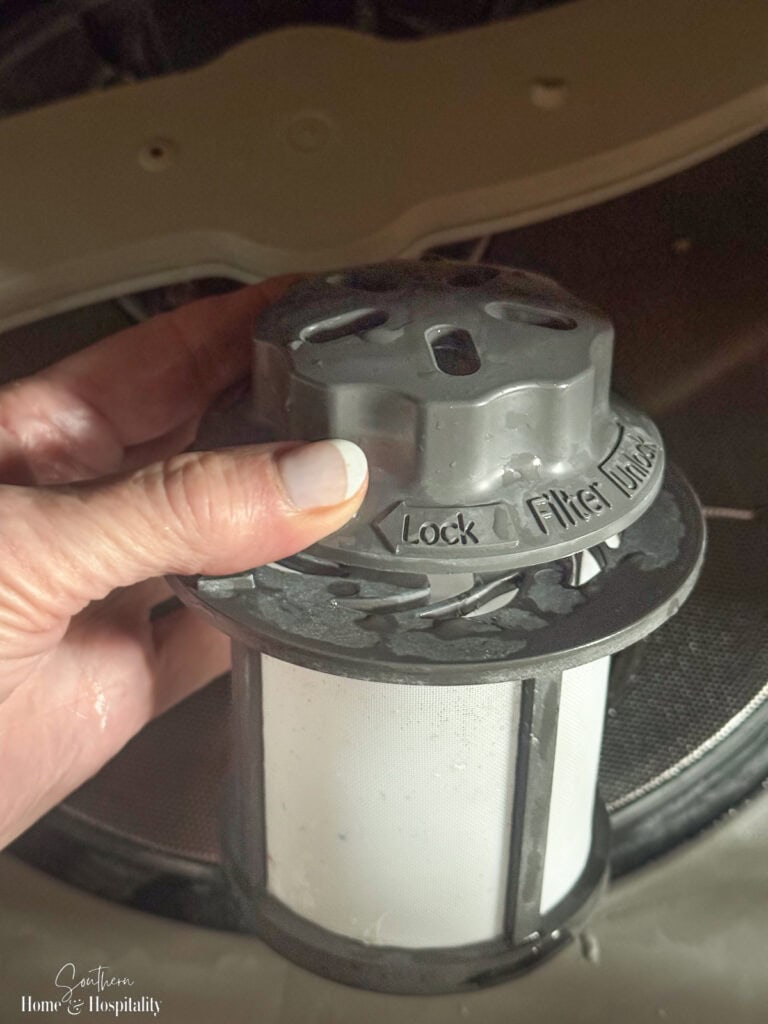
Most filters twist out from the bottom of the dishwasher. Rinse it under warm water and gently scrub with dish soap and a soft brush (like an old toothbrush), then reinstall. Skip harsh scrubbers so you don’t damage the mesh.
Many manufacturers recommend checking it about once a month, especially if you run the dishwasher daily or don’t rinse dishes much beforehand. Otherwise, just keep an eye out for cloudy dishes or odors—that’s usually a sign it’s time for a quick clean.
After putting it back, I like to run a cycle with a dishwasher cleaner to freshen the entire interior and stay ahead of hard water buildup and smells.
Toilet Seat Hinges.
No one talks about cleaning under these, but they should.
If you can, remove the entire toilet seat, because there is almost guaranteed to be visible grime buildup underneath. This isn’t something you need to do weekly, but checking it every month or two keeps it from becoming a situation.
Most newer toilet seats pop off pretty easily (check yours first), which makes it much easier to properly clean around the hinges and base. Wipe down the attachment points, the underside of the seat, and the area where the seat connects to the bowl.
If removing the seat isn’t practical, use a small brush or a cloth wrapped around something flat to get into the crevices.
Air Vents and Returns.
I used to wipe them with a Swiffer or duster, but I learned from the pros to vacuum them with a brush attachment instead. Wiping just pushes dust around. Vacuuming actually removes it.
The Washing Machine Door.

If you have a front load washer, leave the door cracked open after running a cycle.
These machines have to seal tightly to contain the water when washing, which means any leftover moisture inside the drum and rubber gasket stays trapped. That damp environment can quickly create a musty, sour smell you absolutely don’t want to wash your clothes in.
I learned this by experience, and now I always leave mine open so everything can dry out completely. If you’re already dealing with that funk, something like Affresh washing machine cleaner can help clear it out and get things smelling normal again.
Small Cleaning Technique Changes That Make a Big Difference.
Clean Top to Bottom.

Professional cleaners always start high and work down, and there’s a reason for that.
Dust falls. If you wipe counters first and then dust shelves or ceiling fans, you’re just undoing your own work.
- Start with the upper part of a room like ceiling fans and light fixtures, upper shelves and cabinet tops, door frames and trim, mirrors and wall art.
- Then move to countertops, furniture, and other lower surfaces.
- Finish with the floors last.
Vacuum Before You Do Anything Wet.
Always vacuum, Swiffer, or dry dust before mopping or cleaning with a wet cloth.
If you skip this step, you’re just turning loose dust and crumbs into streaky paste. Vacuuming first removes the debris so your wet cleaning actually cleans, instead of spreading everything around.
Let the Cleaner Sit.
Spray your surfaces like your shower, toilet bowl, or stovetop and walk away for five to ten minutes. Cleaner needs contact time to break down buildup. Scrubbing immediately just makes you work harder.
Fold Your Microfiber Cloth in Fourths.

Microfiber cloths are great because the tiny fibers grab and hold dust instead of just pushing it around, which makes them more effective than a regular rag or paper towel.
If you fold the cloth in quarters, you have eight clean sides to work with. Refold as each section gets dirty. This prevents you from smearing grime around and gives more even contact with surfaces than bunching the cloth up.
The Order of Cleaning a Toilet.
- Add toilet cleaner to the bowl and give it a scrub to coat the inside before letting it sit (I was doing this one all wrong).
- While it sits, clean the cleaner parts first—the tank, the handle, the lid.
- Then wipe the seat top and bottom, and around the hinges.
- Clean the outside base next.
- Give the bowl another scrub now that the cleaner has done its work and flush last.
The logic is simple: clean from least dirty to most dirty. That way you’re not touching the dirtiest areas and then going back to cleaner surfaces with the same cloth. And letting the bowl cleaner sit gives it time to actually break down buildup instead of making you scrub harder.
Use Cold Water to Rinse Cleaners Faster.
When rinsing certain cleaners, cool water often works better than hot. Warm water can make some products foam or suds more, which means you end up rinsing longer to get everything off the surface. A quick rinse with cold water usually clears the cleaner away faster and helps prevent cloudy residue.
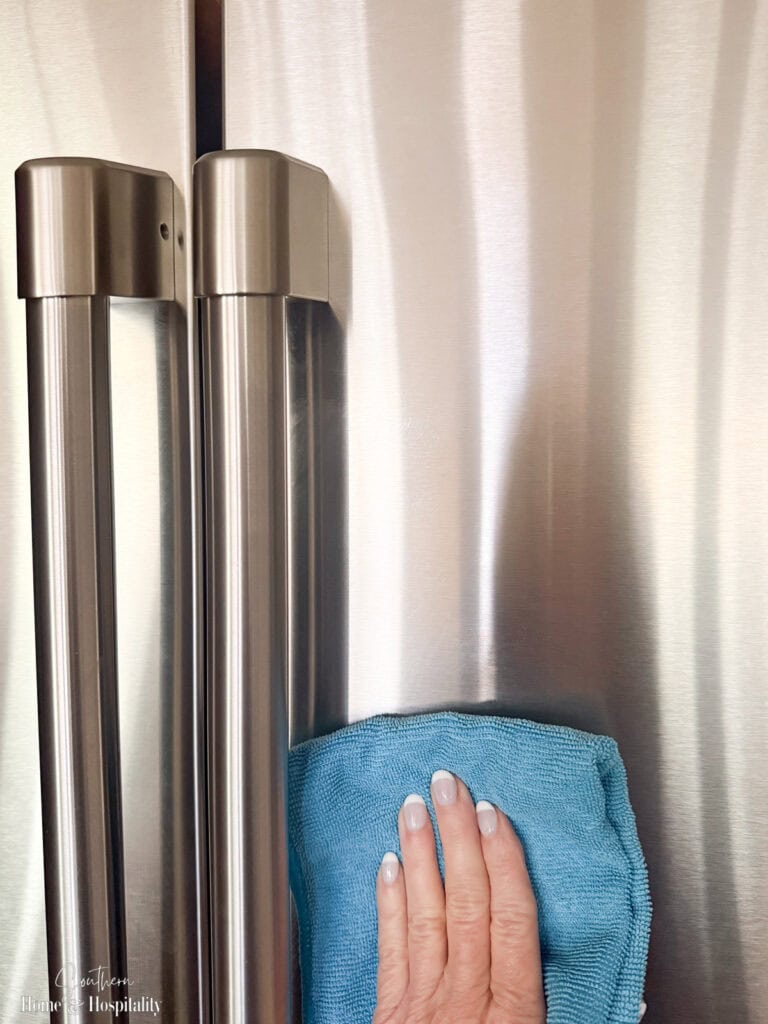
Wipe Stainless Steel With the Grain.
If your stainless appliances always look smudgy, check the grain direction.
Wipe with the grain, not in circles. Use a microfiber cloth, and buff dry afterward.
For extra shine, a tiny drop of baby oil or mineral oil on a cloth can polish it. Emphasis on tiny—too much looks oily and attracts dirt.
Surprisingly Satisfying Product Tricks.
Polish a Glass or Enamel Cooktop With Glass Cleaner.
After cleaning your cooktop, polish it with a quality glass cleaner like Sprayway. It gives that streak-free finish that makes it look brand new.
Bar Keepers Friend for Streaky Stainless Steel.
If your stainless steel appliances always look streaky no matter how much you wipe them, this trick is worth trying.
Clean the surface first with Bar Keepers Friend (the soft cleanser works well) to remove all of the buildup and residue. Rinse thoroughly with a damp cloth or lightly spray with water and wipe to remove any cleaner. Then dry completely with a microfiber cloth, wiping with the grain.
Razor Scraper for Soap Scum and Burnt Food.
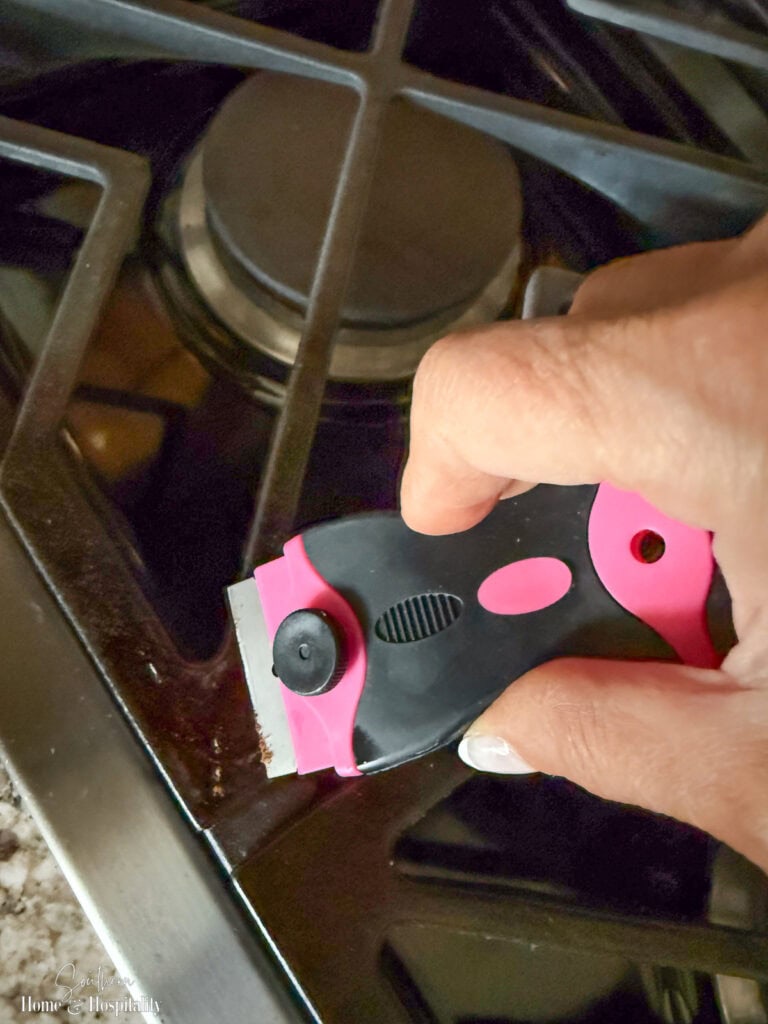
On glass shower doors or certain cooktops, a razor scraper held at a low angle removes stubborn buildup beautifully. It’s not only satisfying to watch scraping soap scum or burnt on food online—it’s so satisfying to do yourself. The secret on tile and glass is keeping the surface wet so you don’t scratch.
I love this scraper set I got after I saw it in cleaning reels—one end has a regular blade, the other has a plastic blade for stickers, and it even comes with a long-handled tool and an extra scraper.
Oil for the Cooktop Grates After Cleaning.
After washing and fully drying cooktop grates (or degreasing as I had to do), lightly oil them with a small amount of cooking oil. It’s not something most of us think of but it’s important to prevent rust and keep them looking fresh.
Odor Fixes That Actually Work.
Microwave Steam Trick.
Combine:
- ½ cup lemon juice
- 1 cup vinegar
- 1 cup water
Microwave for five minutes until it steams. Let it sit, then wipe. It loosens grime and removes lingering smells at the same time.
Baking Soda or Dryer Sheet in the Trash Can.
If your trash can smells even after a bag change, sprinkle baking soda in the bottom or place a dryer sheet underneath the liner. Simple, effective, and low effort.
Grease & Grime Situations.
Heavy Stove & Vent Hood Grease.
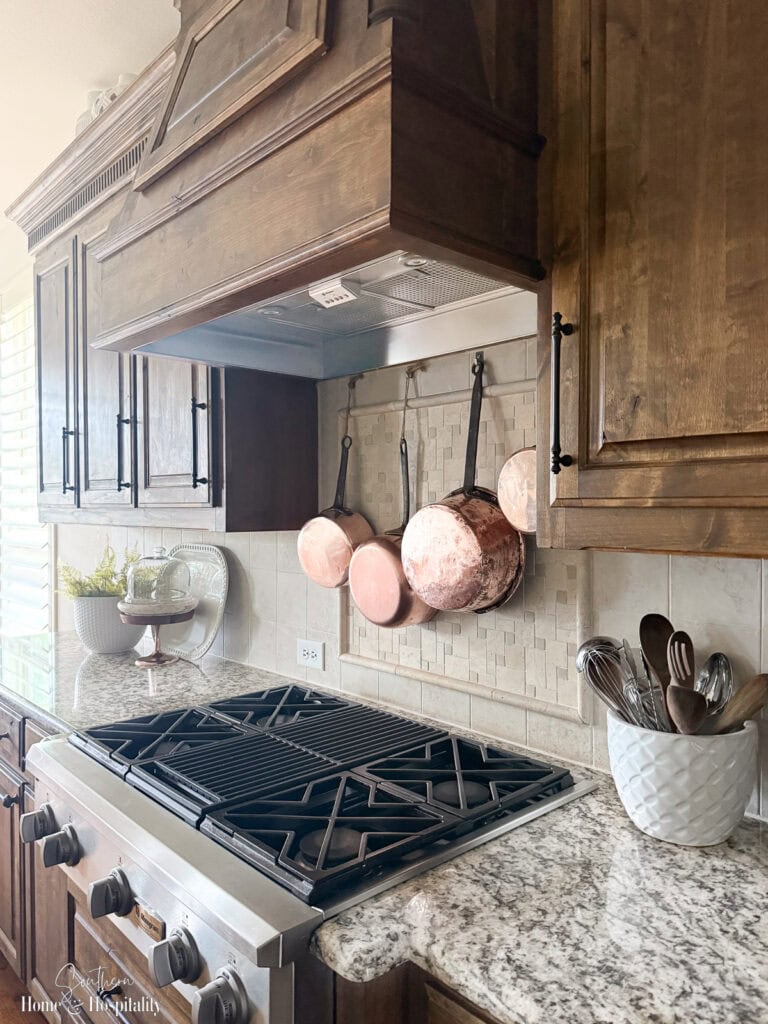
The family that owned my house before me cooked heavily—for ten people. In this house. Which is not large.
I even heard a neighborhood rumor that the neighbor next door moved because of the cooking odors. I can’t verify that, but I can verify the appliances were a mess, and the grease situation was real.
The cooktop grates had a coating of grease glued onto them. The inside of the vent hood and the filters were covered in that orange, sticky film.
For heavy buildup like that, I used a degreaser (Krud Kutter worked well for me). The biggest tip here is contact time—spray it on and let it sit for several minutes so it can actually break down the grease before you start scrubbing.
On the cooktop grates, I used the degreaser, a scrub brush, and a scraper to lift the thicker buildup. In the worst spots, I even used steel wool. It probably wasn’t good for the finish, so I wouldn’t recommend that lightly. But they were in such rough shape that I was more concerned with getting them clean than making them look new again. If you try that route, test carefully in a small area first.
Grease on Top of Kitchen Cabinets.
If you’ve never checked the tops of your upper cabinets, you might be surprised at how dirty they get. Grease rises when you cook and settles up there over time, where it attracts dust and turns into a sticky layer. I haven’t done this part yet, but after what I dealt with on the stove, it’s definitely on my list.
The method to clean I’ve seen (and fully plan to try) is this:
- Lay hot, damp cloths on the surface for a few minutes to soften the grease.
- Spray a degreaser and let it sit so it can break things down.
- Wipe with a microfiber cloth, rinsing frequently.
- Follow with a clean damp cloth to remove residue and dry thoroughly.
Once it’s clean, I’ve seen a brilliant hack—line the tops with wax paper. That way, instead of scrubbing years of buildup later, you can simply replace the paper periodically and stay ahead of it.
Cleaning Jetted Tub Jets.

If you have a jetted tub and haven’t cleaned the jets, you probably should. I’ve seen more than one reel where people cleaned their tub jets and were icked out at what they had been soaking in.
To clean them, fill the tub with hot water above the jets, add a cleaner like Oh Yuk, and run the jets for several minutes. Then drain, rinse, and repeat with clean water.
I actually wrote a full post about whitening the plastic jet covers and cleaning them properly, because mine looked so bad. If you want the full step-by-step (and what worked for me), you can read that here: How to Clean and Whiten Yellowed Bathtub Jets: My Real Results.
Stubborn Toilet Bowl Stains (Hard Water vs. Rust).
Not all toilet rings are the same, and that matters for how you clean them.
If the stain looks gray, chalky, or just generally dingy, it’s usually hard water mineral buildup. Let your regular toilet cleaner sit longer than usual and scrub thoroughly. For heavier buildup, something mildly abrasive like Bar Keepers Friend can help break it down.
For stubborn mineral rings that won’t budge, a wet pumice stone can also remove hard water buildup. Keep the stone and the bowl wet and use light pressure so you don’t scratch the porcelain.
If the stain is orange or reddish and keeps coming back, you’re likely dealing with rust from iron in the water. I’ve seen Iron Out sprinkled into the bowl to sit before scrubbing, and even used in the tank (following directions carefully) to help treat rust at the source.
What Cleaning Hacks Actually Work?

After watching way too many cleaning reels, here’s what actually stands out: the hacks aren’t about fancy products. They’re about cleaning order. Techniques. Using the right tools. Paying attention to buildup most of us ignore.
It turns out a lot of what looks like “magic” on those reels is just method.
So maybe some of my endless scrolling wasn’t a complete waste of time after all.

Before you go:
As always, I appreciate your visit, comments, and shares here on the blog! I’d love it if you also follow along with me on Pinterest, Instagram, Facebook, TikTok, and YouTube so you won’t miss any of my inspiration and ideas.
Don’t forget to sign up for updates to keep in touch.
If you’re not already a member of the SH&H family, I’d love to have you join me! You’ll not only get email updates, but you’ll have exclusive access to all the bonus materials in my free subscriber-only library, like this:
Pin it to remember it!
If you’ve enjoyed this post, please pin and share this on Pinterest:
Thanks, Kate, for all the cleaning tips! I found some new ones!
I’m glad you found them helpful MaryAnn!
Thanks so much! Great tips. I LOVE cleaning tips.