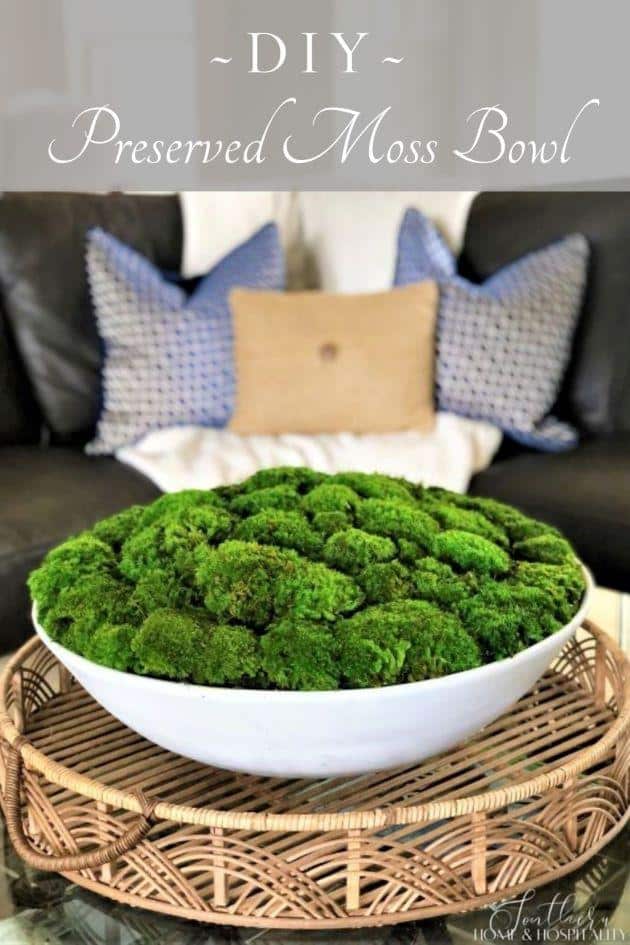
Easy DIY Preserved Moss Bowl
Inside: How to make your own decorative moss bowl with preserved moss for less money for a home accessory with a wow factor!
This post contains Amazon and other affiliate links for your convenience. As an Amazon Associate I earn from qualifying purchases. If you purchase something through any link, I may receive a small commission, at no extra charge to you. I only recommend products that I love or would purchase for myself. See my full disclosure here.
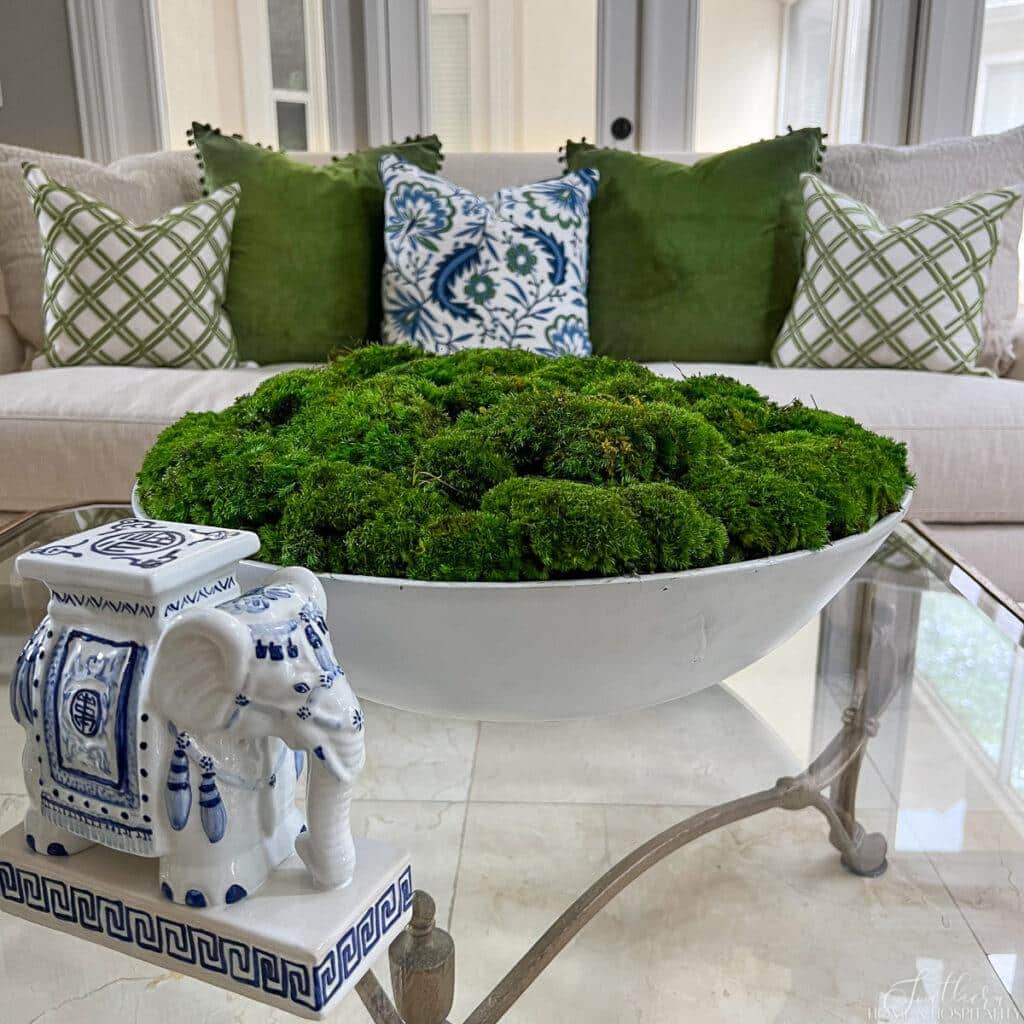
Moss is boss right now. The shades of green are so vibrant, yet moss is more understated than using florals. And it fits in with all decorating styles for an indoor dash of nature with a clean, simple look.
When I went to the antiques fair in Round Top, Texas for the first time, there was a vendor with shelves and shelves of gorgeous preserved moss bowl arrangements in different containers and sizes.
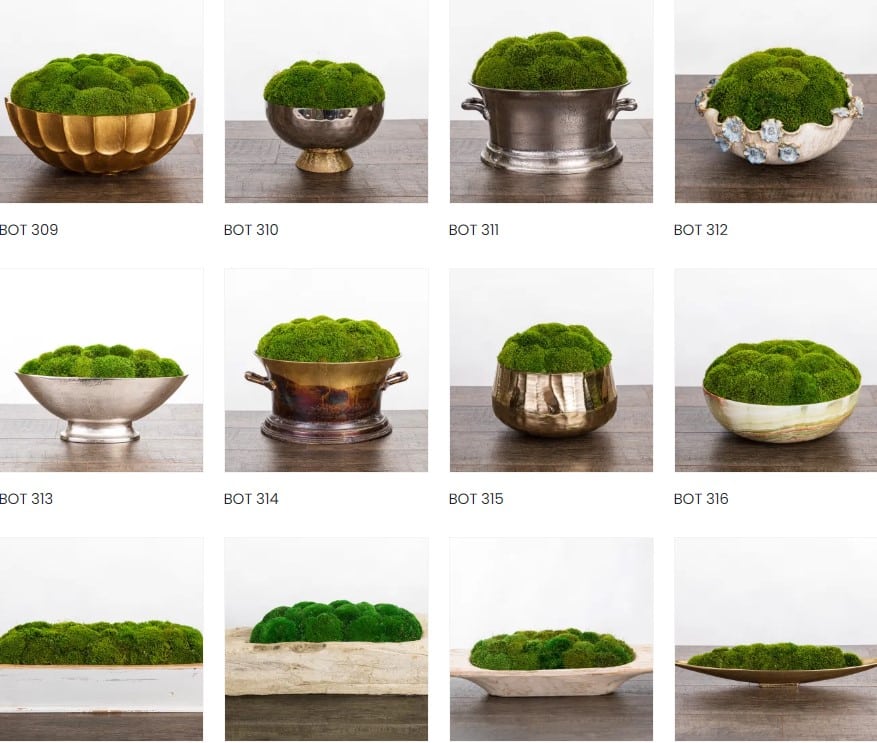
Beautiful, right? At the time I didn’t know where I would use a moss bowl so I didn’t want to drop several hundred dollars on one. But I couldn’t get them out of my head. And I filed the thought away under “things I could probably do myself.”
When I was planning a green and blue color palette for summer, I decided to give this DIY a try and make a moss bowl centerpiece for the coffee table. So to start my project, I got online and did some research.
It turns out there are lots of various kinds of moss bowls—from ones that use different kinds of moss from the craft store all the way to live moss bowls that you take care of like indoor plants. But I decided on preserved cushion moss that I found on Etsy to most closely replicate the moss arrangements above.
What You’ll Need to Make Your Own Moss Bowl.
- Preserved moss
- A container
- Foam core board or alternate filler for the container
- Optional: Hot glue
I was after the vibrant, mounded overall look that I had seen in Round Top. And I wanted maintenance-free preserved moss for sure—not the live stuff. I found this beautiful moss that had good reviews. It comes in pieces that look like this:

It’s preserved and then dyed with a shade of green. I chose shade “B”, their best seller. You can find the exact green moss that I used here. It came in various-sized pieces packed in a box like this:

Because of the large container I was using, I ordered two boxes. This is a natural product that was once alive, so the back is a dirt/moss combination just like if you dug up moss in your yard. The pieces can be crumbly and you have to handle them carefully. Also because it’s dyed, your fingers will be a bit green after working with it, but don’t worry—it washes right off.
For the container, I decided I wanted an oversized bowl with lots of impact so that I could use it as a coffee table centerpiece all on its own.
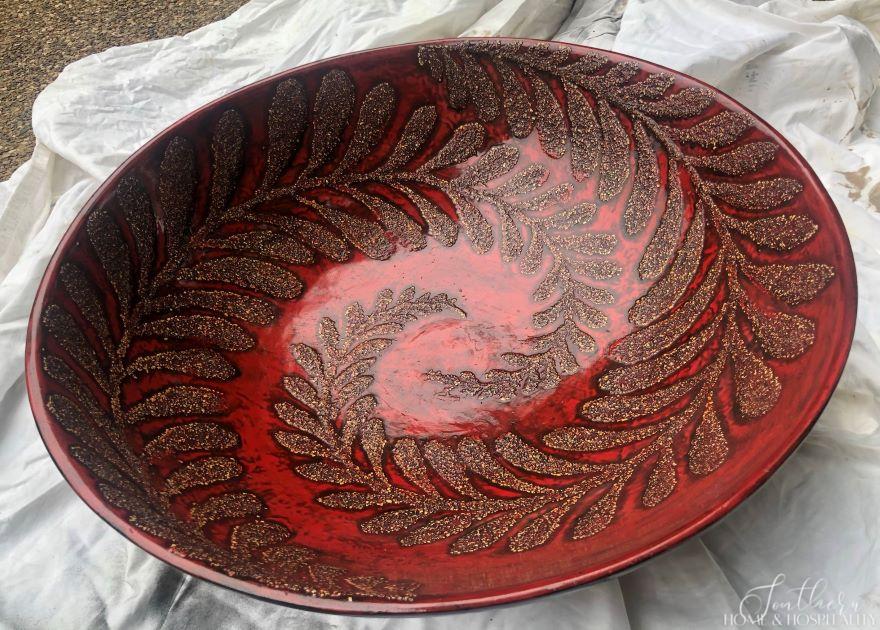
In my stash of old decor, I found the perfect-sized bowl. It had great visual weight at 21 inches. However, it was red and black. Not all that summery.
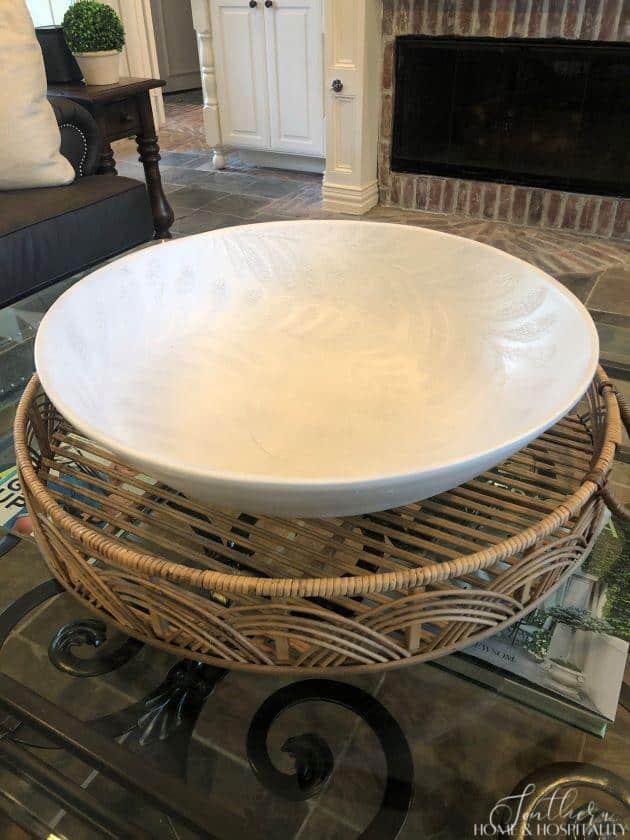
The solution to updating old home decor accessories is usually just a little paint. So a coat of antique white spray paint lightened things up and made it just what I needed.
See how I made a resin thrift find look like glazed ceramic with paint.
How to Assemble the Moss Bowl.
Fill the bottom.
For the moss bowl to have the same round, mounded-above-the-container look as the Round Top arrangements, I wanted to start the moss near the very top of my bowl. That meant the first thing I had to do was fill all of that empty area in the bottom of the bowl with something.
I cut a piece of foam core board slightly smaller than the diameter of the bowl for a base for the moss. I simply turned the bowl upside down on the foam core and traced it. Then I cut inside the circle about half an inch with an Exacto knife.
This was a great way to fill the bottom easily because I had such a large volume container, plus it made a flat base to put the moss pieces on.
SH&H Tip: If you have a very shallow container you may not need to use anything under the moss. Or for smaller containers, you could use wadded-up paper or plastic bags to fill to your starting level.
Next, I hot glued the foam core circle into my container so it wouldn’t shift (you may not want to use glue if you’re going to use the container again without the moss).
Layer on the moss.
This is one of those DIY projects that you eyeball and work with until it looks like what you want! But basically here is what I did:
- First, I laid a single layer of moss pieces on the foam board. I thought I might hot glue the whole thing together but bailed on that early on. From my experience, this moss is simply not something that you can neatly glue. But if I were to hold my finished moss bowl sideways or upside down, the moss pieces are definitely coming out. So make sure you have a place to store it upright.
- After the base layer of moss, I added more moss mounds and pieces until all of the gaps and foam core were covered.
- I put the little scrap pieces in all of the empty spaces where I needed them. I also shaped the pieces with my fingers as I went when they were in place to help keep them in rounded, separate mounds.
- I finished by using nice full solid pieces just in the middle on the very top to give it more of a dome shape. I smoothed and tucked and fussed until it looked like this:
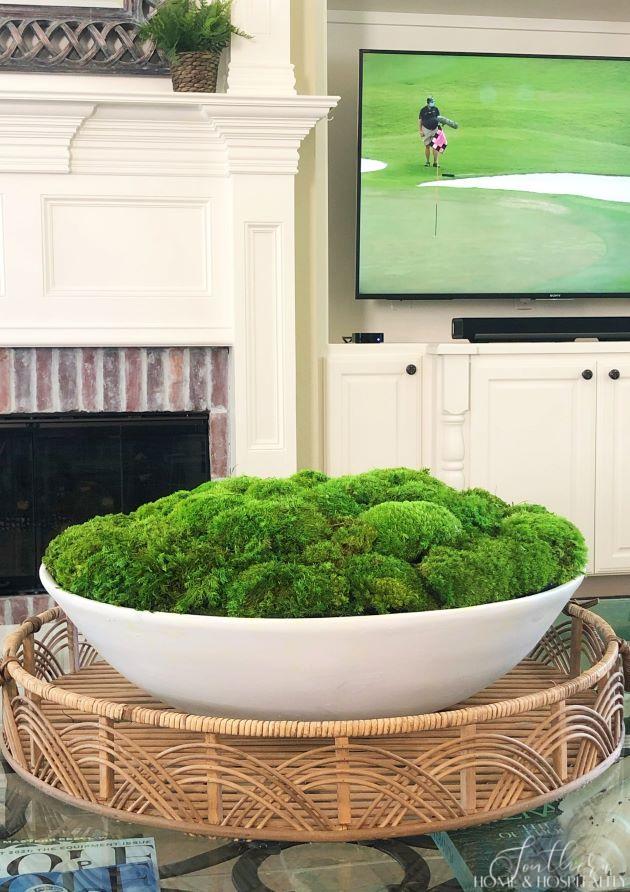
I’m pretty pleased with the way it came out. No, it’s not as perfect as the beautiful bowls I saw in Round Top, but this easy project passed muster good enough for me (see how I used it in my summer tour). And this huge moss bowl didn’t cost a lot of money—probably a tenth of what the perfect bowls were. 😊

Before you go:
As always, I appreciate your visit, comments, and shares here on the blog! I’d love it if you also follow along with me on Pinterest, Instagram, Facebook, TikTok, and YouTube so you won’t miss any of my inspiration and ideas.
Don’t forget to sign up for updates to keep in touch.
If you’re not already a member of the SH&H family, I’d love to have you join me! You’ll not only get email updates, but you’ll have exclusive access to all the bonus materials in my free subscriber-only library, like this:
Pin it to remember it!
Sources for this post or similar.
