How to Make Cheap Garlands Look Lush and Expensive
Inside: Cost-saving tips to beef up inexpensive skinny garland. Drape the lush Christmas garland you dreamed of on your staircase or mantel! ➡
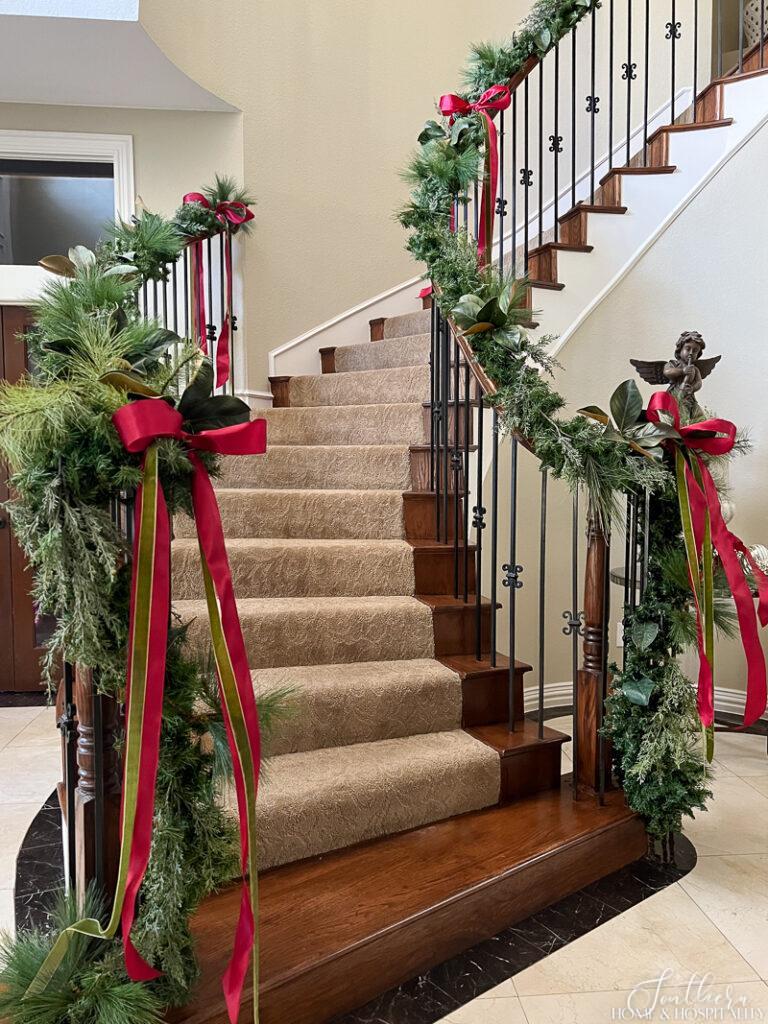
If you’ve ever bought a home with a staircase or a fireplace, I’m sure one of the first things you visualized was draping them with beautiful garlands at Christmastime.
But when the first holiday season arrived, you may have had a quick reality check.
If you considered using real garlands, they’re expensive (unless you grow your own), they aren’t fresh on Christmas day, and they can be messy. Plus they make good fire tinder.
Even though faux garland solves most of those problems, the price tag can also be hefty.
But there are simple tricks to achieve a lush, thick, expensive look for less!
This post contains Amazon and other affiliate links for your convenience. As an Amazon Associate I earn from qualifying purchases. If you purchase something through any link, I may receive a small commission, at no extra charge to you. I only recommend products that I love or would purchase for myself. See my full disclosure here.
Layer the garland.
Start with a base of cheap Canadian pine garland. This will make the garland thick and the wire branches can hold more expensive greenery and decorations. You’ll use less of them and they’ll mostly cover the cheap-looking stuff.
Thin, inexpensive garland from the dollar store, craft store, Walmart, or Amazon will work. (But always make sure to fluff to get maximum fullness!)
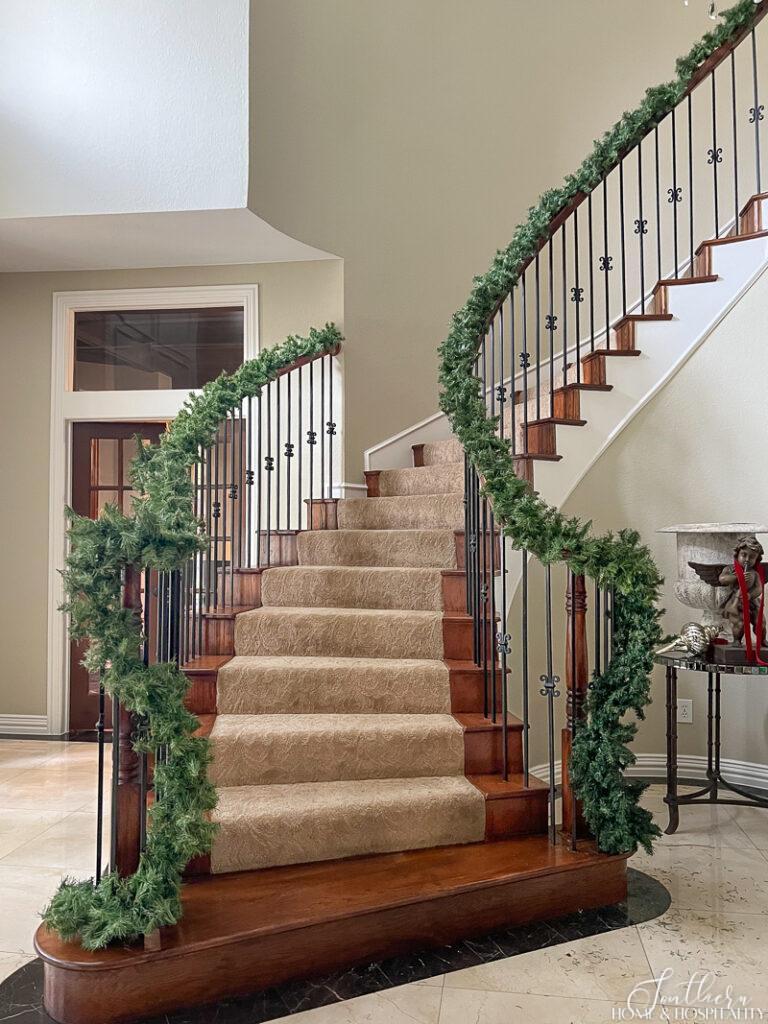
I’ve had these base garlands for years. Before there were so many greenery choices, I used to hang these as is with some ribbon. And back then I wanted to beef them up so these are actually two thin garlands doubled up and wired together.
But now they make the perfect garland base and I can change up the look easily by what I add to them.
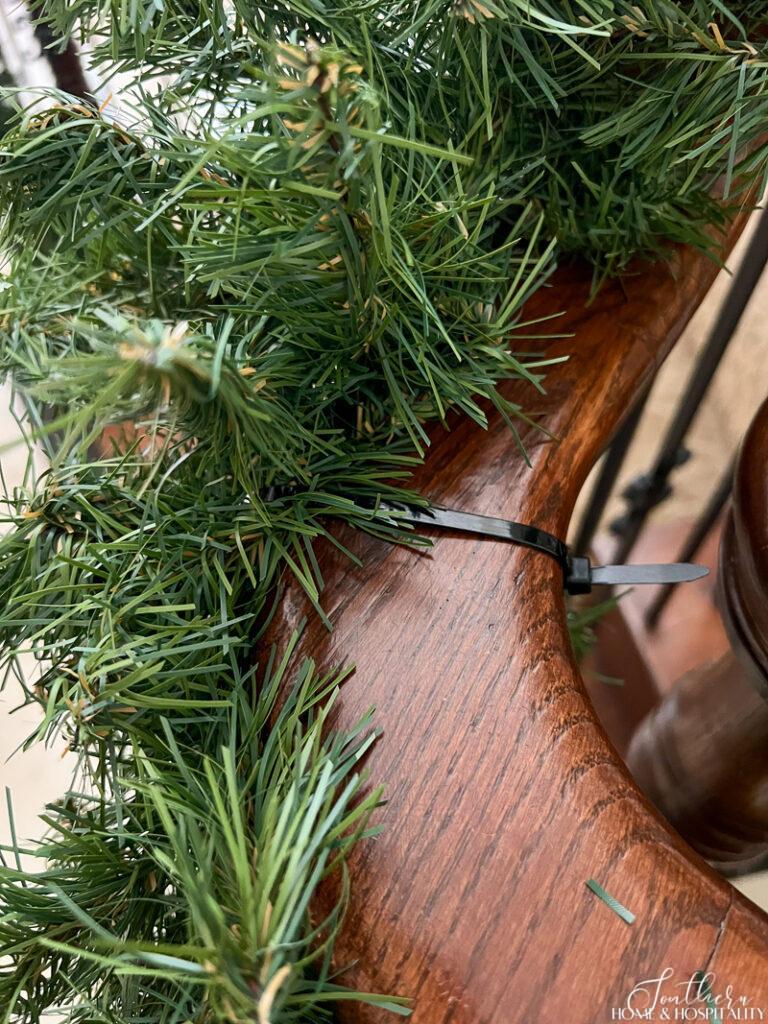
How did I attach it to the staircase banister? With a few zip ties. You can see how to hang all of your Christmas decorations with the least amount of damage here.
Add greenery picks.
One of the best ways to cheaply fill out thin garlands is to add floral picks. And in different greens and textures. Greenery picks aren’t expensive and they’re easy to change out each season to vary the style.
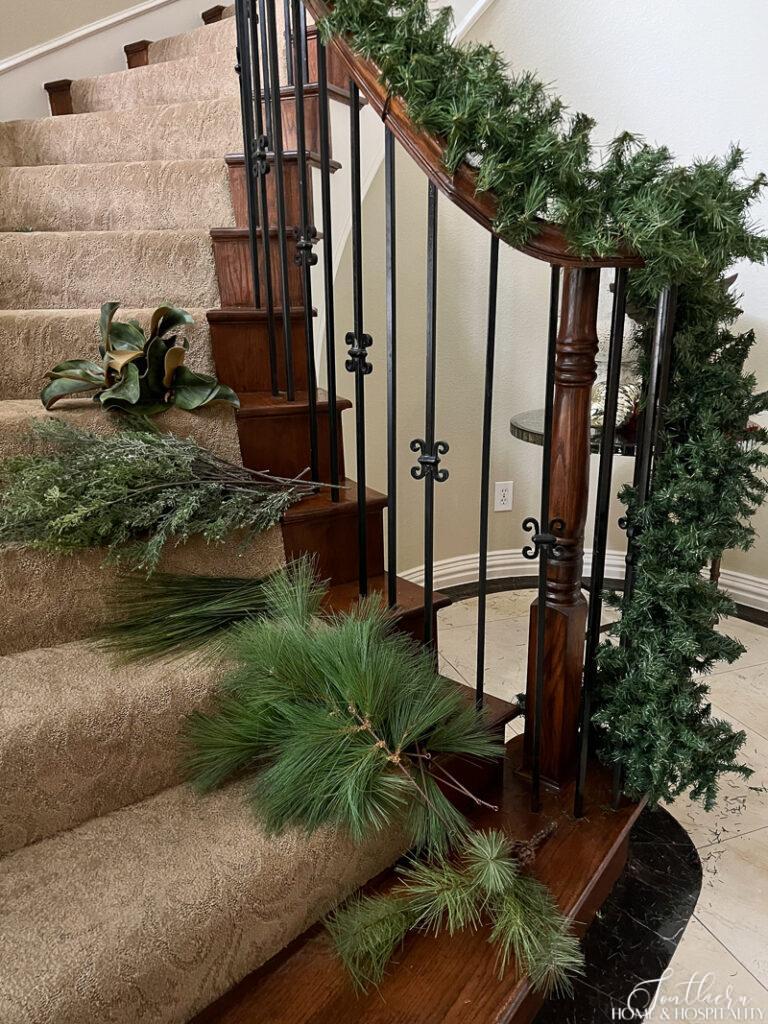
I’ve collected most of these stems from Hobby Lobby or Michaels. The thick, leathery magnolia leaves came from a faux magnolia arrangement I scored at an estate sale for $10 (I wish they’d had even more).
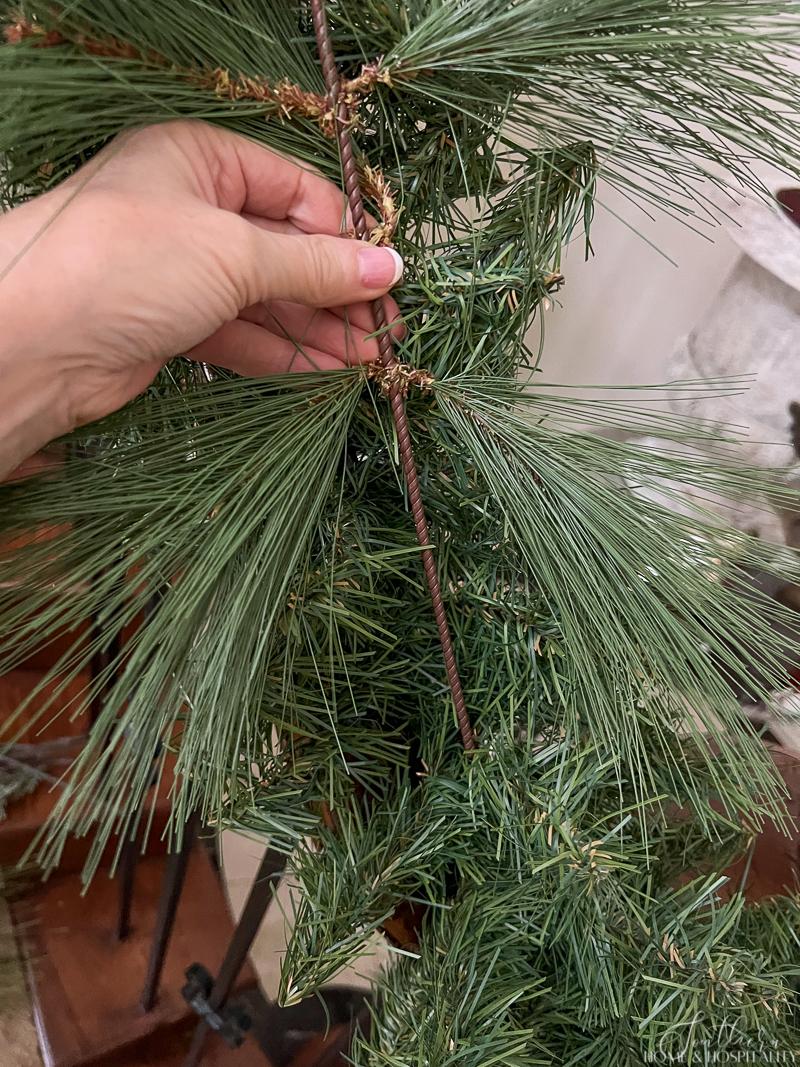
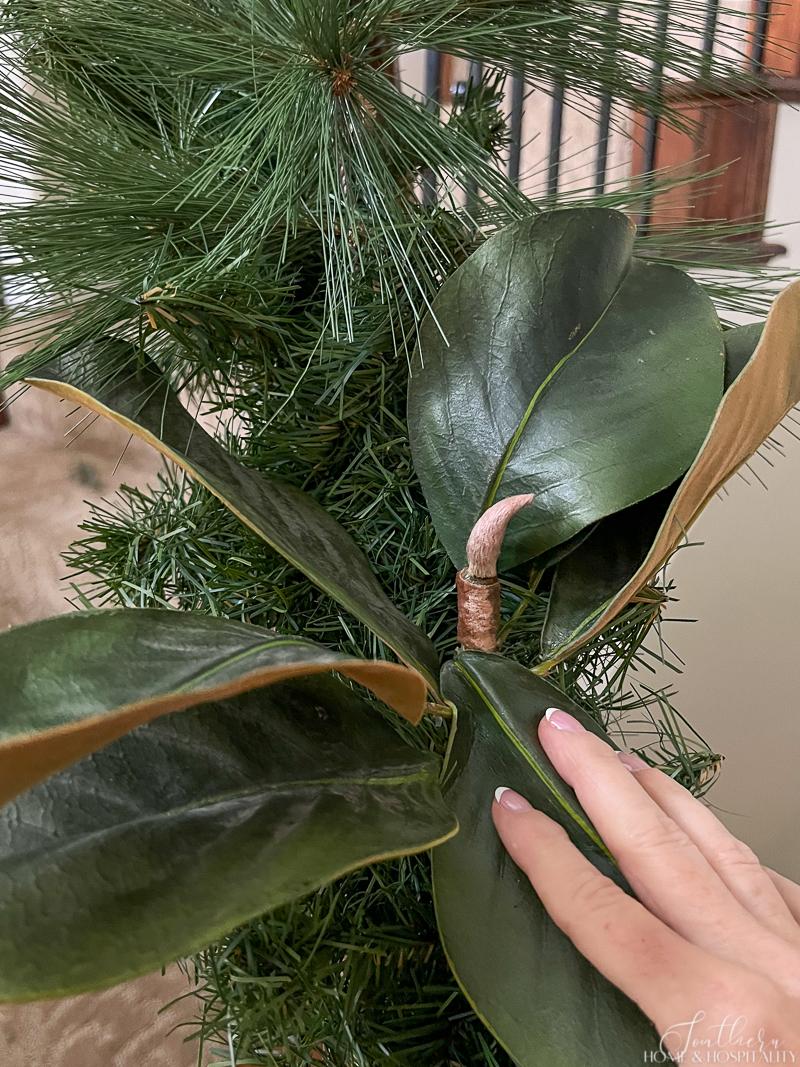
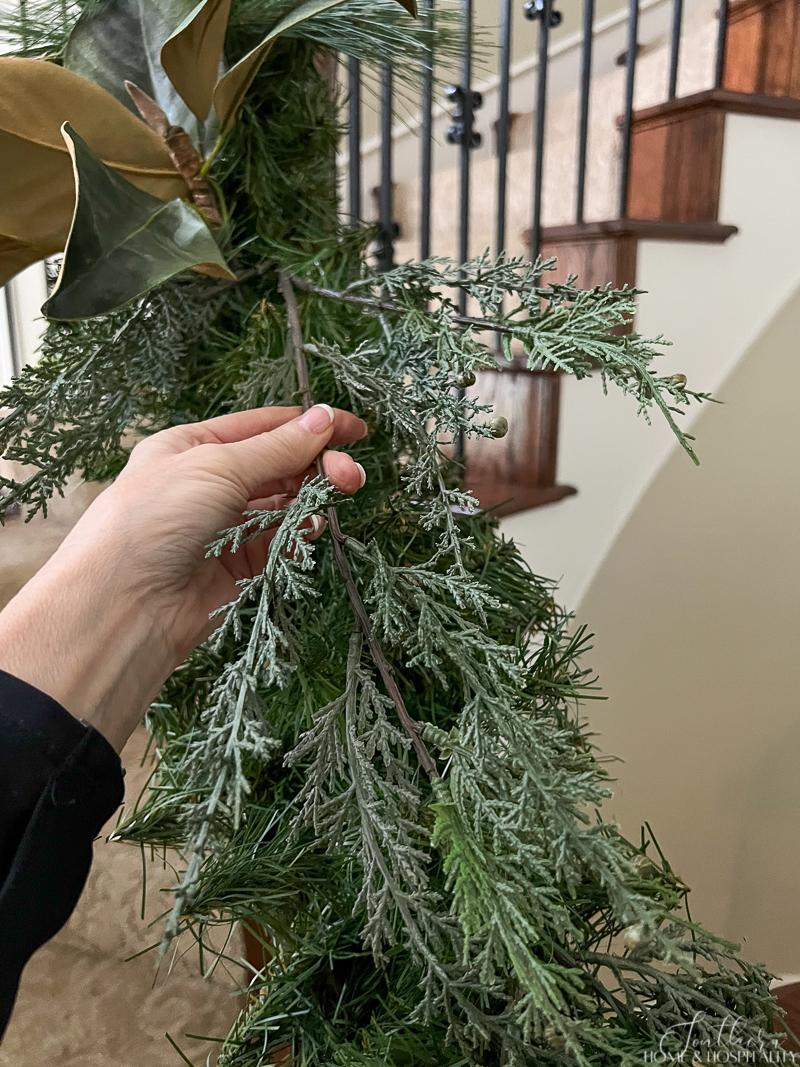
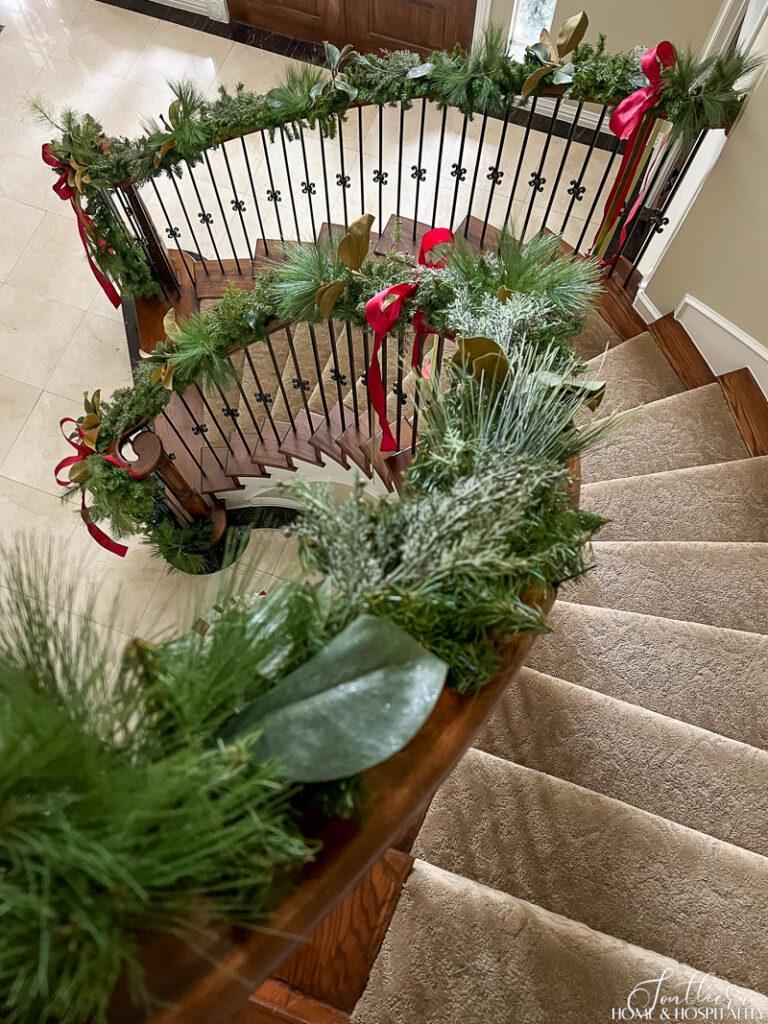
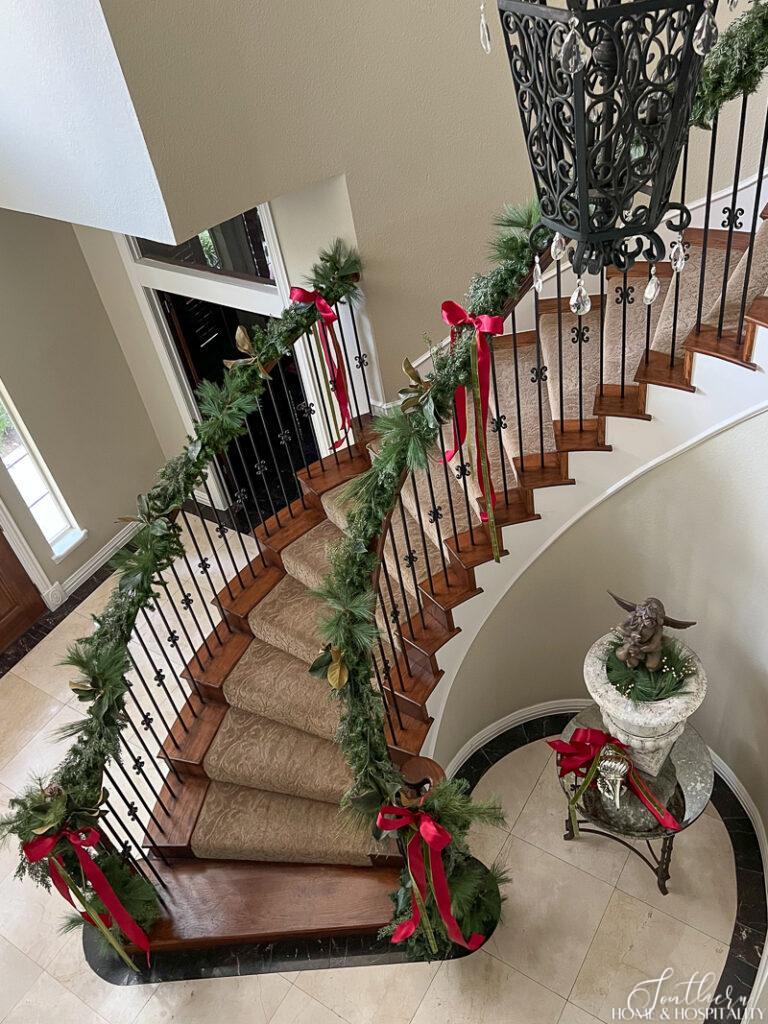
Look at what a huge difference just adding the pine, magnolia, and cedar juniper picks to this plain, plasticky garland made!
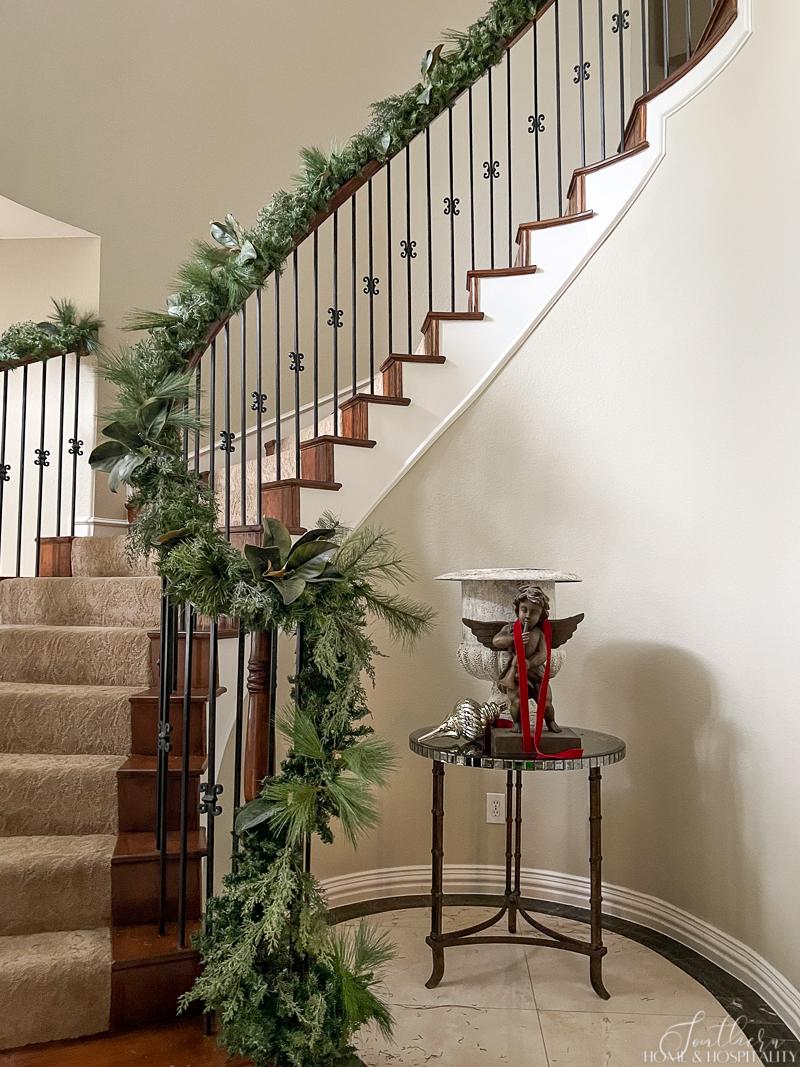
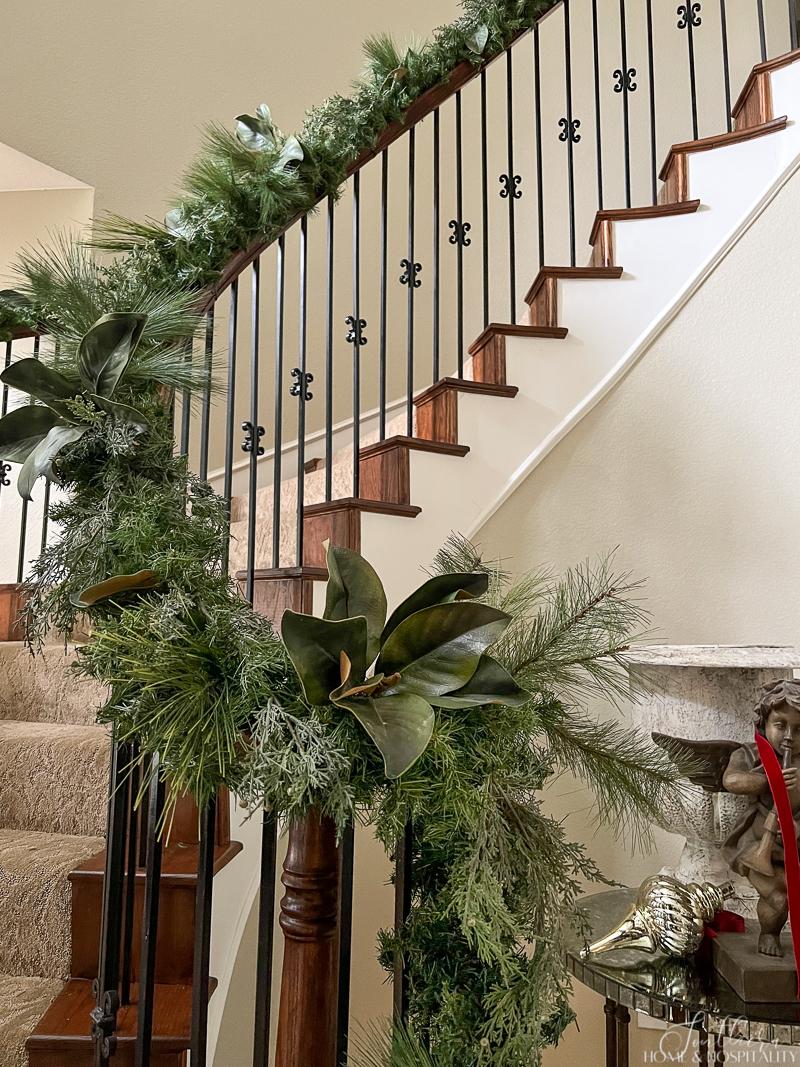
Last Christmas season, I wove in some light-colored eucalyptus and red berries. And swagged and puddled the end of the garland for a slightly different look:
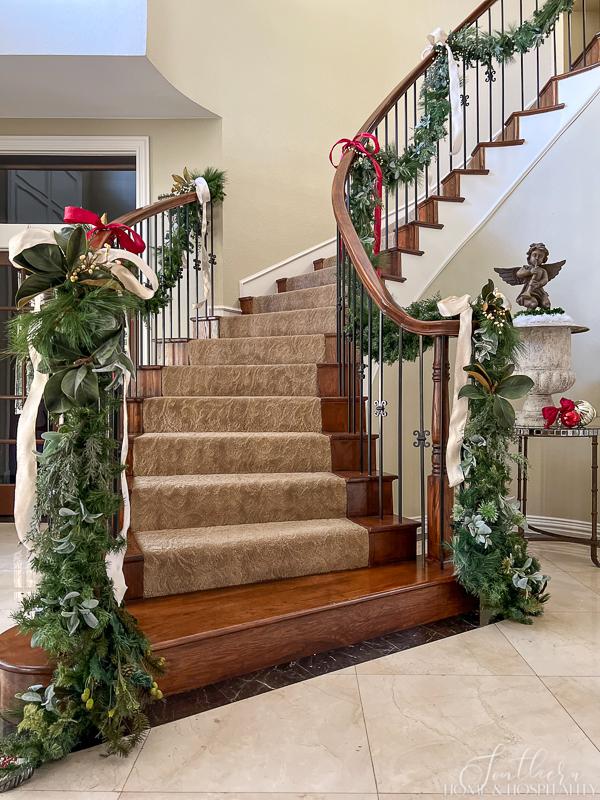
With so many improvements in realistic greens, I think next time I might try adding some real touch cedar. And maybe some shatterproof ornaments.
SH&H Tip: Never throw away pieces and tidbits of faux greenery that fall off each year. They’re perfect to stick in garlands and vignettes!
Add ribbon.
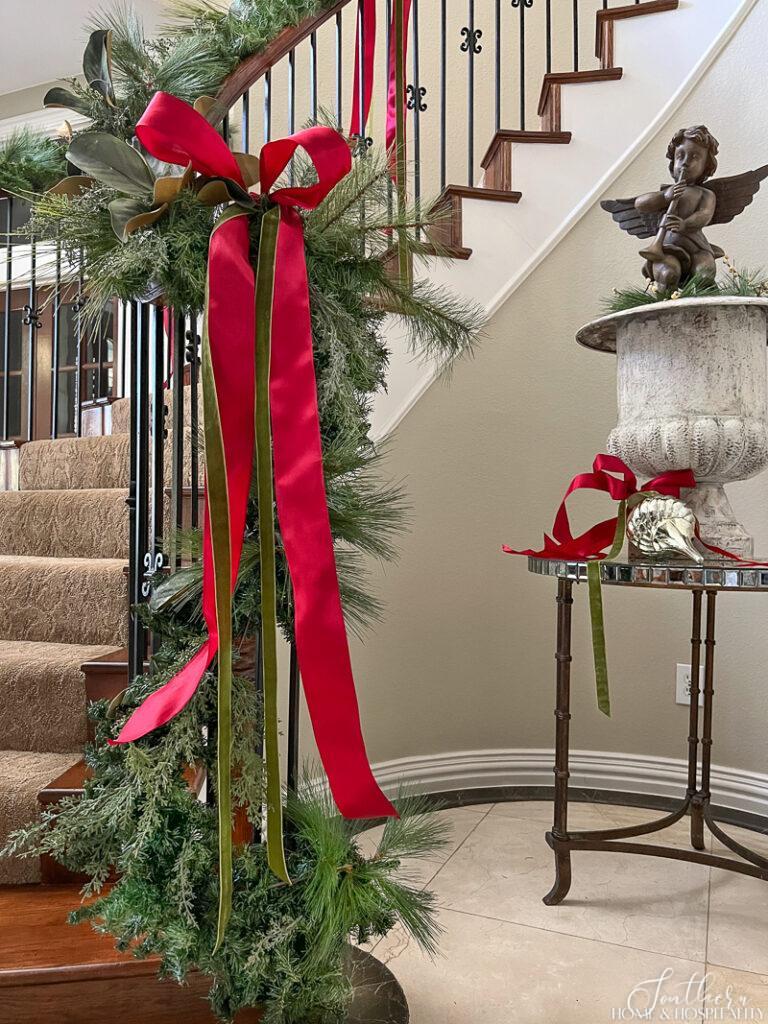
The best part of adding ribbon and bows to garland is it makes it so easy to change your Christmas color scheme.
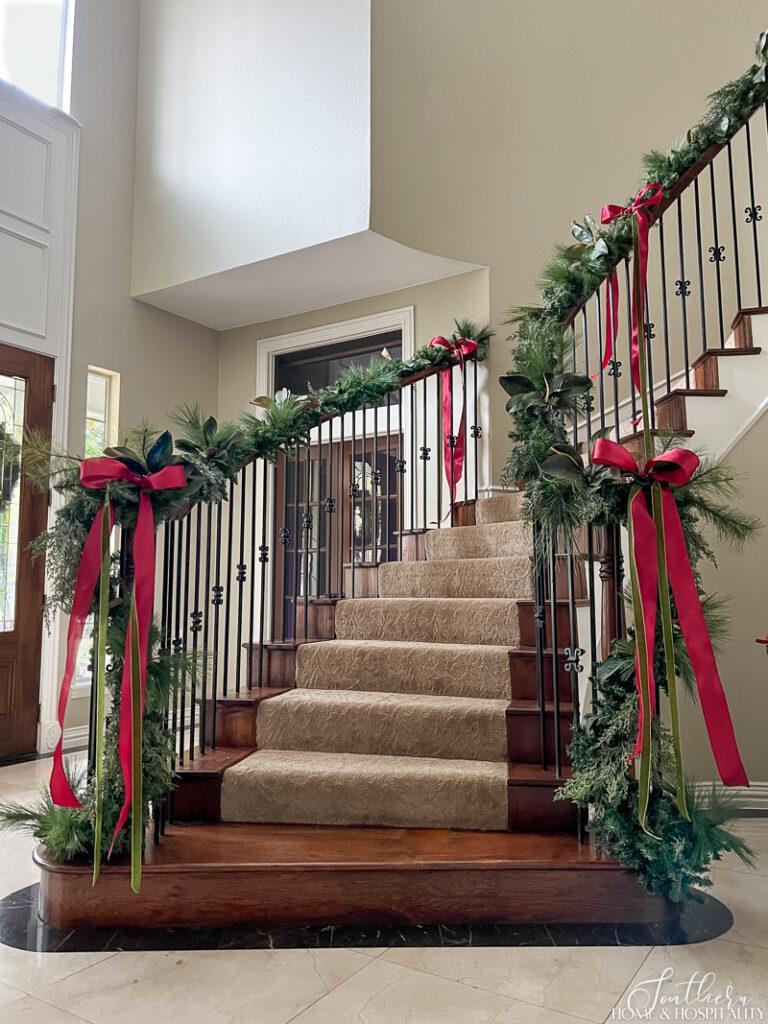
This year I’ve added green into the color mix and found this gorgeous green velvet ribbon to bring my color palette to the garland.
(Come back to see this year’s red, green, and white living room, dining room, and entry tour on Friday!)
Mix different types of garlands together.
A great way to mix greens to make a full and interesting garland, and even faster than using picks, is to layer different garlands together.
I use this technique for my fireplace mantel in the living room.
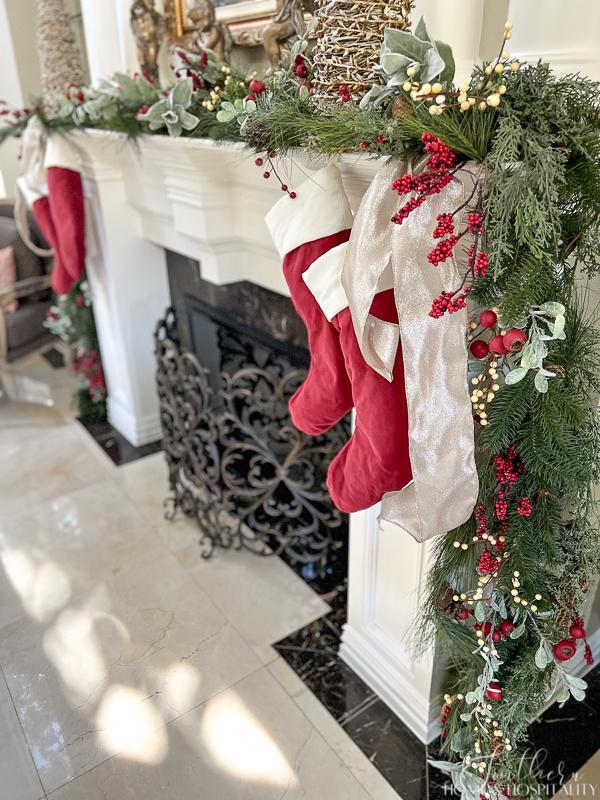
I layered cedar, fir, and pine garlands together and attached them with green floral wire. Alone they are thin, but together they are mighty!
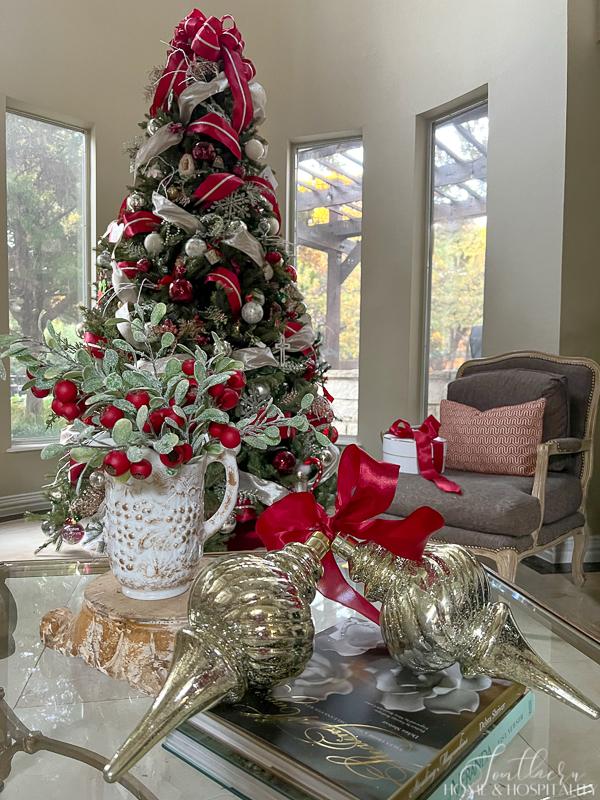
Last year I accented it with berries, frosty greens, and eucalyptus picks that coordinated with the Christmas tree, the coffee table, and the staircase.
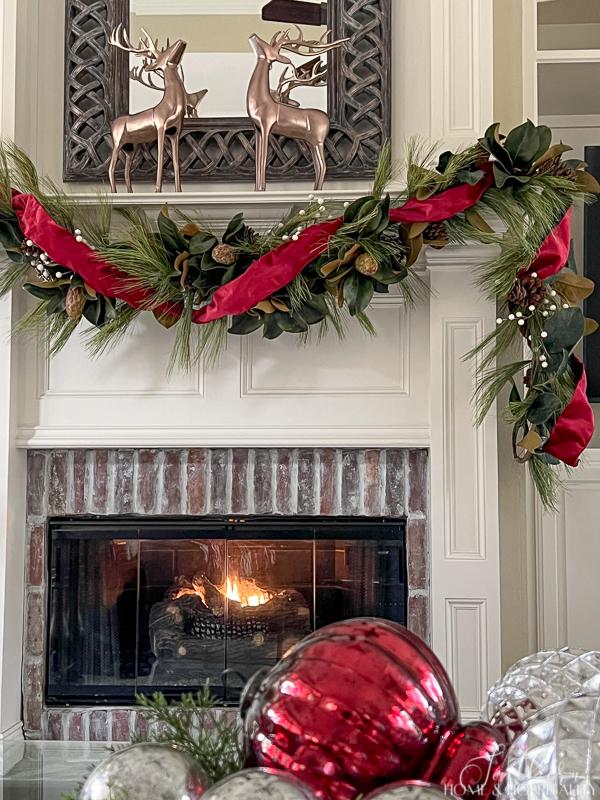
The Christmas mantel garland in the family room is another pine garland but layered with a thin magnolia garland and then embellished with magnolia picks, white berries, and ribbon. (This one is held in place with a couple of command hooks – damage free!)
Add real greenery from the yard.
But sometimes there’s nothing better to upscale a garland than the look and smell of adding a bit of real live greenery.
You can easily stick in pieces of real greens to elevate and decorate a cheap garland. Forage cedar, boxwood, or magnolia from the yard. Or ask places that sell trees for the trimmings from when they cut the bottom of the trees.
Spritz real greenery with water every day to keep it fresh longer. (Make sure to take care about what you’re getting wet and exposure of dry greens to flames.)
Fill in with ornaments and tree decor.
Christmas ornaments and string lights or battery-operated fairy lights are the typical perfect addition and finishing touch to a gorgeous garland.
But you’re really only limited by your imagination to customize a unique creation for your home’s style (and yours)! A few ideas to get you started:
- Christmas bells
- Pine cones
- Berry floral picks
- Dried orange slices
- Floral stems
- Christmas stockings
- Dollar Tree plastic snowflakes
- Framed family photos
- Christmas cards
- Sentimental ornaments
- Objects that signify family interests or hobbies
The best places to hang Christmas garland.
Garland is the perfect way to showcase any focal point in your home, not just the staircase or mantel. Hang it above a mirror or on the kitchen vent hood. String it above the bed. Or bring it outside on the front porch to frame the front door.
Storage options.
After you’ve built your beautiful masterpiece, you can preserve it to use again next year by carefully placing it in a storage container or a heavy lawn bag clearly labeled with “set flat and don’t stack on top”.
I do this with my layered garlands from the mantels. But for the staircase, I build it from scratch each year. So I remove all of the picks and ribbon and store them in their own container. Then I bag up the basic garland and store it in the attic.
I hope these ideas for beefing up a skinny garland have inspired you to deck out a favorite feature in your home with your own one-of-a-kind DIY Christmas creation!

As always, I appreciate your visit, comments, and shares here on the blog! I’d love it if you also follow along with me on Pinterest, Instagram, and Facebook so you won’t miss any of my inspiration and ideas.
Don’t forget to sign up for updates to keep in touch…I have lots of fun and useful freebies you may be interested in in my subscriber-only library like this Snowflake Martini Recipe Gift Tag:



Wonderful tutorial. Just so much information, I want to start on my Christmas tree today and it’s only March. Thank you so much
I enjoy reading all of your blogs. My husband and I laughed at the fact that we never thought of adding the topper to the top section of the tree before assembly. Genius!
It would help me if you did an educational article about decorating a mantel and protecting the surface. Our new house will have an antique French mantel and I’m afraid I will ruin it.
There’s still some adjusting and sprucing but it saves me some awkward time on the ladder! And I’m always open to ideas for posts. I’m adding this to my content research list!
So pretty! I love it. You have the best sense of hummer. Hugs to you.
I had never thought of layering to create fullness and love the idea of mixed greenery. Great tip, thank you!
Did you add the crystals to the Spanish style chandelier in the entry, or did it come with them? Can you post of photo of it.
Thanks Caroline! I did add the crystals with some magnets. I don’t remember where I got the magnets but I might be able to figure it out if you want me to.
There’s a closeup photo in this post under the “room by room” tab that shows the whole thing: “4 Ways to Make An Ugly Outdated Room Pretty”. We’ve had it for a few years so it’s discontinued, but I can send you a picture of a similar one if you want to send me an email. I can’t post any links in the comments. Hope that helps!
Yes, thank you. Brava on the redo! WOW
beautiful I do this too!!