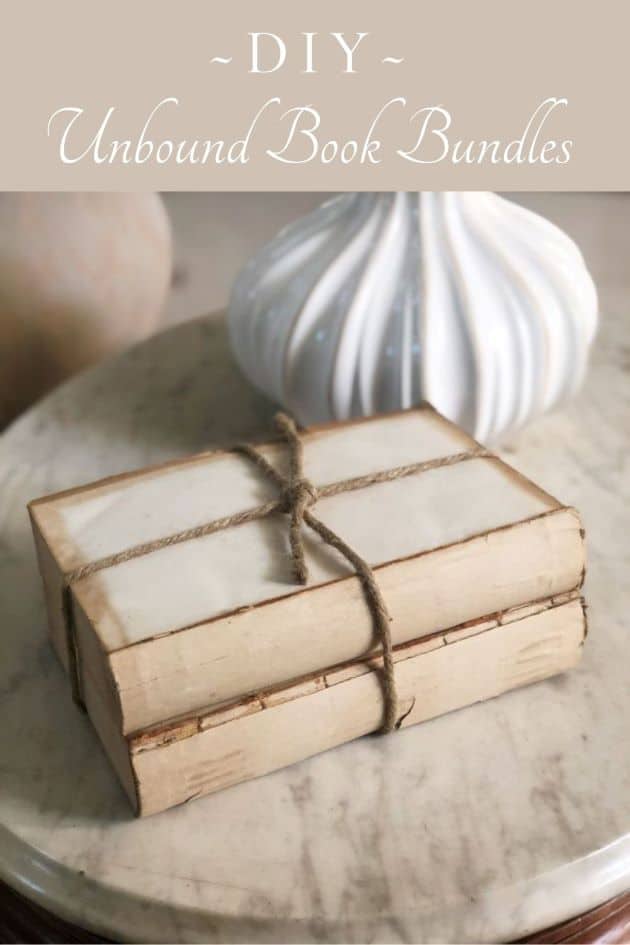
DIY Unbound Book Bundles
Inside: Make your own unbound book stack for easy, cheap decor with loads of vintage charm! ➡
Books are the “best-supporting actor” in decorating.
They’re an easy way to add texture, filler, and even lift to shelves or vignettes. I like to keep my decor books as true background characters – neutral in color and not competing with other accents (or actors?).
Most of the time this requires a little DIY stage makeup since most book covers come in colors. There are many makeover methods for transforming books into great neutral decorating accents including paint and fabric, but this is one of my favorites – these beautiful vintage DIY unbound book bundles.
This post contains Amazon and other affiliate links for your convenience. As an Amazon Associate I earn from qualifying purchases. If you purchase something through any link, I may receive a small commission, at no extra charge to you. I only recommend products that I love or would purchase for myself. See my full disclosure here.
Restoration Hardware, Ballard Designs, and Pottery Barn all carried unbound book stacks a few years ago, but they’re now discontinued, not to mention the price tag was pretty high.
But it’s so easy to make your own if you have the time and some extra old books!
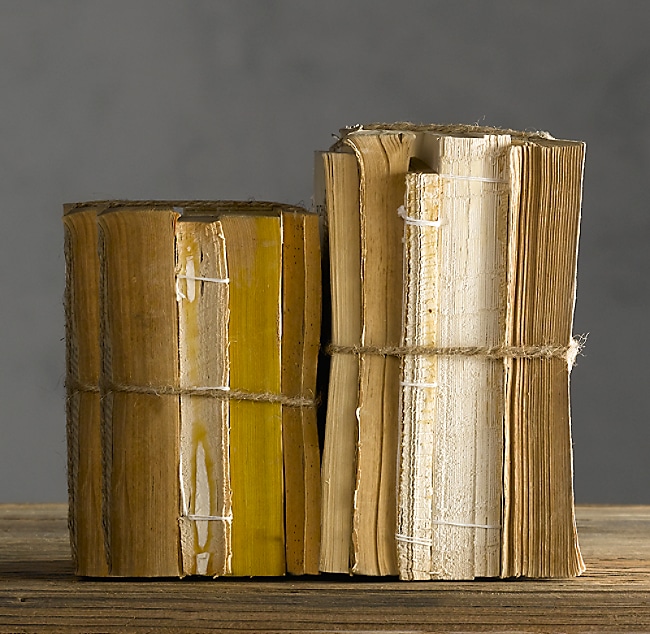
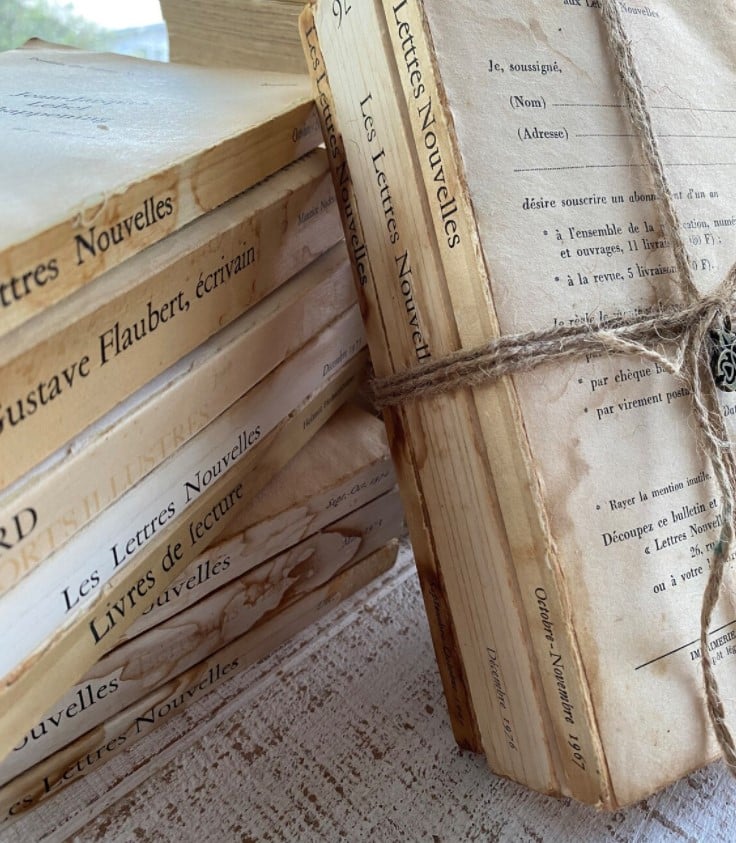
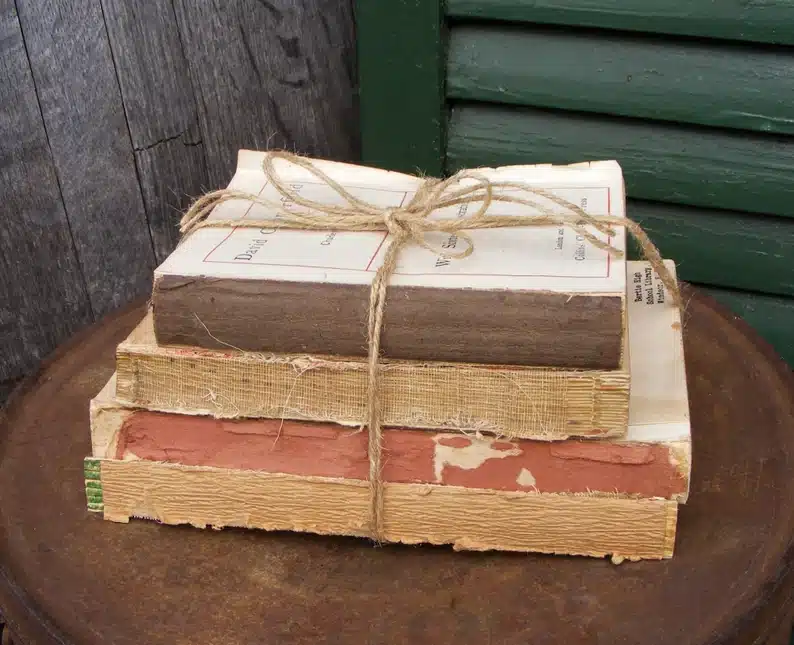
There are a variety of versions of unbound book stacks. Book bundles with the spine mostly or completely gone. Or pulled apart further into page stacks. These totally deconstructed book bundles are a staple in Farmhouse style and Cottagecore decorating.
Here are some examples for sale on Etsy that have different looks (and you can skip the DIY fun altogether and buy them if you’re not feeling so crafty):
What you need to make an unbound book stack.
- Books. Hardback books usually have a nicer result and are a must if you want to keep the spine of the book. Paperback books are okay if they’re the right size and you plan to go spineless.
- Brown craft paint and water for aging the page edges.
- Brewed tea and cardstock or paper for aging the spines.
- Matte Mod Podge
- Thick jute twine
I try to repurpose books that I wouldn’t read (like old textbooks) so I feel less guilty about changing or tearing off the covers. I also look at it as giving unwanted books a new purpose.😊 And I’ve accrued a ton over the years – I even used to buy them by the yard at Half Price Books purely for decorating purposes.
This DIY is so inexpensive to make because you can use books you already have that are collecting dust. Or you can usually find books for a dollar or less at garage sales, estate sales, or a local thrift store.
How to make an unbound book bundle.
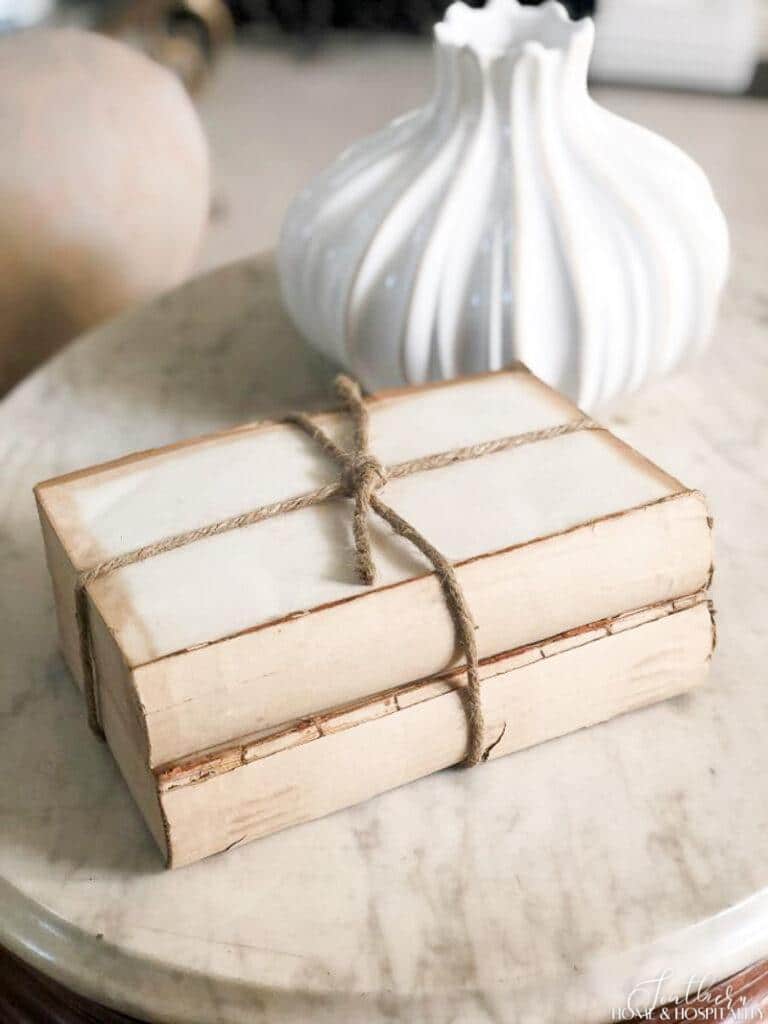
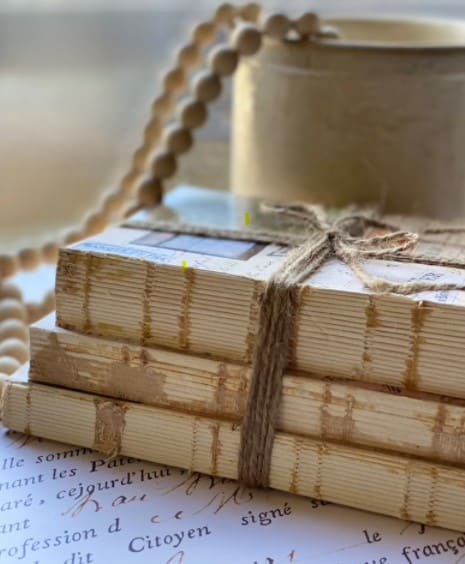
My favorite unbound book stack was made with a couple of really old books that have nice, large rounded spines (using vintage books brings book stack decor up a whole level in my opinion.)
It’s less deconstructed and a little bit neater and neutral in appearance, but still has loads of texture and vintage charm. And the edges of the pages have just the right amount of brown tinge. But for demonstration, I’m using newer books that I had on hand in my decorating stash.
Deconstructing the books.
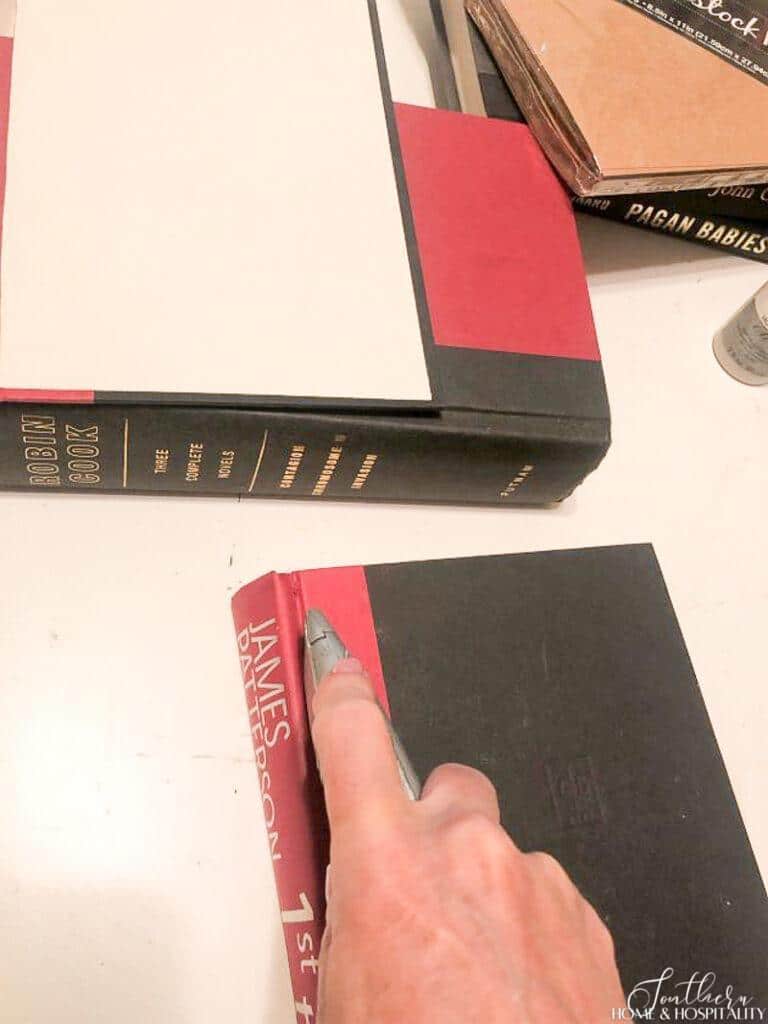
Choose two or three books based on the size stack you want. Keep in mind what the first page looks like for the top book because that’s what will show. And if you’re keeping the book spine intact, also choose books based on the shape you’d like the side to have.
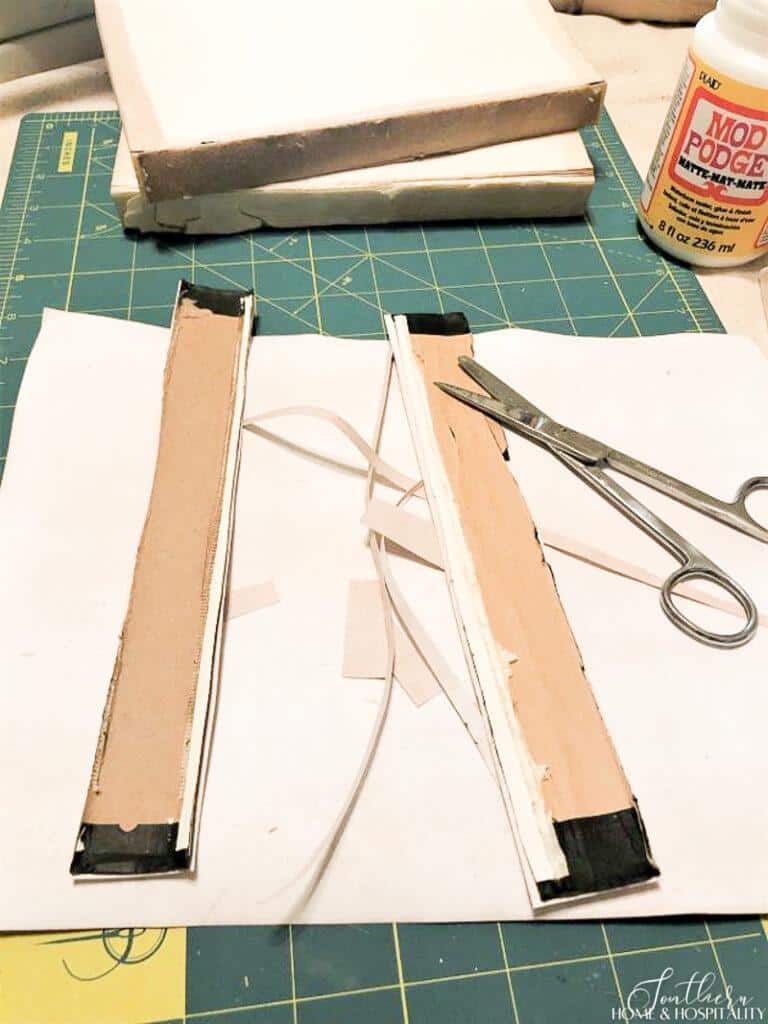
To remove the covers leaving the spine on, I used a box cutter to slice off both sides:
I also pulled off the spines just to show different looks the unbundled books can take on. This is not necessary if you are going to leave the spine intact:
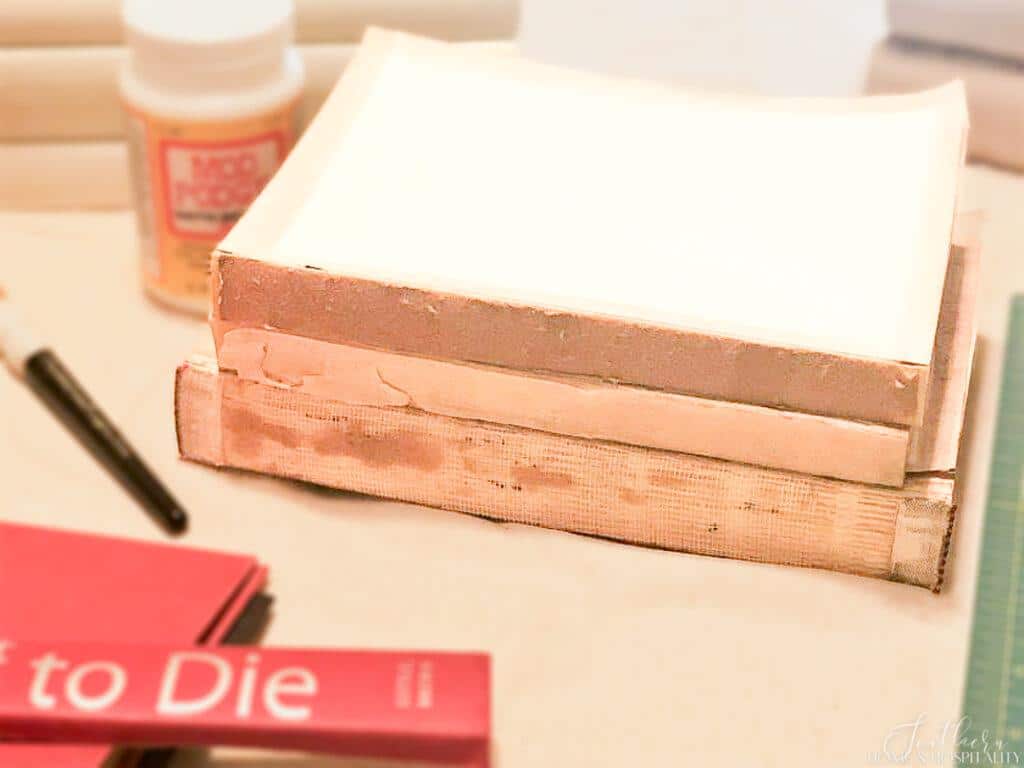
You can take the “unbundling” even further if you wish and remove all of the spine and adhesive, revealing the pages themselves. Stop at any point you want and then move on to the “aging“. (There’s no need to cut the cover first if you plan to remove the spine. Just pull off the whole thing.)
Aging the books.
I used two different methods to age the page edges and the spines.
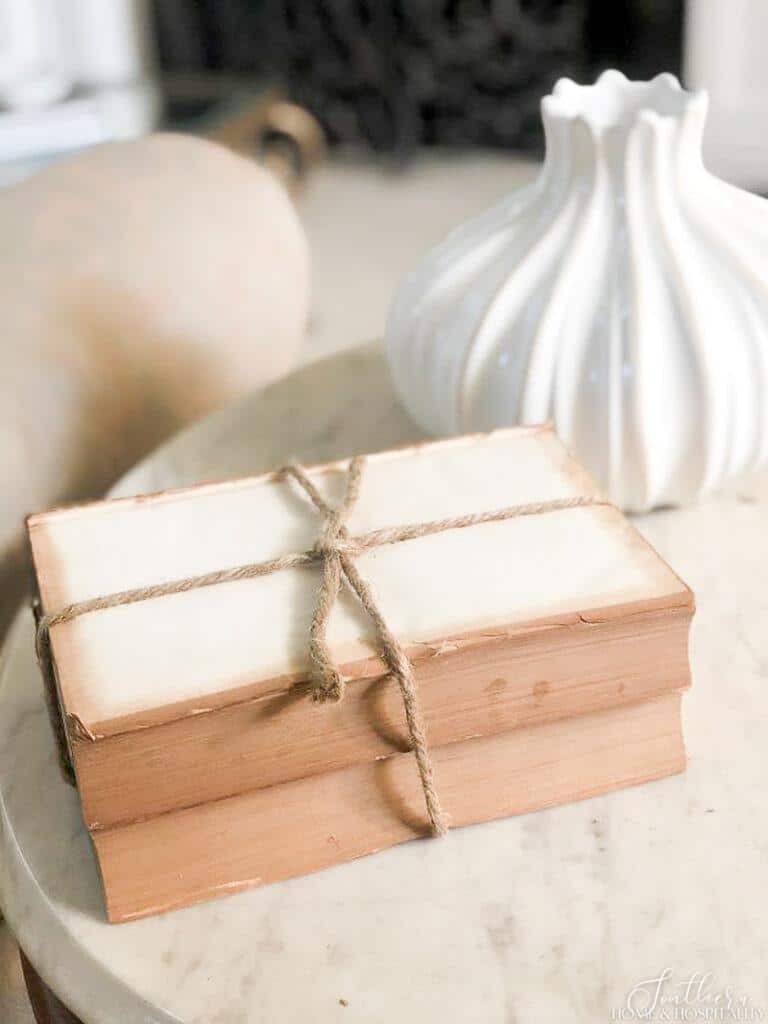
The first step was to age the page edges. I mixed a couple of brown tone craft paints with some water to make a light sepia tone stain. I did have to experiment a bit with the paint and water ratio to get the darkness level I was looking for.
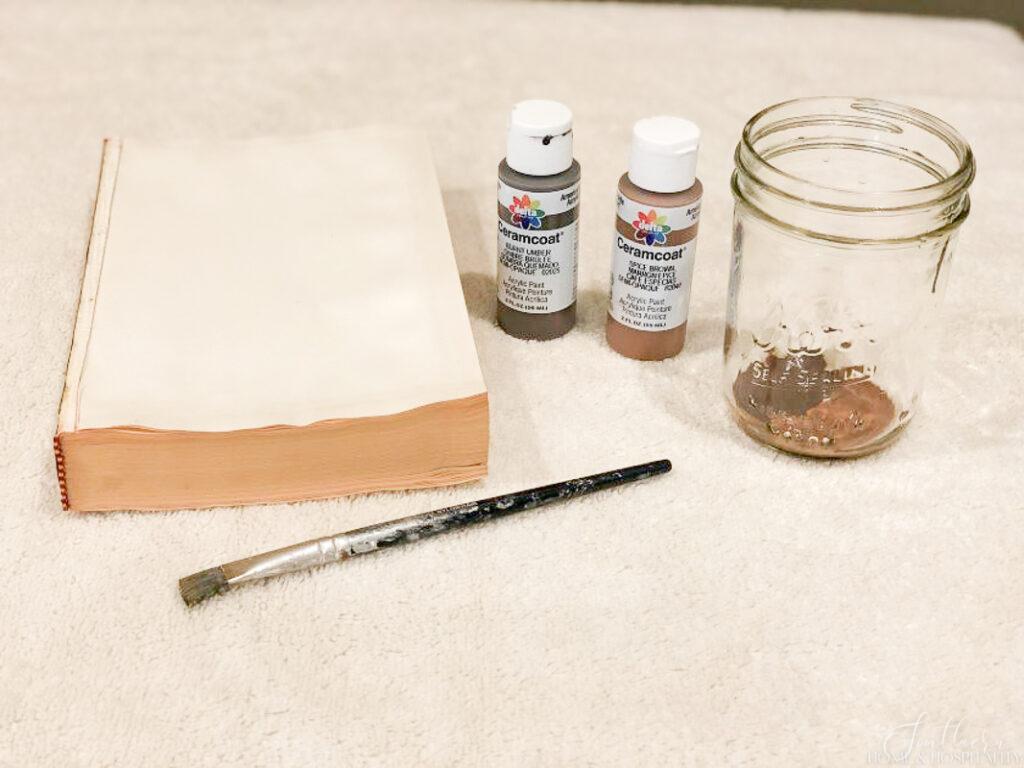
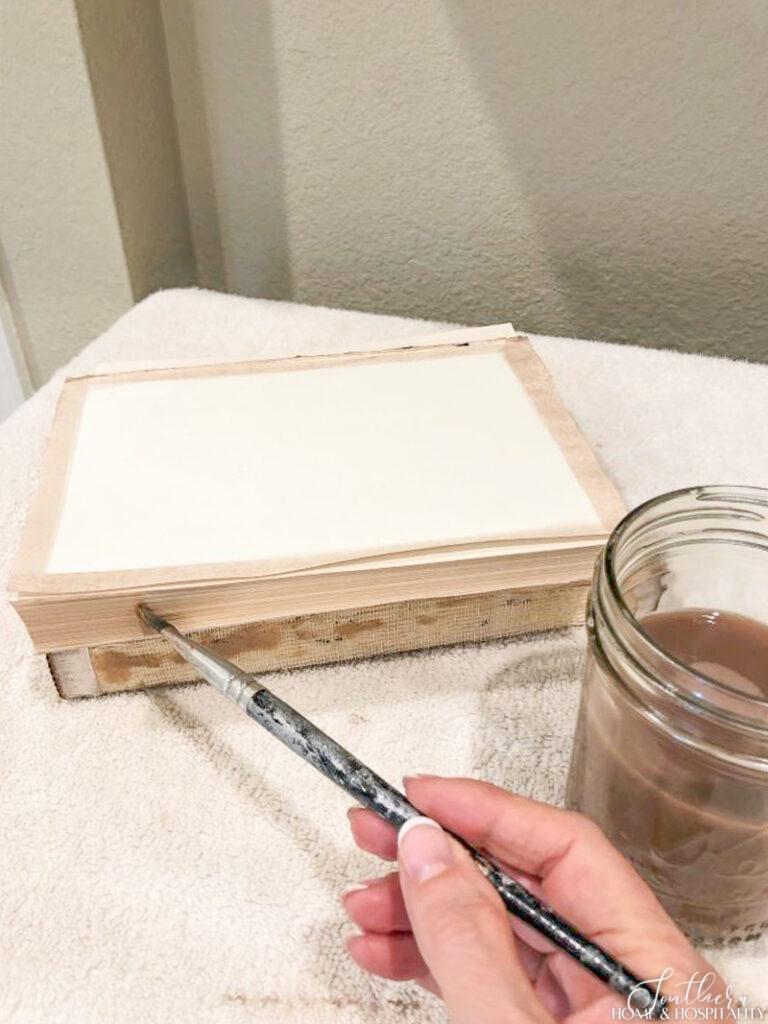
First I painted an aged edge along the sides of the top page:
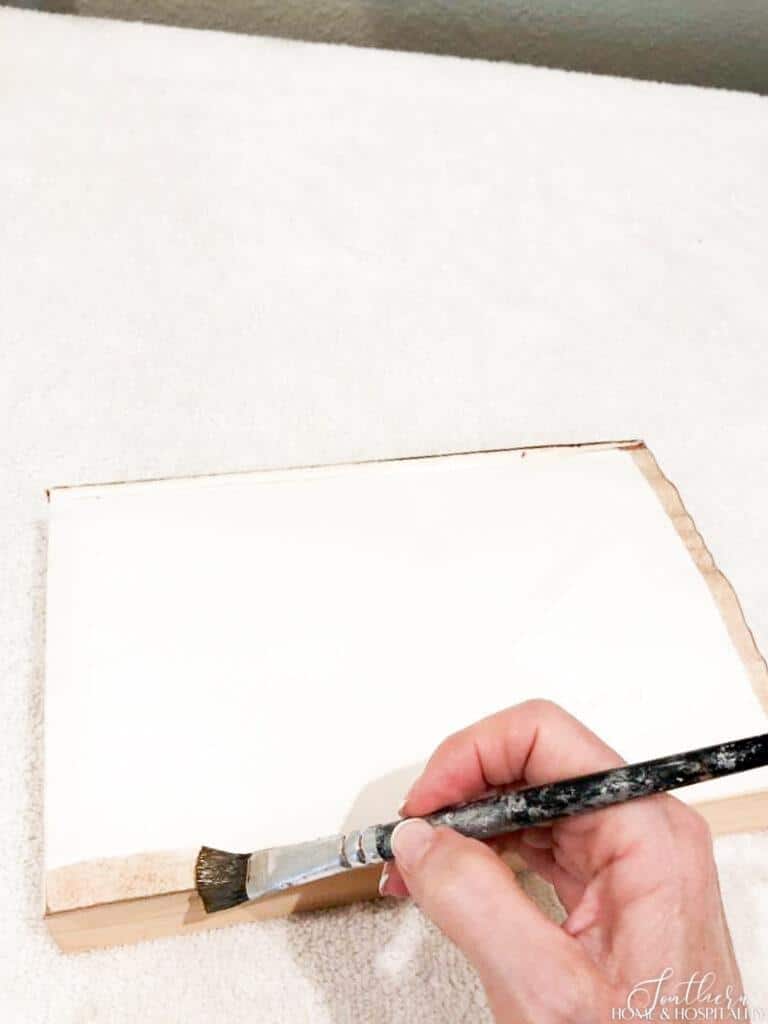
Then I painted the sides of the pages to darken them:
Aging the spines.
I chose to paint the page edges instead of dipping in tea or coffee because it would have been way too time-consuming. You can only soak one side at a time and have to let the book dry out in the sun to avoid mold.
But tea staining a paper cover for the spines gave them a lovely vintage look. In this demo set, I covered the spines with tea-stained cardstock. The spines of my other set shown at the beginning of this post are covered in tea-stained paper.
First, I steeped a nice dark tea in a container that would hold the sheet of cardstock. You can also use strong coffee.
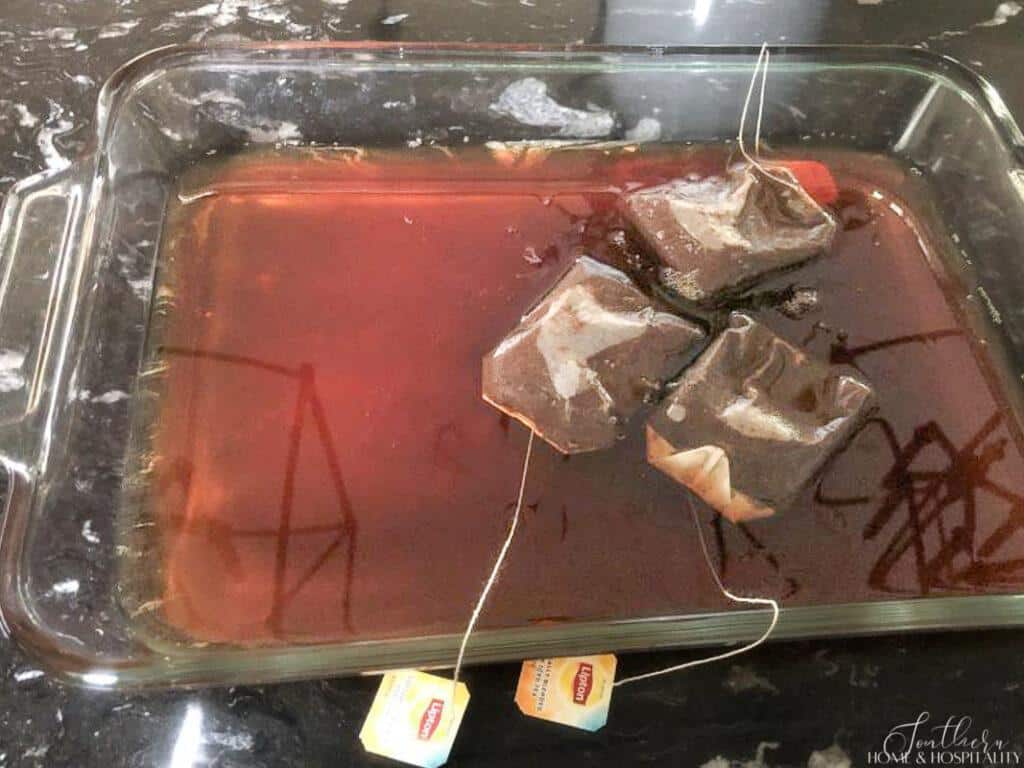
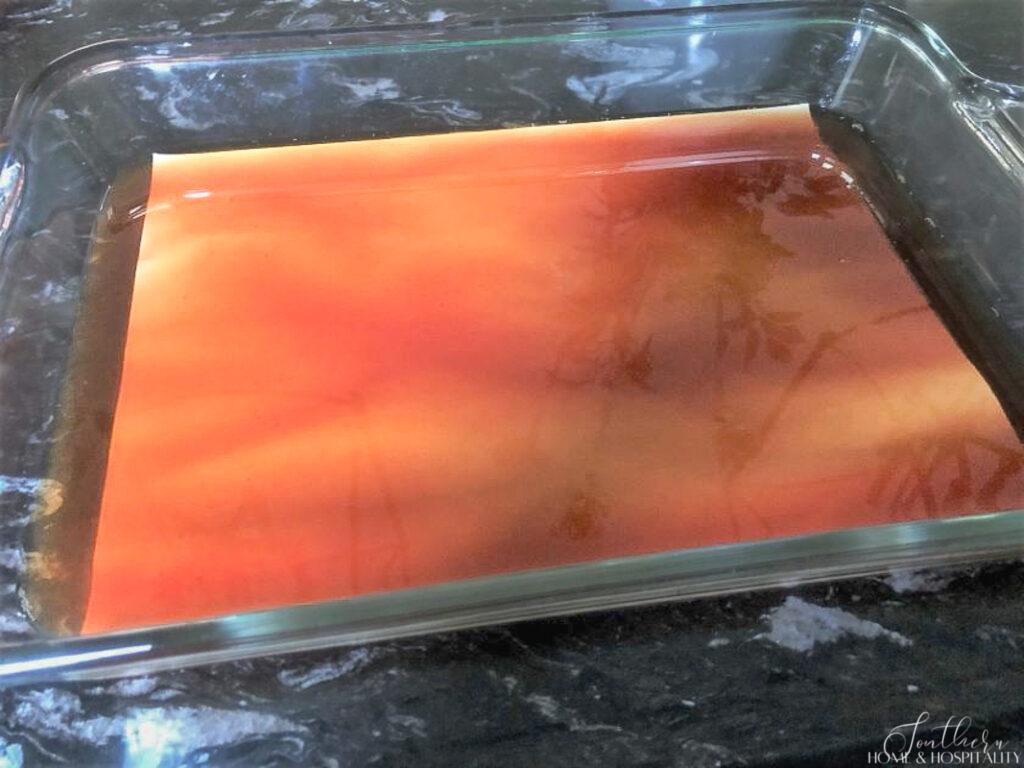
Then I let the cardstock soak until it was the shade I wanted. This set came out darker than my original set – it all depends on how strong the soaking medium is and how long you leave it in.
Next, I applied the stained cardstock to the spines. Since I took the spines off of these books, I did it before I put them back on, but it could have just as easily been put on after I glued the spines back on. Actually, it may have been better to demonstrate the spine-on method, but hindsight is 20/20. And this way made it easy to trim the edges.
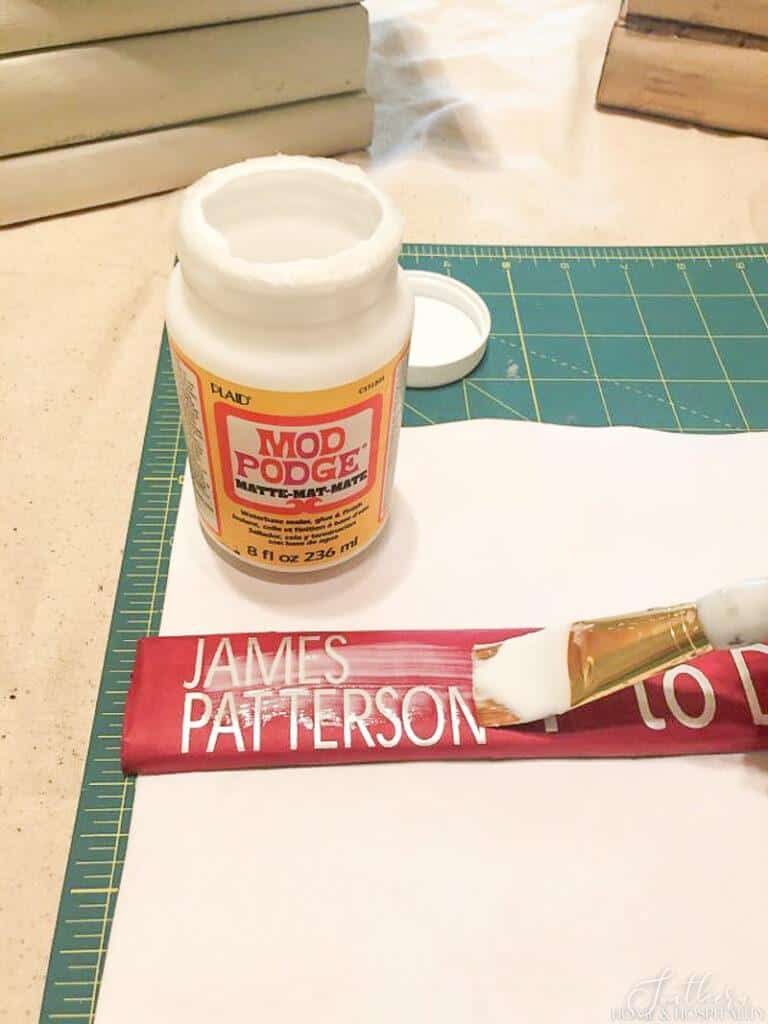
To apply the aged cardstock, I painted a coat of matte Mod Podge on the spine.
After the spine was glued on I trimmed the excess away and kind of sealed the edges in with more Mod Podge. (Don’t cover the outside of the cardstock or paper with Mod Podge because it will leave a not-very-vintage-like sheen.)
Next, I glued the spines back onto the aged books. Remember you don’t need this extra step if you never remove them.
The finishing touch.
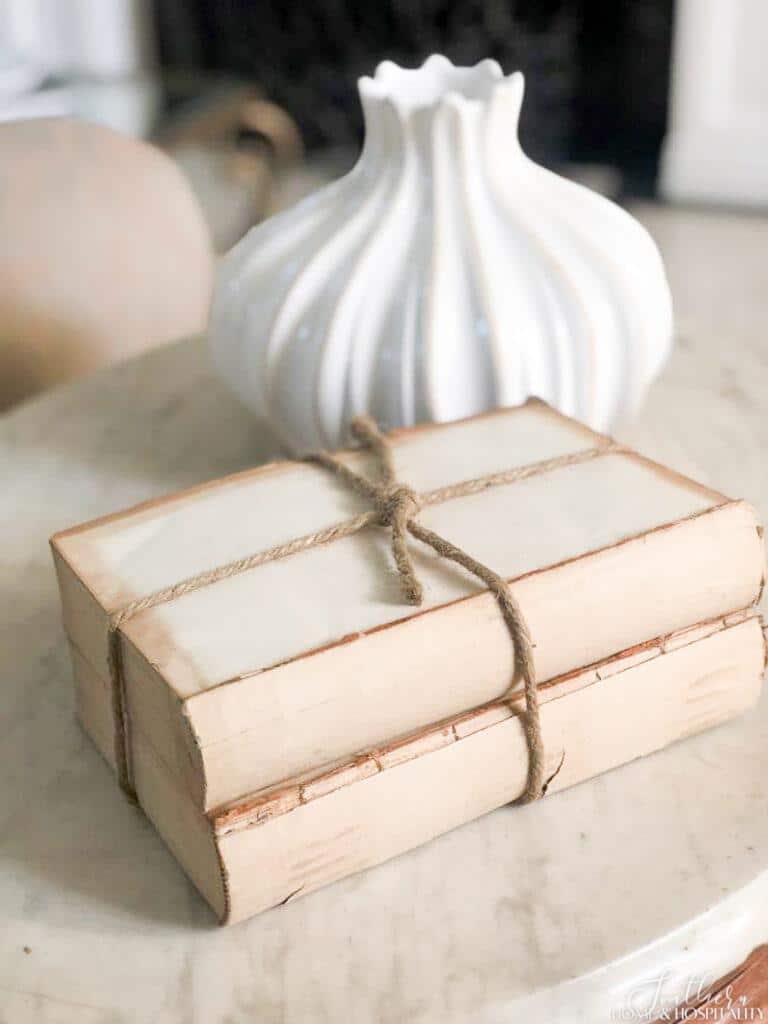
To finish off the book bundle, I stacked the books the way I wanted and tied a thick piece of natural jute cord around the stack.

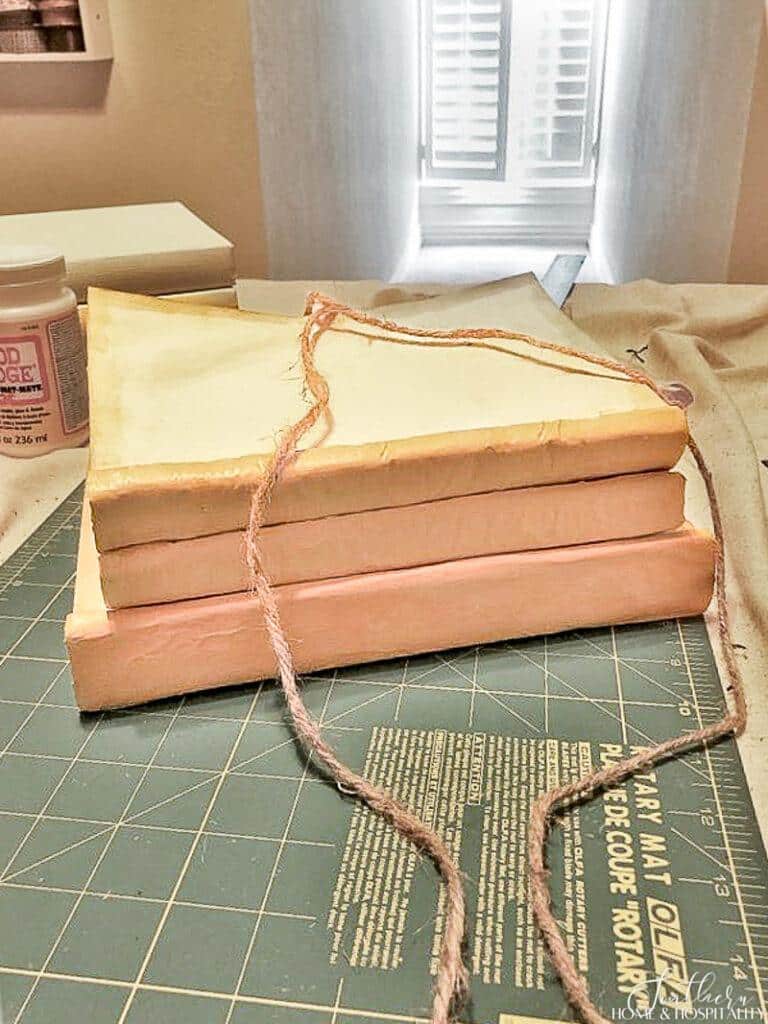
On the demo set, I changed it up from the original because I had a lighter-weight jute twine on hand, so I decided to tie it twice and just around one side:
This heavy jute only required a single tie.
And a look at the other side. Vintage pages have those wonderful small tears in their delicate paper:
If you’d like to see another easy craft with a vintage look, make sure to see the post on making DIY Aged French Pots.
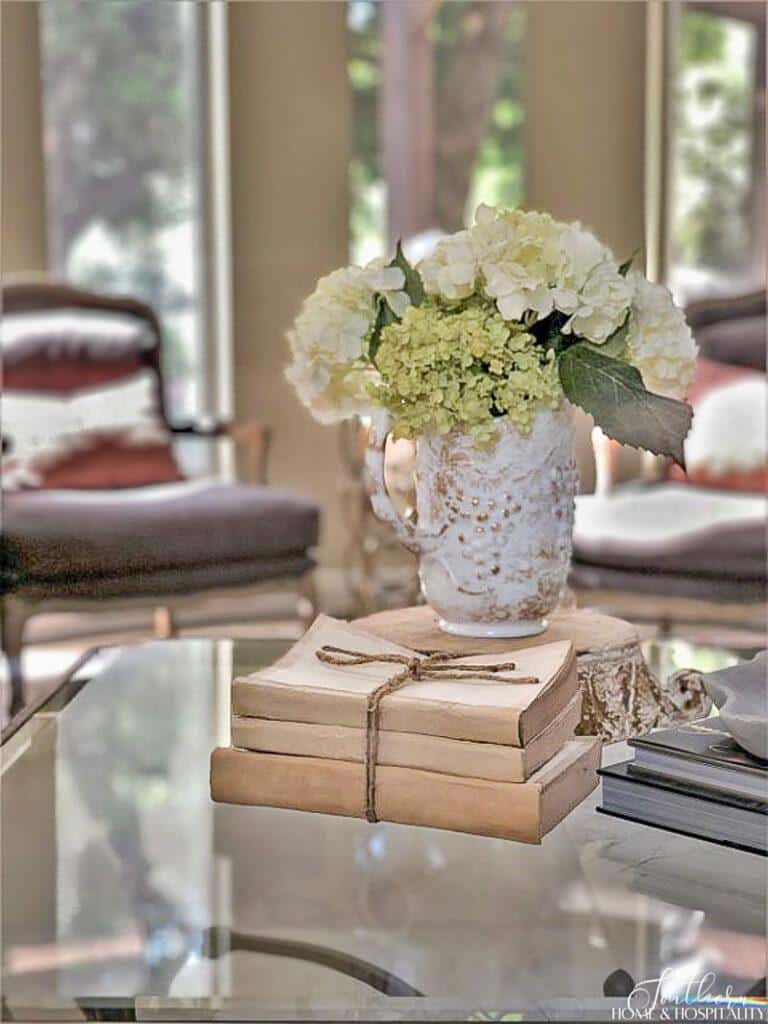
This DIY stack of books is a great tool to have in your decorating toolbox. I’ve been able to use these in tons of vignette stylings because they go so well with any room that needs a touch of neutral decor with vintage charm.
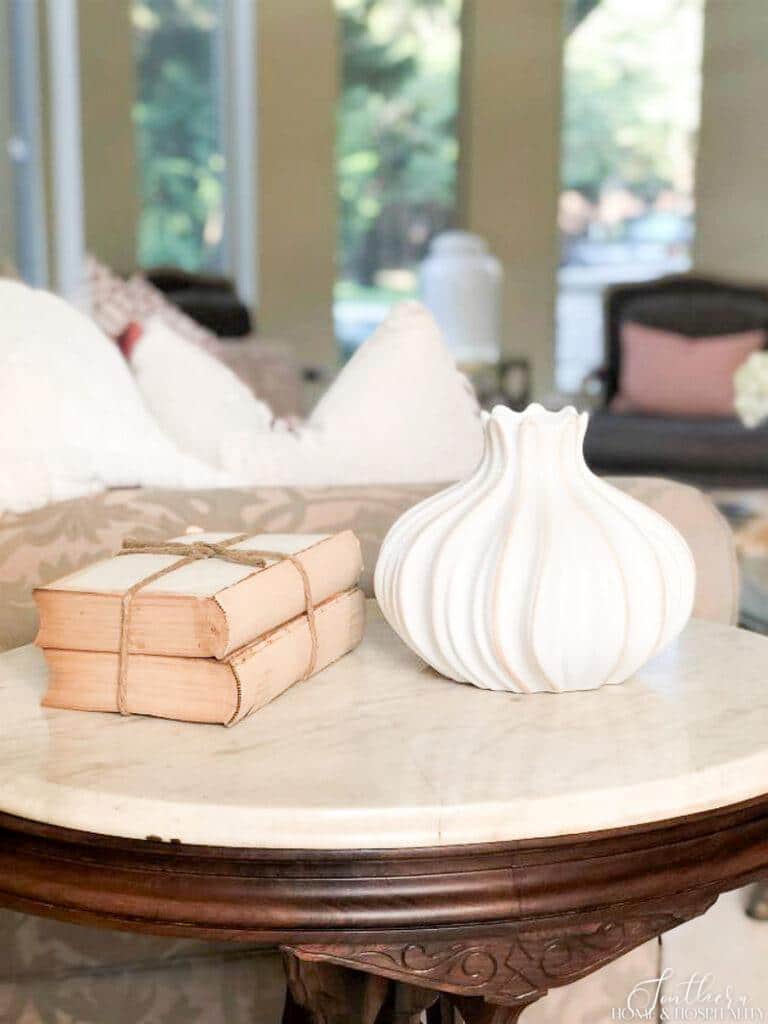
And I love them even more because they cost me almost nothing.💗

As always, I appreciate your visit, comments, and shares here on the blog! I’d love it if you also follow along with me on Pinterest, Instagram, and Facebook so you won’t miss any of my inspiration and ideas.
Don’t forget to sign up for updates to keep in touch…I have lots of fun and useful freebies you may be interested in in my subscriber-only library like my cheat sheets for where to place lighting, bathroom fixtures, artwork, and furniture!

This is such a great idea! I love it.